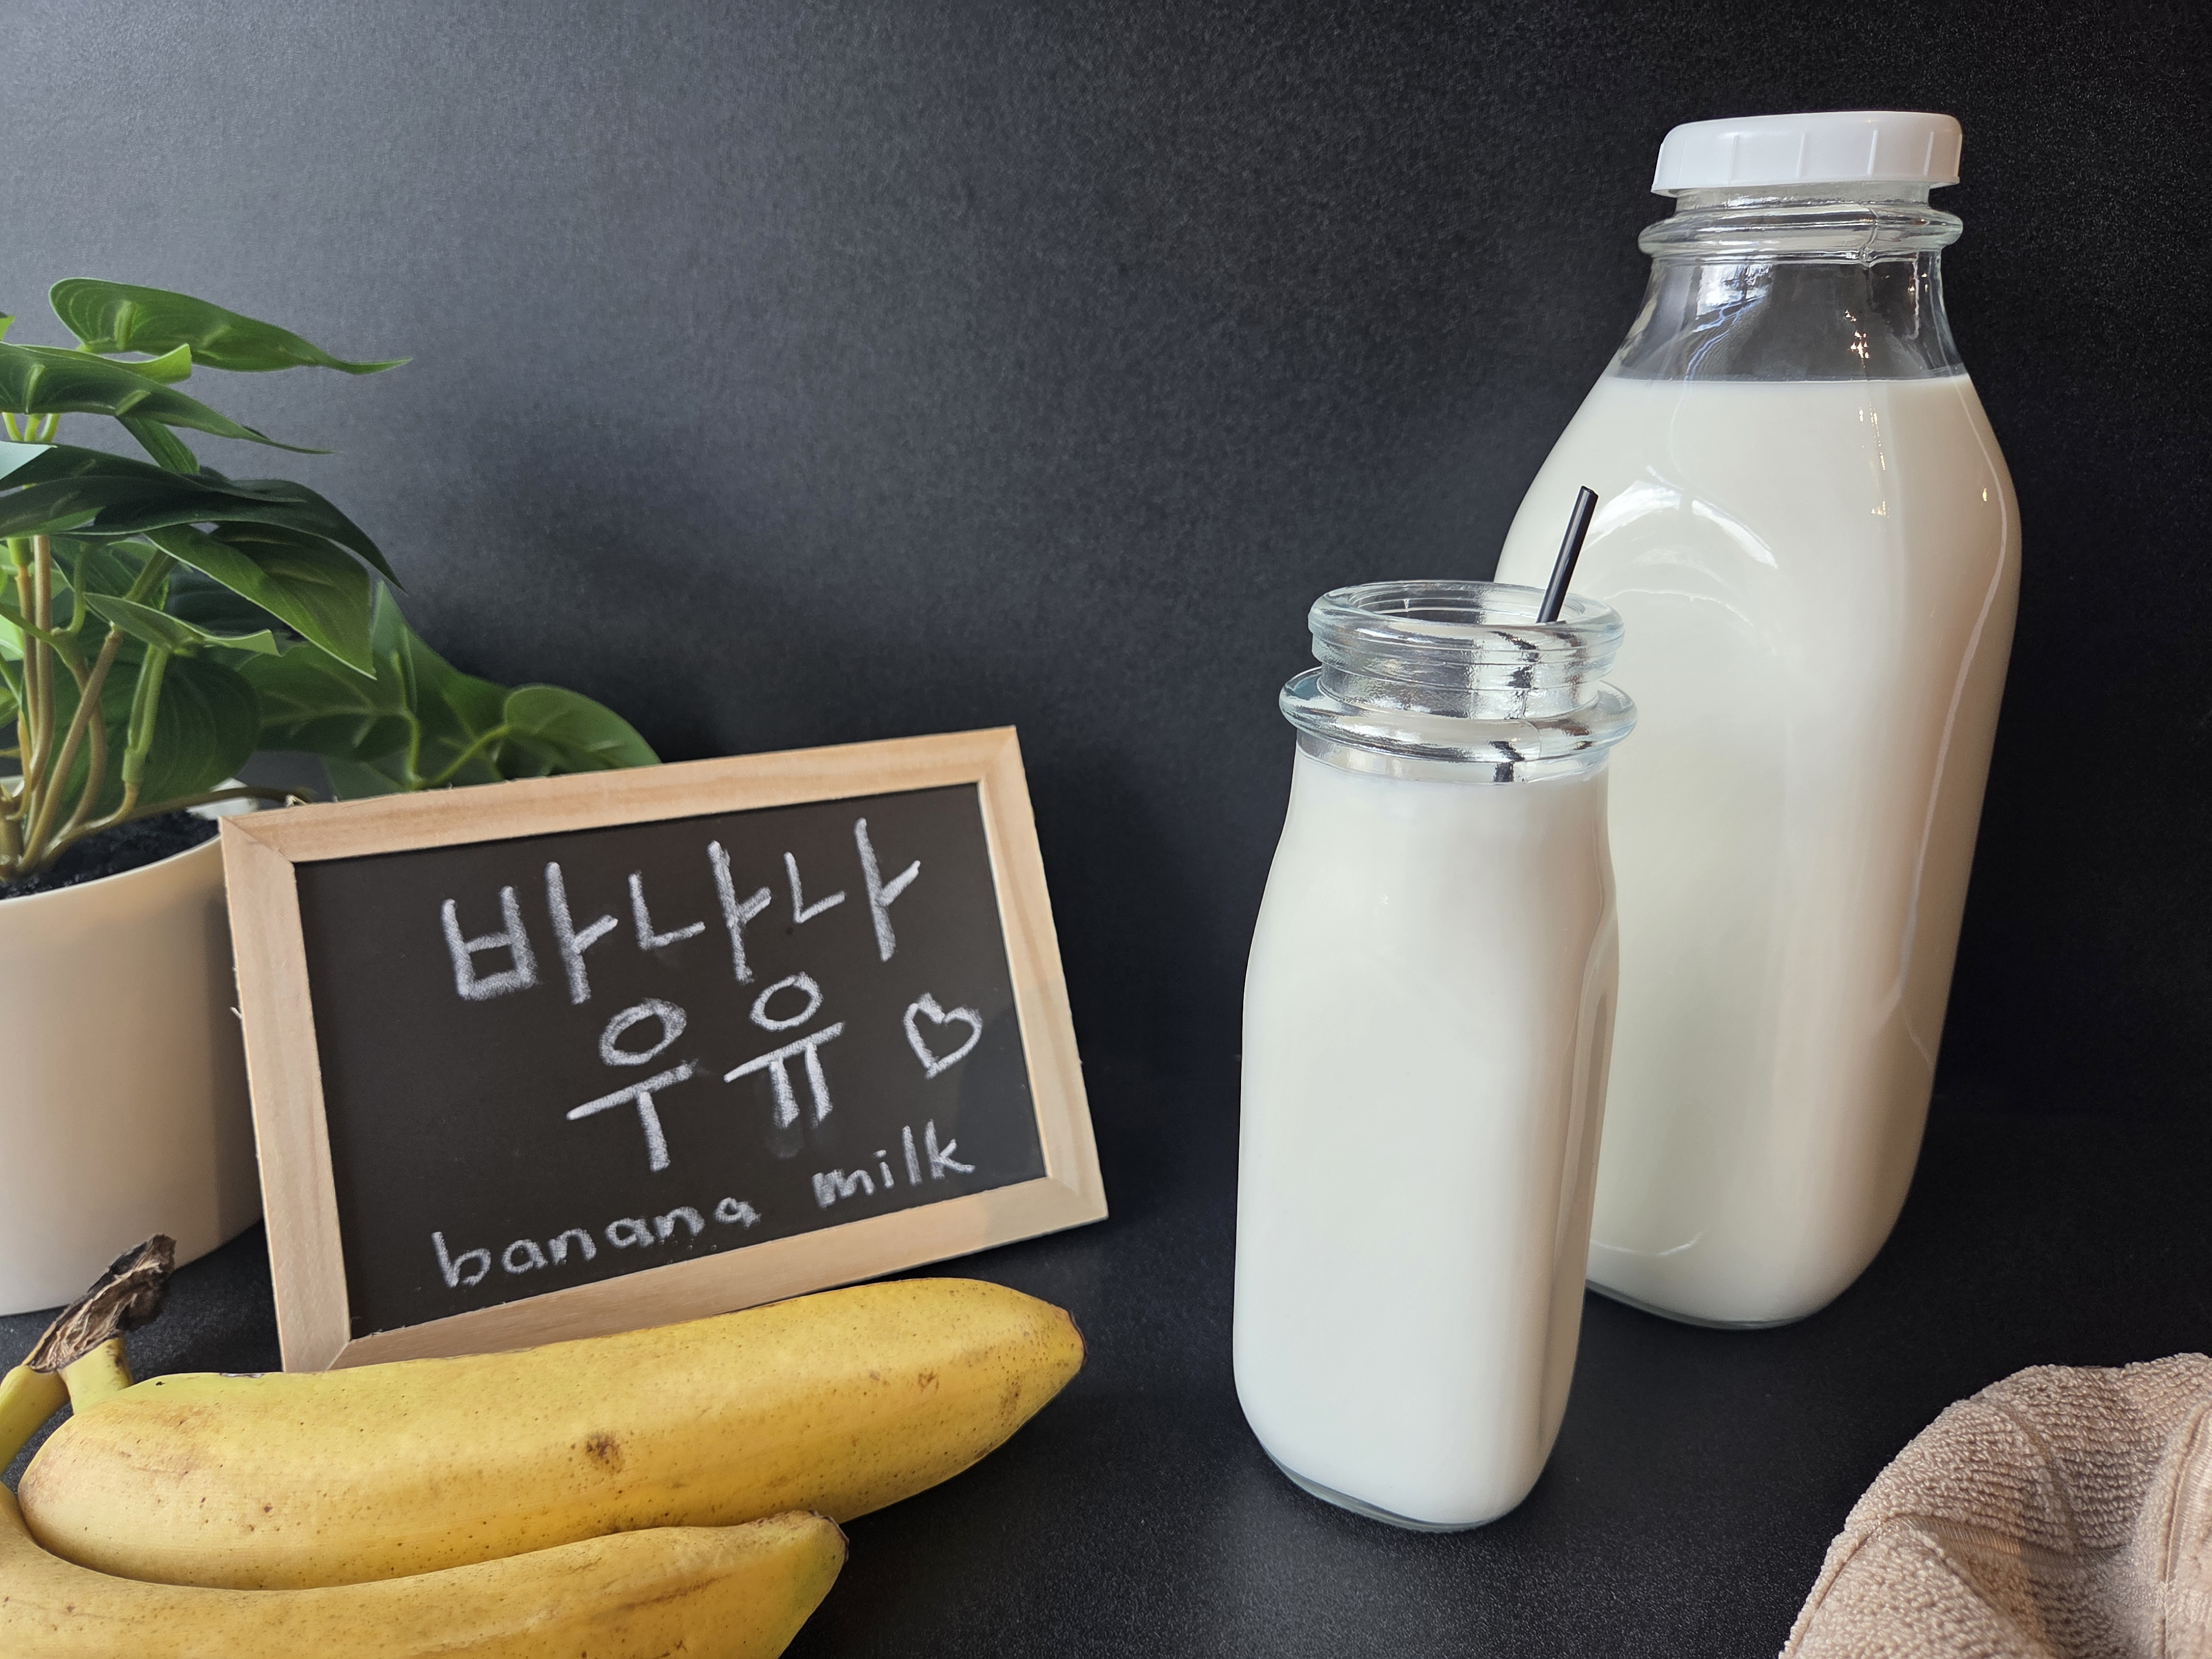
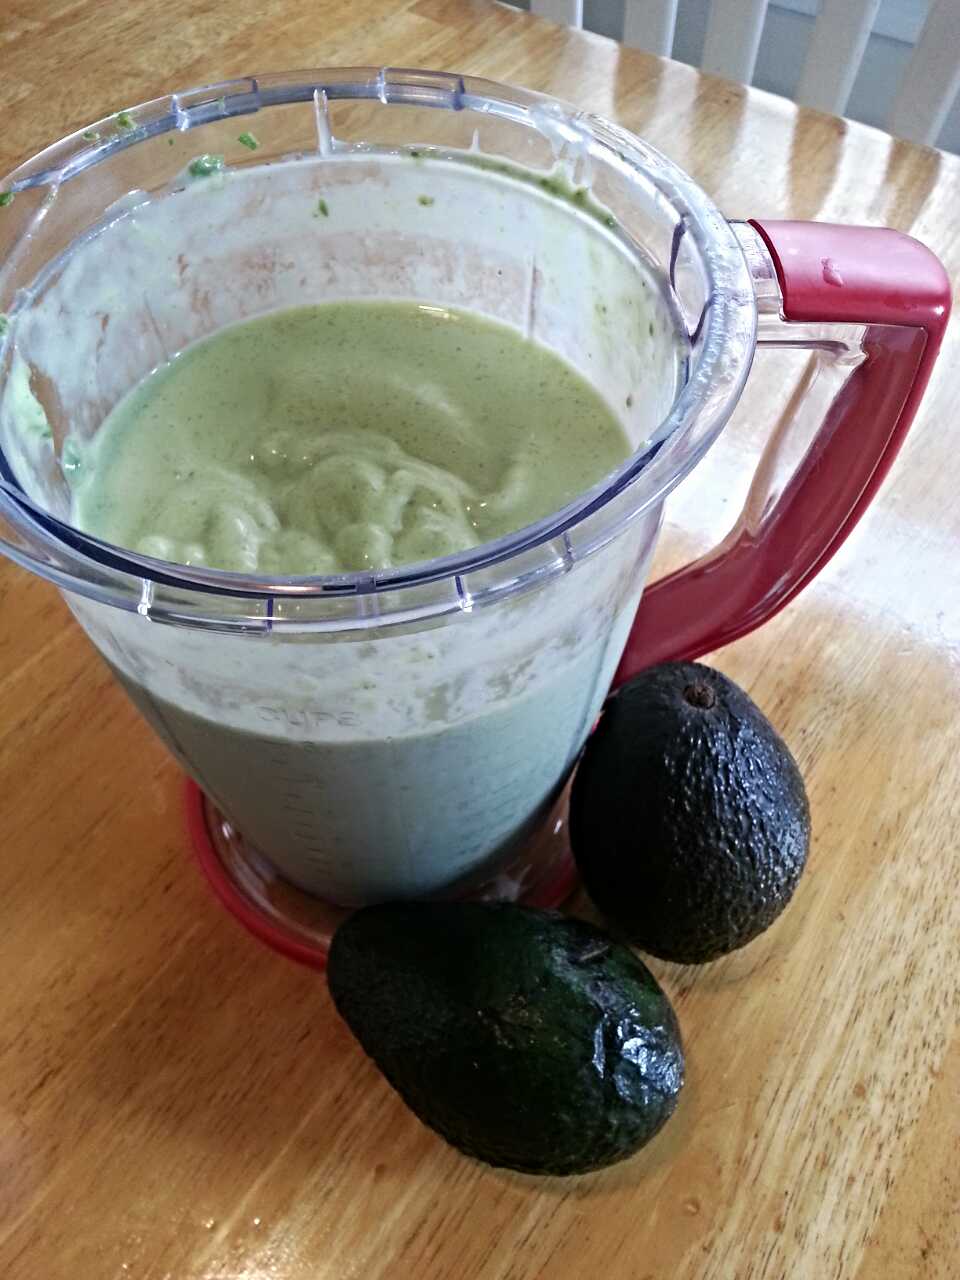
1/2 scant teaspoon LorAnn Banana Bakery Emulsion* (buy it on Amazon)
Add all ingredients to a mixing bowl or pitcher and stir to combine. Keep refrigerated. Makes one quart banana milk.
*Other recipes for banana milk use real bananas. That results in a banana smoothie flavor rather than the classic banana candy flavor of Korean banana milk. Banana extract requires nearly a whole bottle to get enough banana flavor, but then is completely overwhelmed by the taste of alcohol. This flavoring is alcohol-free and nails the banana candy flavor!
In a small bowl, stir together cream cheese, green onion and sesame oil to combine. Set aside.
In a nonstick skillet over medium heat, cook bacon pieces until crisp. Place on a plate lined with paper towels to drain. Once cooled, chop into small pieces.
Beat together eggs and salt until well-mixed. Drain excess bacon grease from the skillet. Set stove to medium-low and add eggs. Scramble eggs until set and soft, about 2 minutes.
To serve, smear a spoonful of the cream cheese mixture on each tortilla. Top with kimchi, eggs, and bacon pieces.
Mix all ingredients together in a small bowl except olive oil and balsamic vinegar. When ready to use, mix 1 tablespoon of mixture with olive oil. If desired, add balsamic vinegar. Serve with slices of crusty bread.
The remaining dry mixture can be stored in your pantry for up to 6 months.
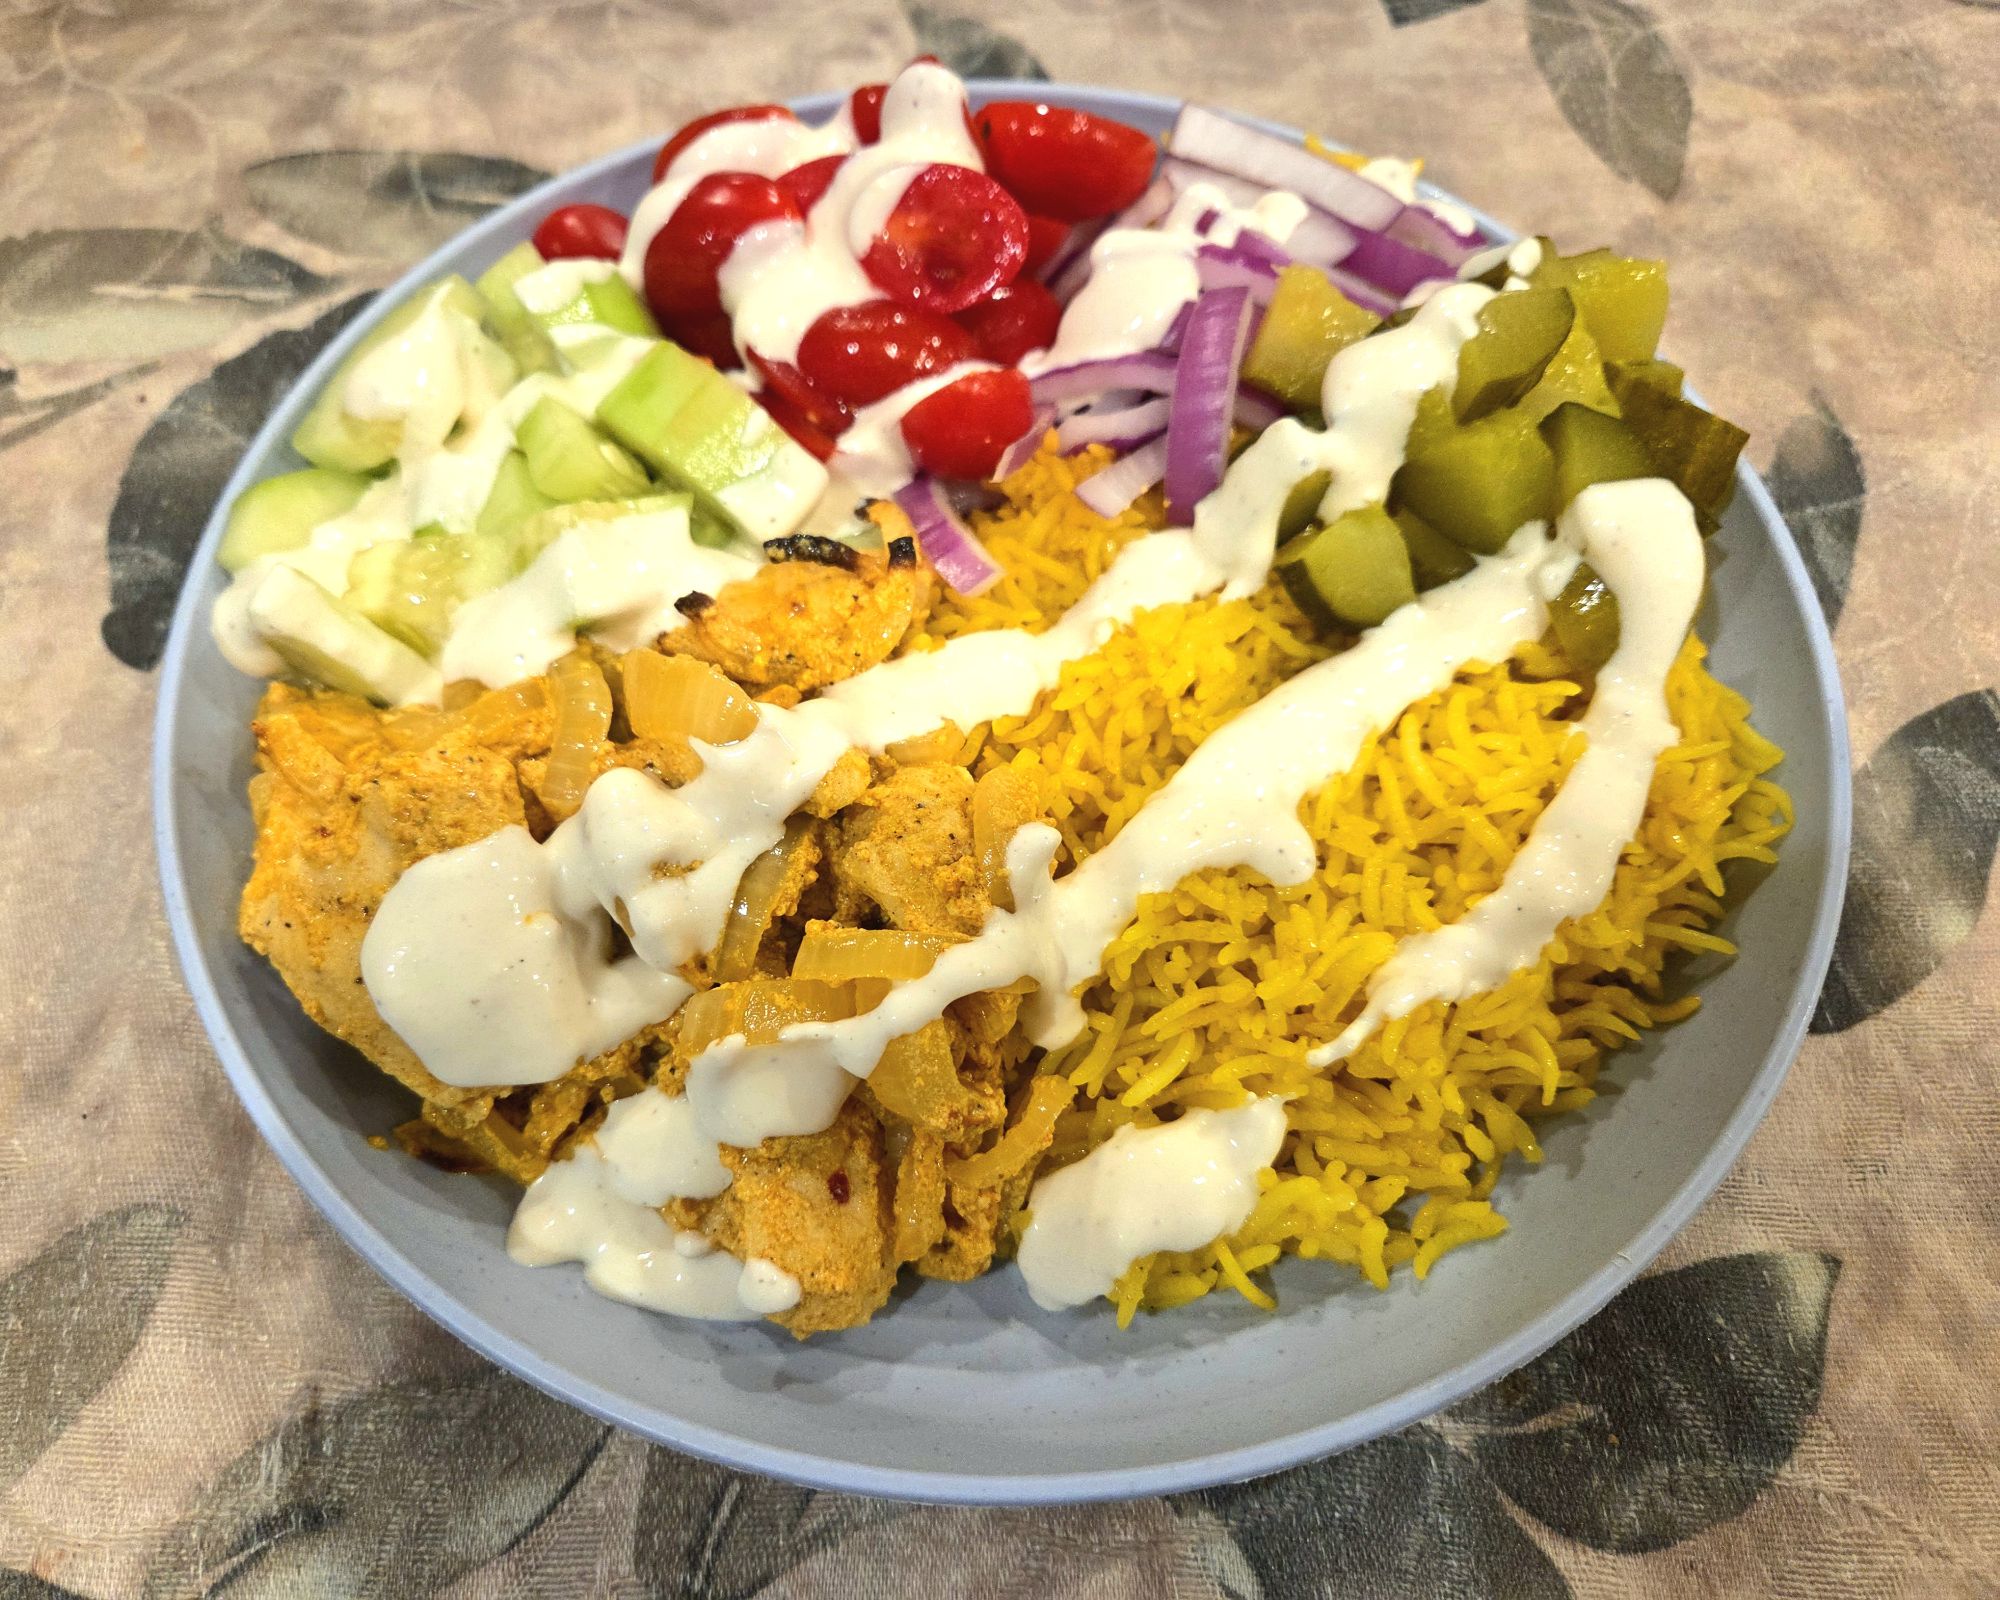
Preheat the oven to 350F. To a gallon Ziploc bag or large lidded container, add all the chicken shawarma ingredients. Mix and marinate for at least 30 minutes (longer if you have time). Transfer the chicken mixture into a lipped sheet pan.
In a separate 9×13 pan, add all of the yellow rice ingredients. Stir until fully combined. Place both trays into the oven, with the chicken on a higher rack. Bake at 350F for 45 minutes. Remove the chicken and cover with foil to keep warm. Stir the rice and bake for an additional 15 minutes.
While the chicken and rice cook, whisk the white sauce ingredients together in a medium bowl until smooth and fully combined. Once the chicken and rice are done, plate them with the lettuce, cucumber, tomatoes, red onion, and pickles. Drizzle the white sauce over the top. Garnish with lemon slices and enjoy.
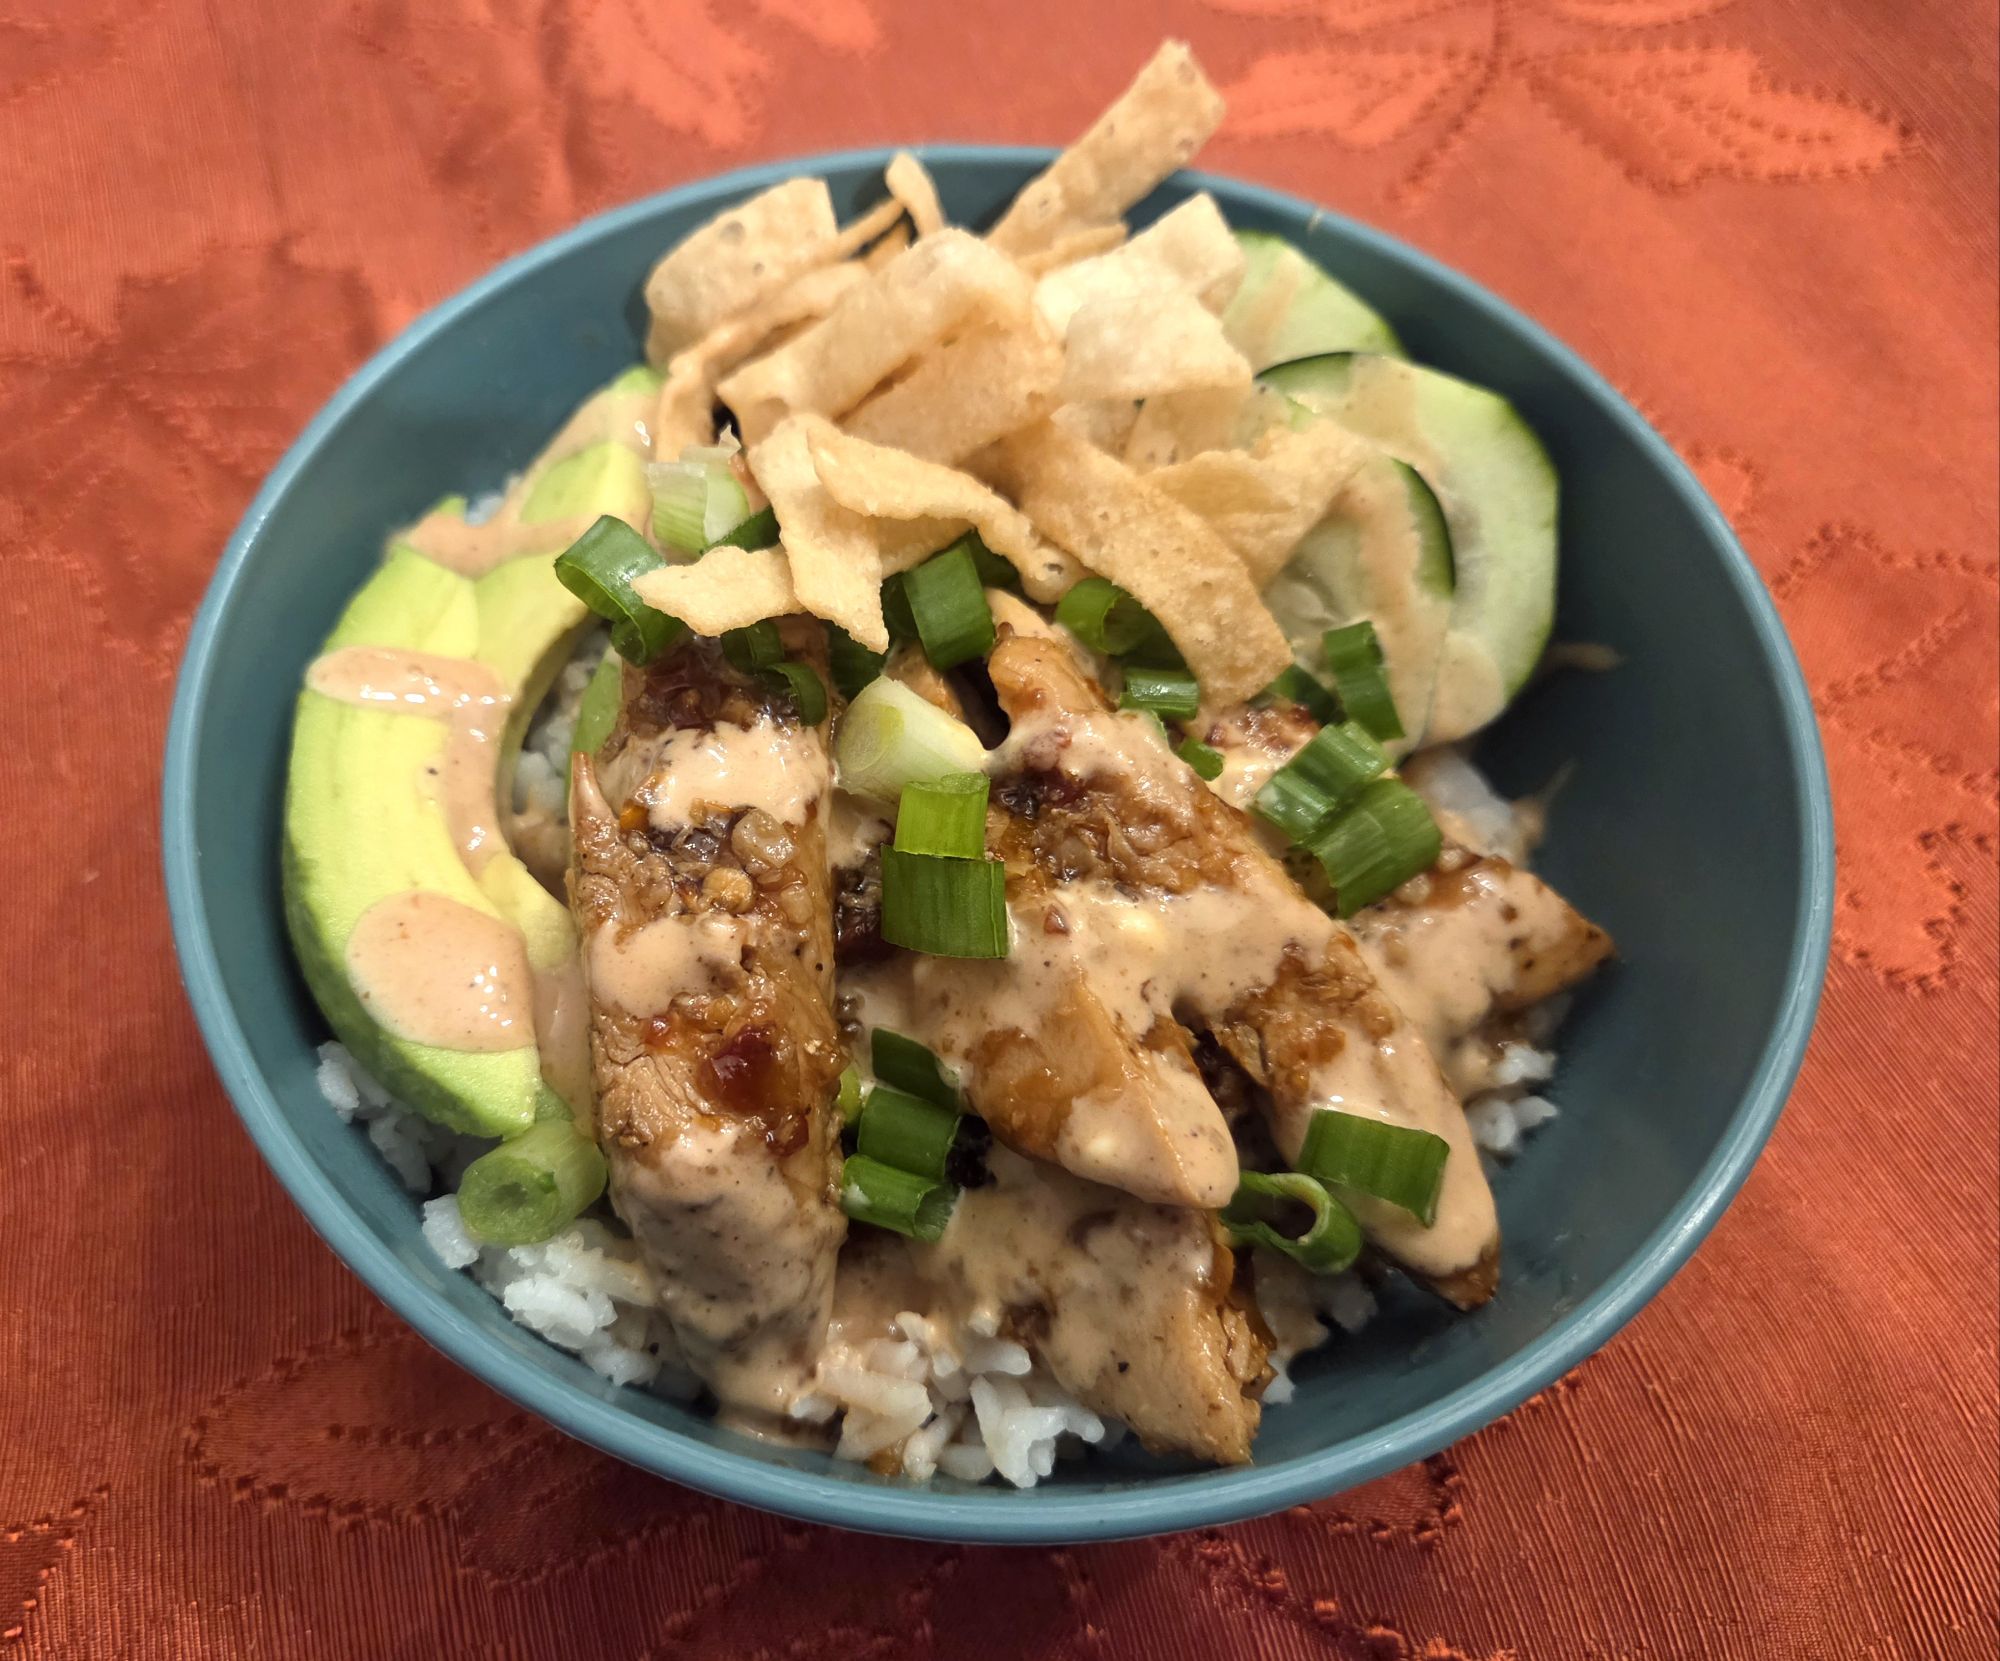
Preheat the oven to 425° F. Place the chicken into a large Ziploc bag or lidded container. Add 2 Tablespoons each soy sauce and orange juice. Seal and toss to coat. Season with pepper and drizzle with olive oil. Transfer to a lipped sheet pan and bake for 15 minutes.
In a bowl, whisk the remaining 1/3 cup soy sauce, remaining 2 Tablespoons orange juice, honey, chili garlic sauce, garlic, and ginger. When the chicken is ready, pour the sauce over the chicken. Toss and bake another 5 minutes, or until cooked through.
Meanwhile, make the yum yum sauce. Combine all ingredients in a bowl. Taste and season with additional salt, if needed.
To assemble, add the rice to bowls, top with chicken, cucumber, avocado, kimchi, green onions, fried wontons, the yum yum sauce, and sesame seeds.
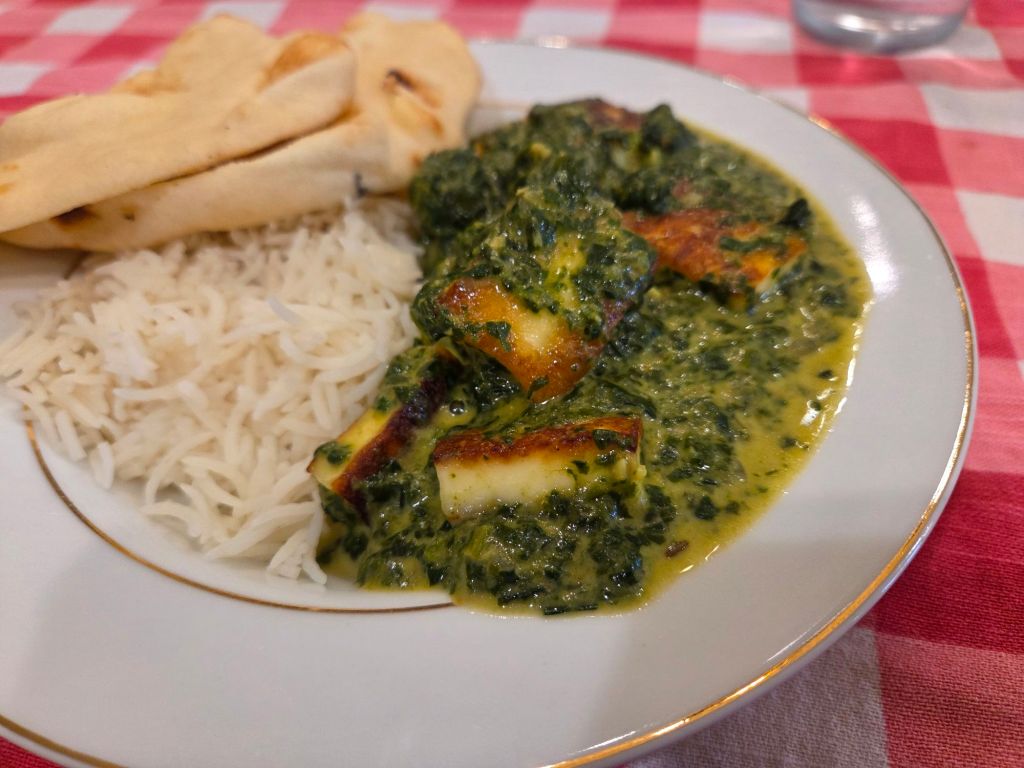
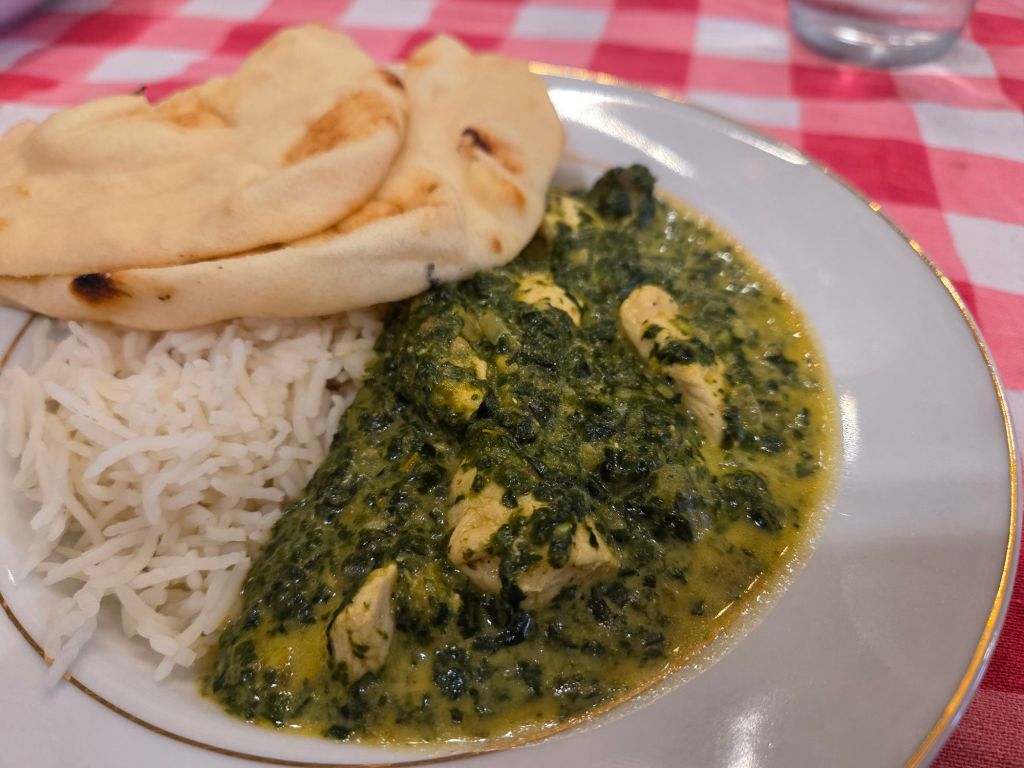
In a food processor, blend onion until finely chopped. In a large, deep pan, heat oil over medium-high heat. Add the cumin seeds and the chopped onion. Sauté for about 10 minutes, until onion begins to brown. While the onions are cooking, add the garlic, ginger, and serrano peppers to the food processor and chop finely (don’t worry if it’s not perfectly uniform—it will be pureed later). Add to the mixture on the stove and cook for an additional 2 minutes, until aromatic.
Add the tomatoes to the food processor and puree until smooth. Add the tomatoes to the pan with the onion mixture. Add the coriander, cumin, turmeric, cayenne, and salt and continue to sauté for 3-4 minutes. Add the spinach, a handful at a time, and cook until wilted. Remove from the heat and allow to cool for a few minutes.
If you’re using paneer, cut it into 1″ cubes and then cut in half again. If you want to sear it (optional, but adds a nice texture), heat an additional 1 1/2 tablespoons of oil in a frying pan over medium heat and sear on each of the larger sides. Remove from heat.
If you’re using chicken, cut it into bite-sized pieces or strips and season with salt and pepper. In a frying pan over medium heat, sear on each side until fully cooked through. Remove from heat.
Transfer the spinach mixture to the food processor. Blend on low into a rough purée. Transfer back into the original pan over medium-high heat. Add the ghee/butter and stir until melted. Add the 1/2 cup of water, milk, and heavy whipping cream. Stir to combine. Add your protein (paneer or chicken) and gently stir to coat. Cook on medium-low until everything is warmed through. Add the lemon juice and garam masala and stir to combine.
*In Hindi, “palak” means “spinach” and “saag” means “greens” in general. In most cases, spinach is used for both. Ideally, you’ll want mature spinach leaves sold in bundles (about 3 bundles per pound of spinach). Alternatively, you can find bags of pre-washed spinach (not baby spinach) that you could substitute for each bundle. If neither of those are available, frozen spinach is generally recommended above using fresh baby spinach.
**I use Gopi brand, but any brand should work. I personally like to double the amount of paneer. Alternatively, you could make your own using this recipe from Recipe Tin Eats. However, homemade paneer tends to crumble when cut and/or pan-seared without the addition of food-grade calcium chloride.
In a large saucepan, heat the olive oil on medium high heat. Add the uncooked rice and stir to coat. Cook, stirring occasionally, until the rice has started to brown. Add the garlic and cook for an additional minute. Add water, salt, and lime zest to the rice. Bring to a rolling boil, then cover and lower the heat to low to maintain a very low simmer.
Cook undisturbed for 15 minutes, then remove from the heat and let sit for 10 minutes. Fluff the rice with a fork and then add the lime juice and cilantro. Stir gently to combine and enjoy!
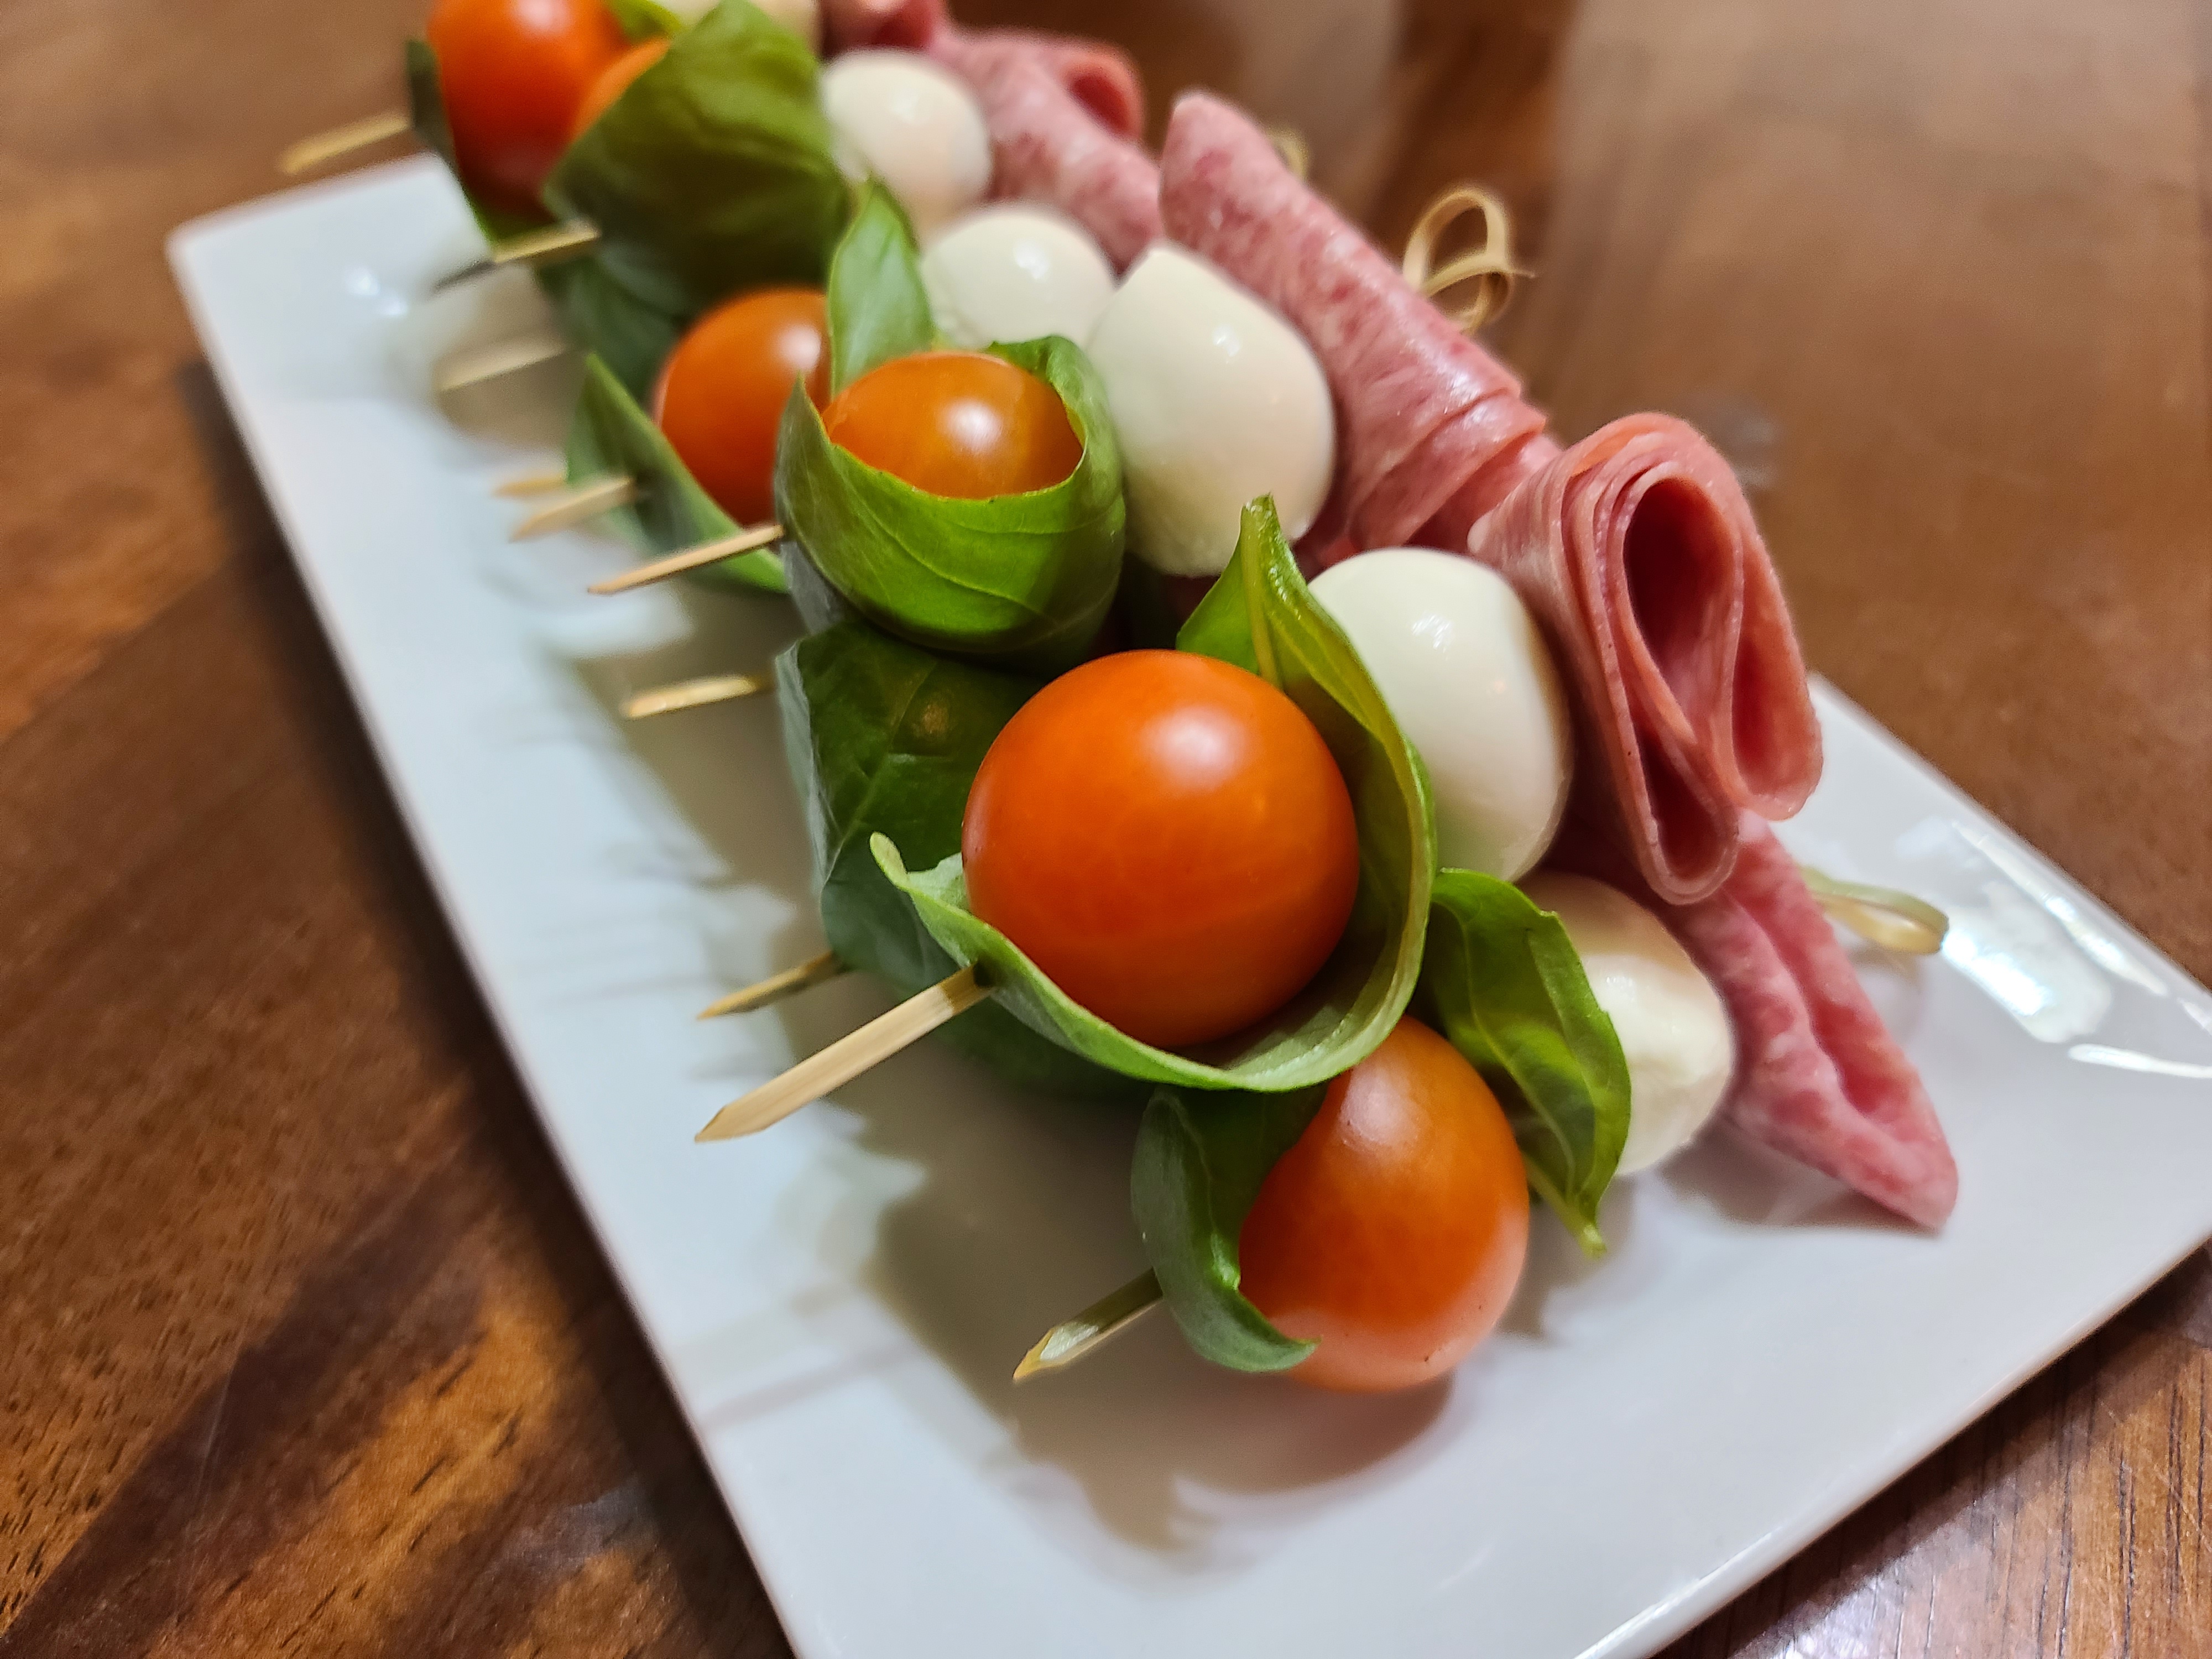
Fold a slice of salami in half, then in half again (should look like a quarter circle). Place on a cocktail pick (bamboo or your choice), followed by a ball of mozzarella and a tomato wrapped in a large basil leaf. Serve with a mixture of olive oil and balsamic vinegar or a balsamic reduction for dipping.
*Genoa or hard salami works well, as well as soppressata.
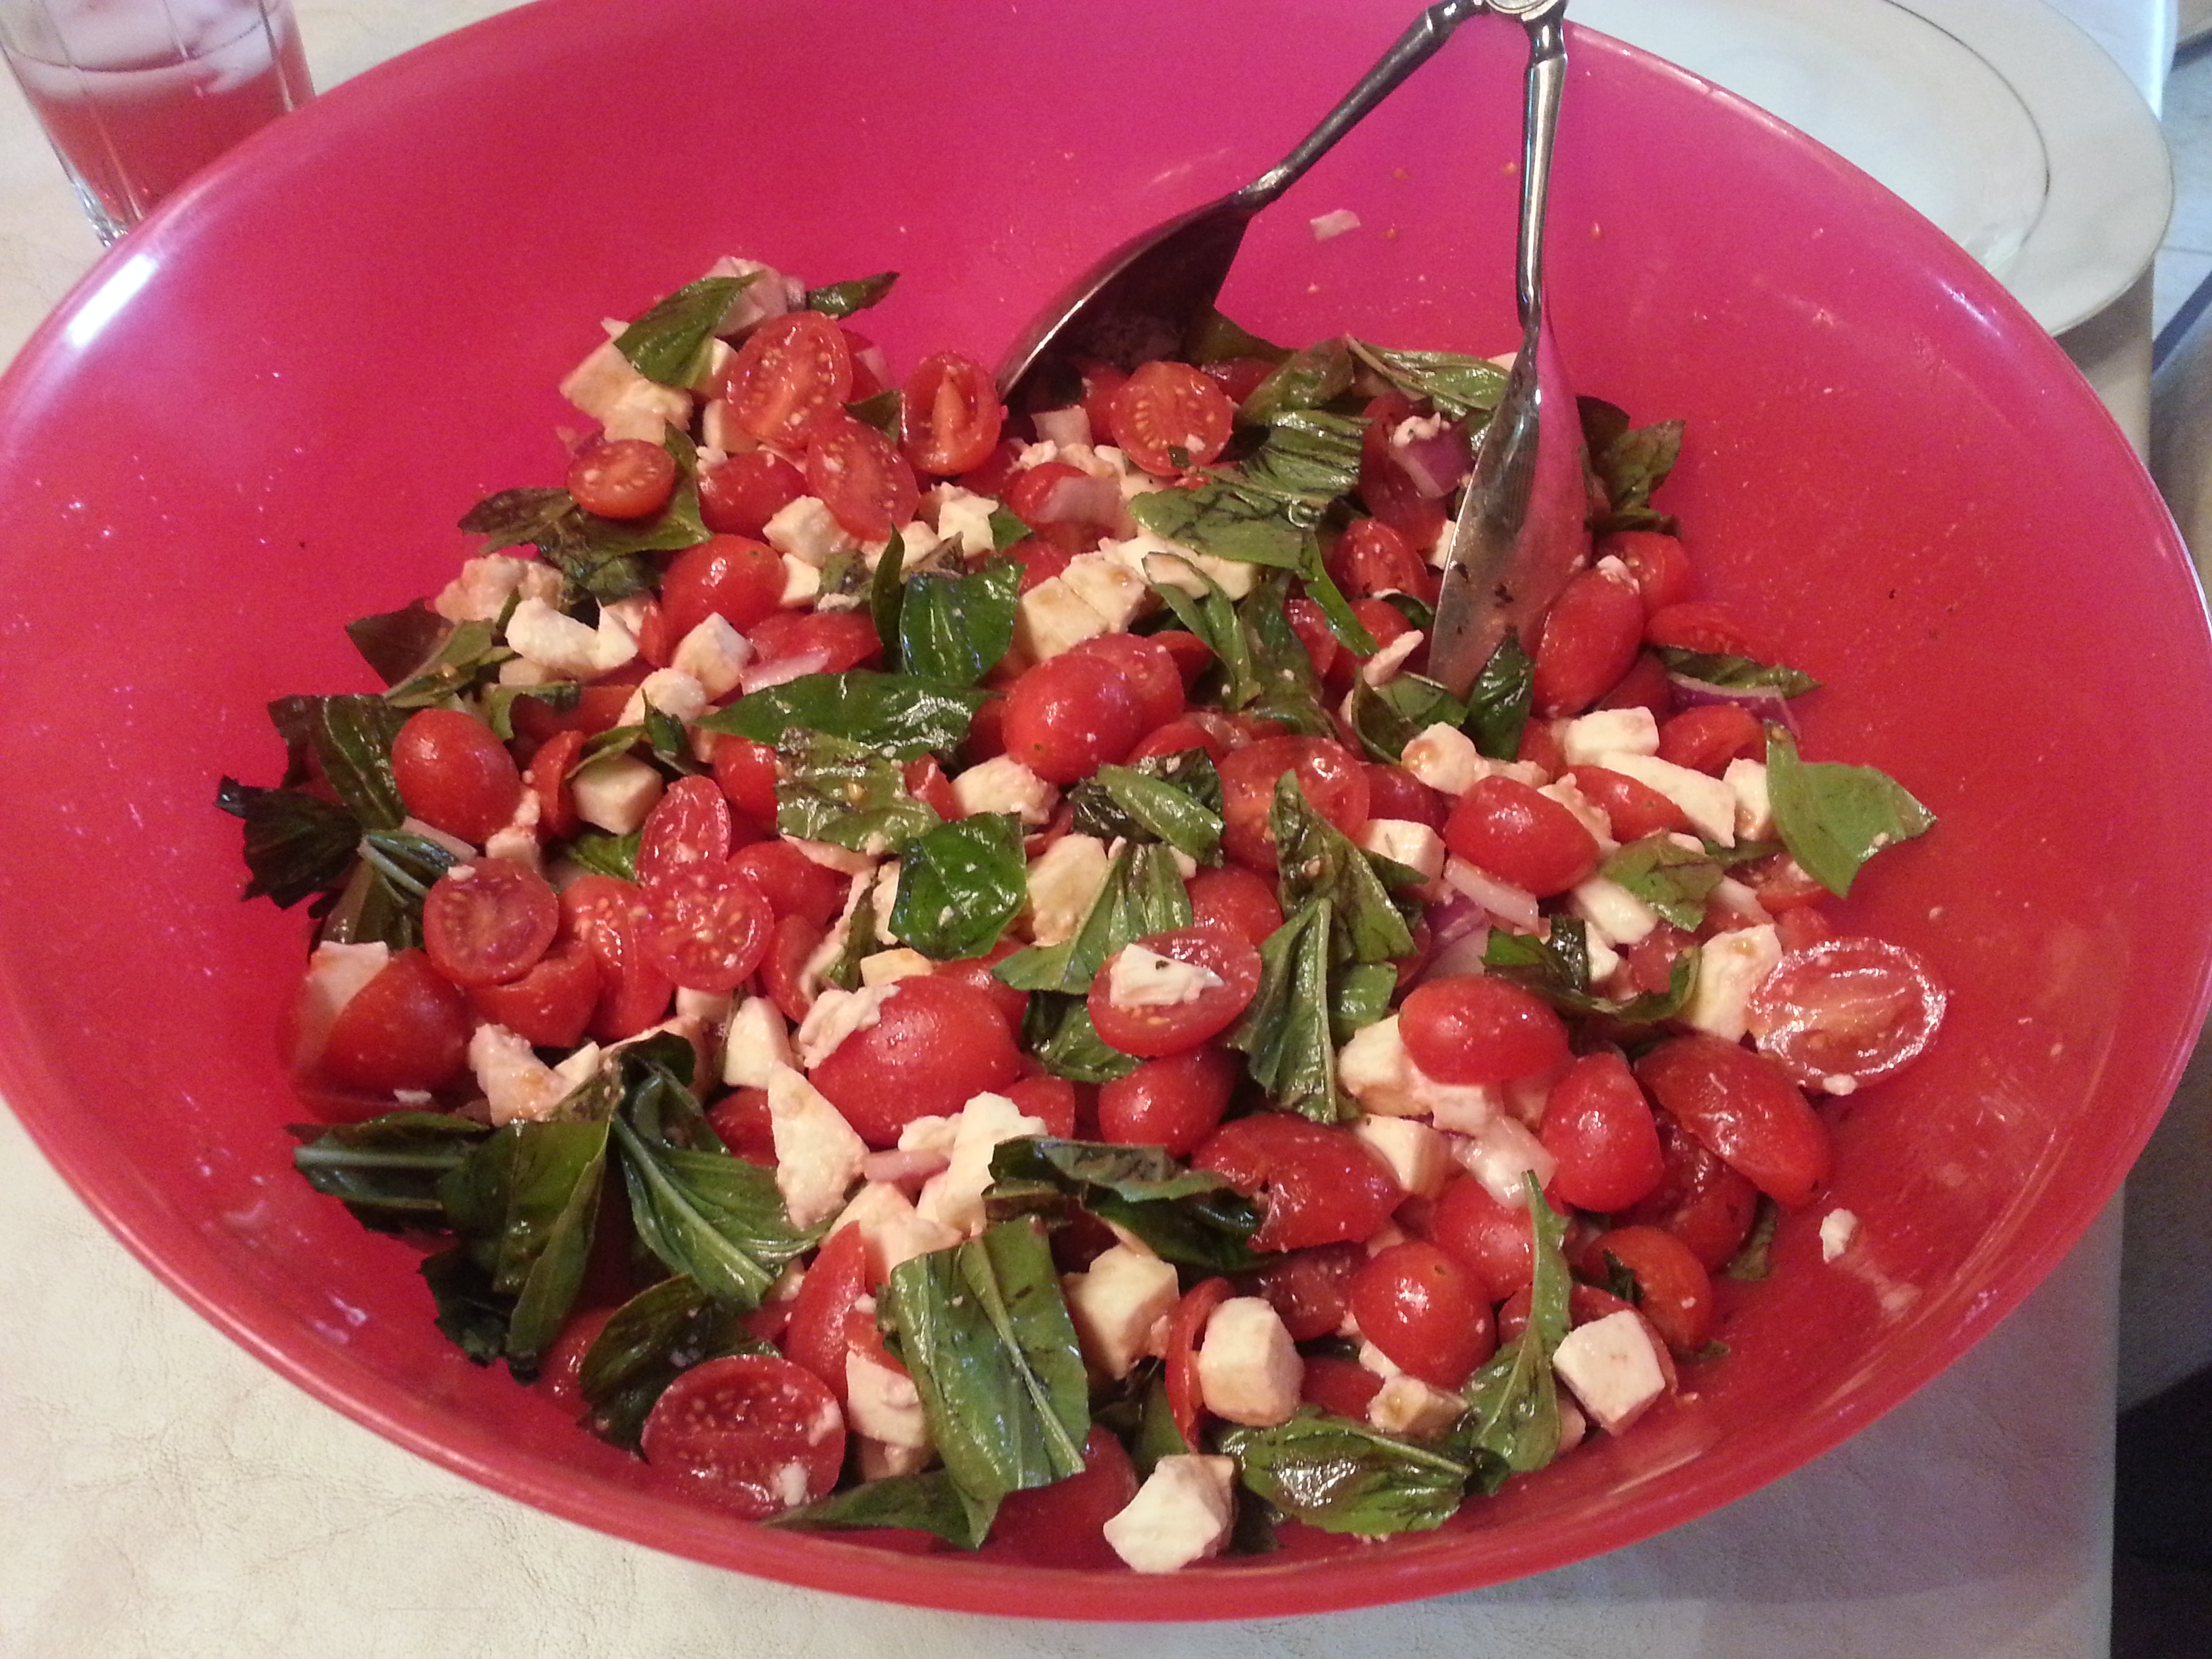
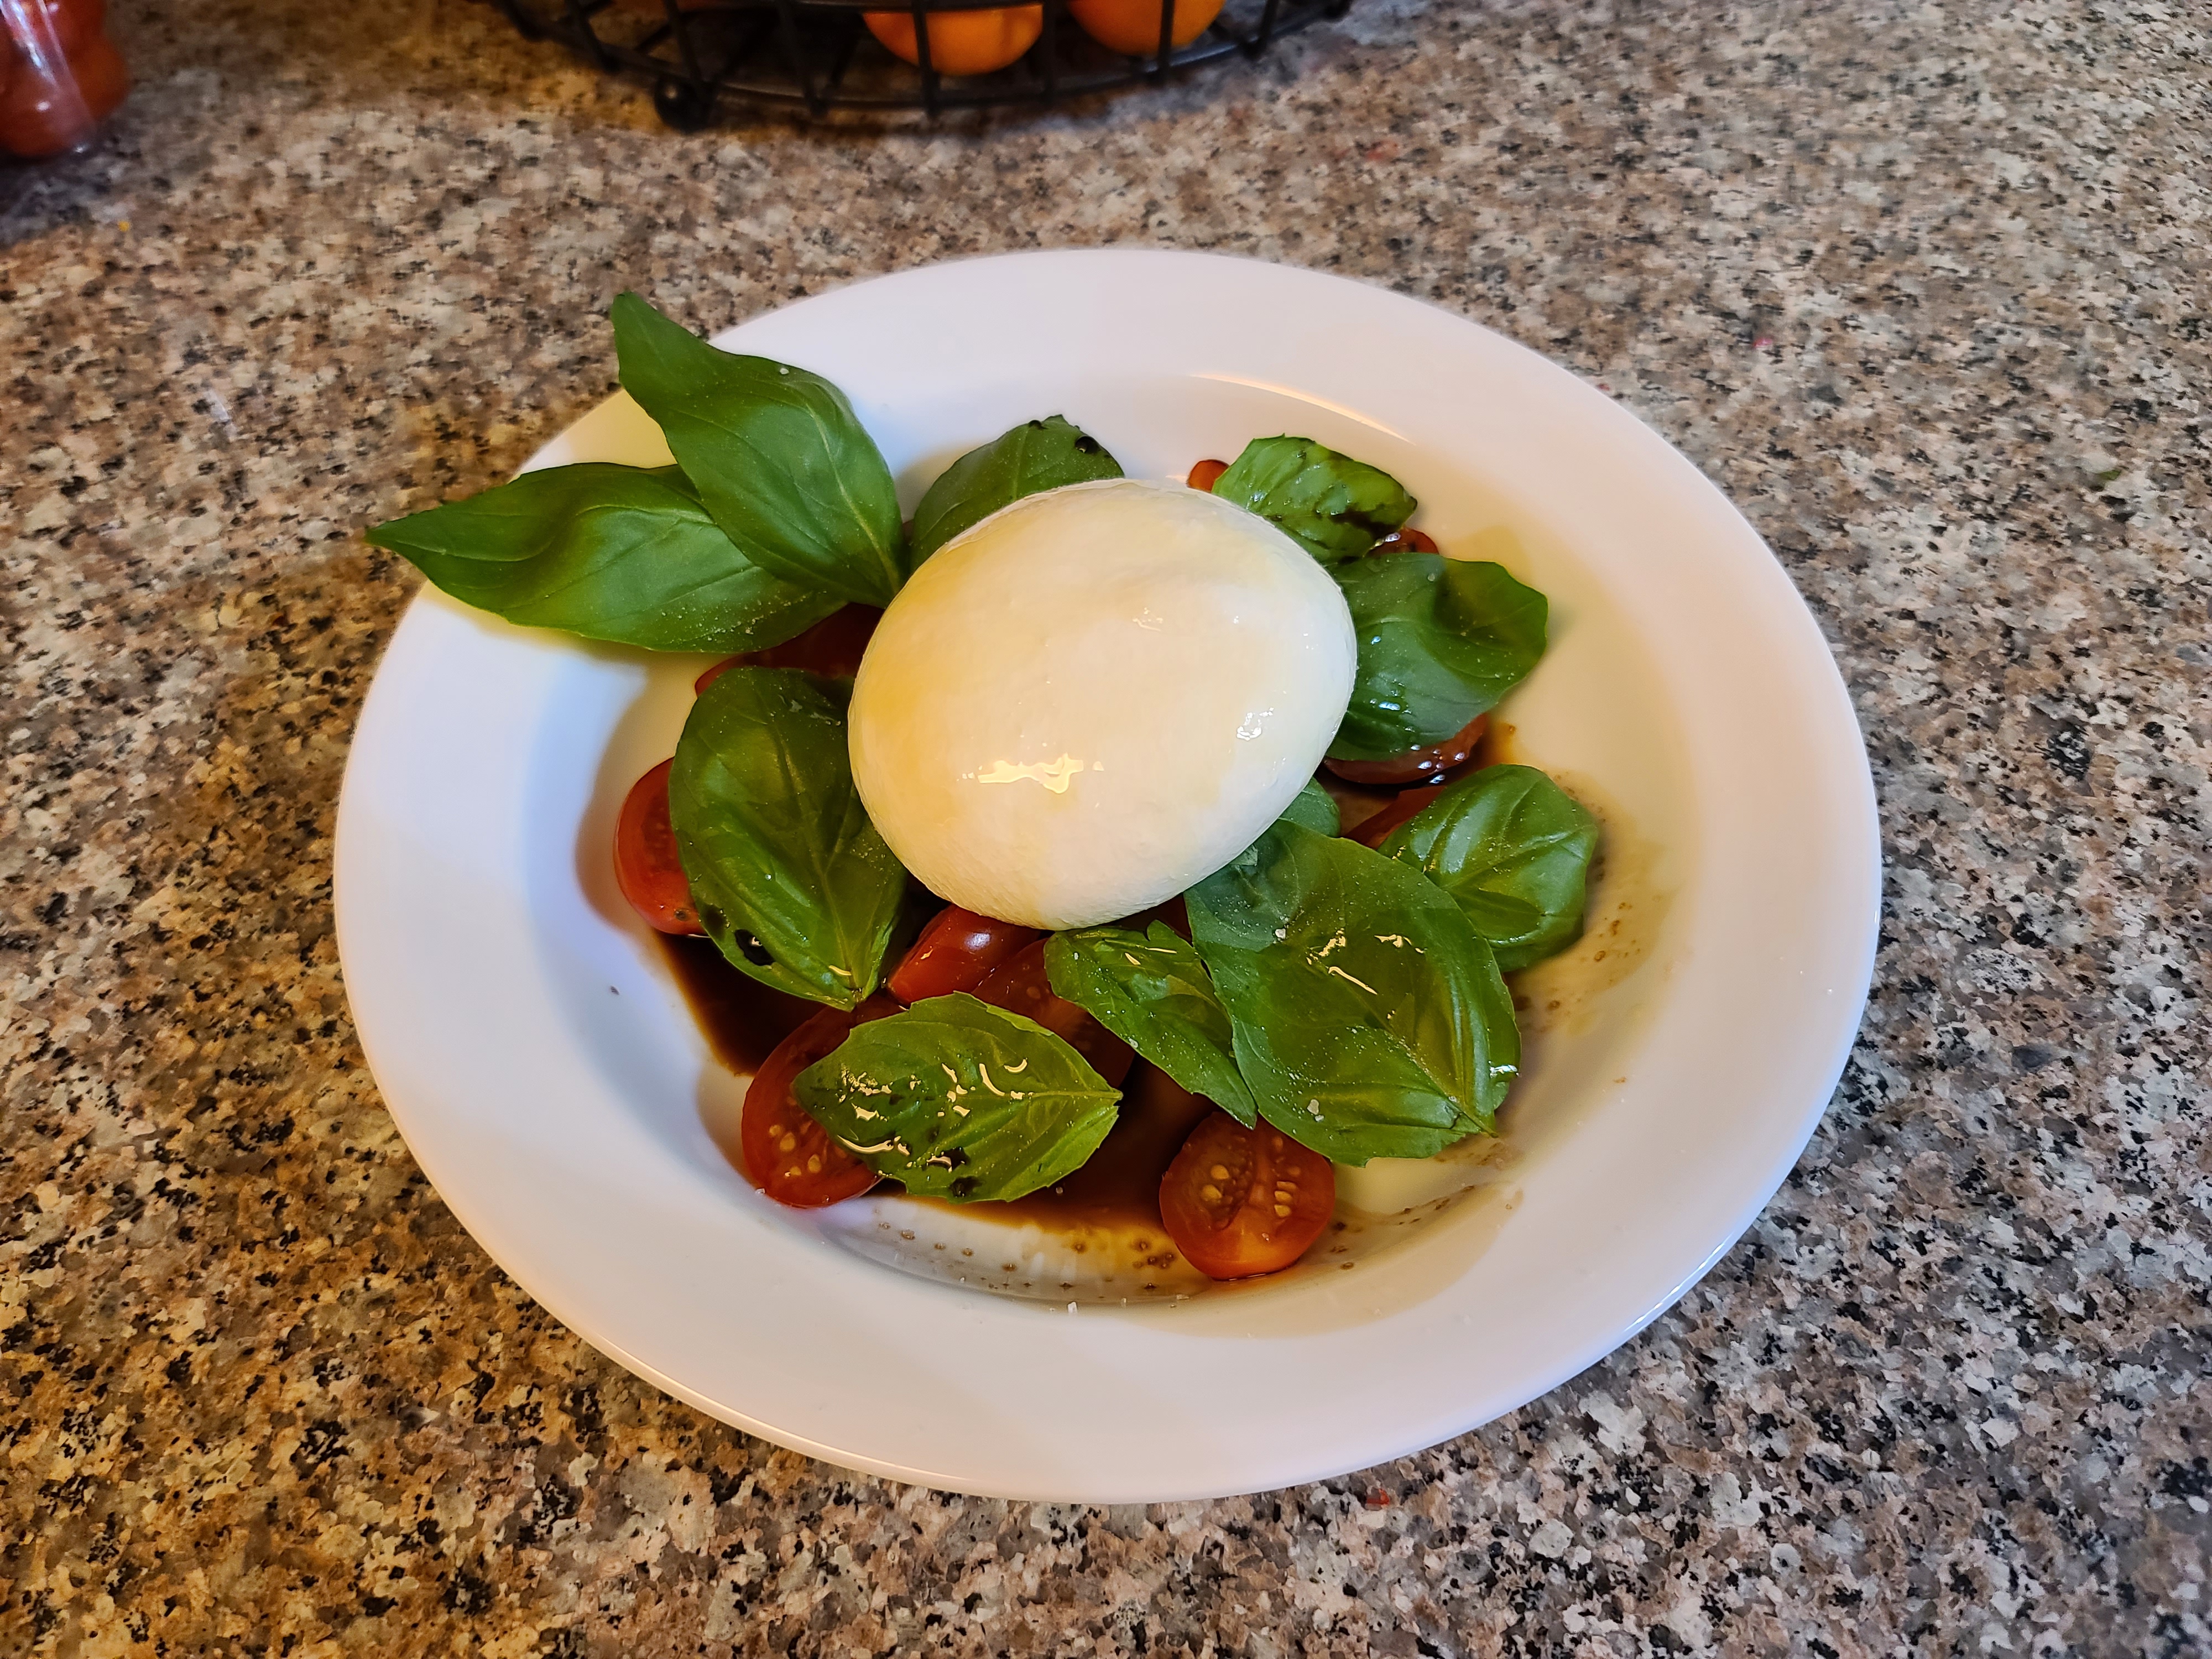
Layer the bottom of a plate or shallow bowl with tomatoes and basil leaves. Drizzle with olive oil and balsamic vinegar. Place mozzarella on top and sprinkle everything with salt.
*You can also slice a full-size tomato and arrange between slices of mozzarella. The oil and balsamic drizzle can go after the mozzarella is placed, but will leave a brown stain on the cheese that can be unattractive depending on your arrangement.
Select the sauté mode on the Instant Pot, then add the olive oil and diced onion. Cook for 3-5 minutes, until soft. Add the minced garlic and cook for an additional 30 seconds. Cancel the sauté mode, then add the chicken broth, tomato sauce, rice, cumin, chili powder, salt, and pepper. Stir until thoroughly mixed.
Place the lid on the pot and seal. Pressure cook on high for 8 minutes. Once the timer goes off, allow the pot to naturally release for five minutes, then quick release the remaining pressure. When the pot is depressurized, open the lid and fluff with a fork. Sprinkle with freshly chopped cilantro and serve.
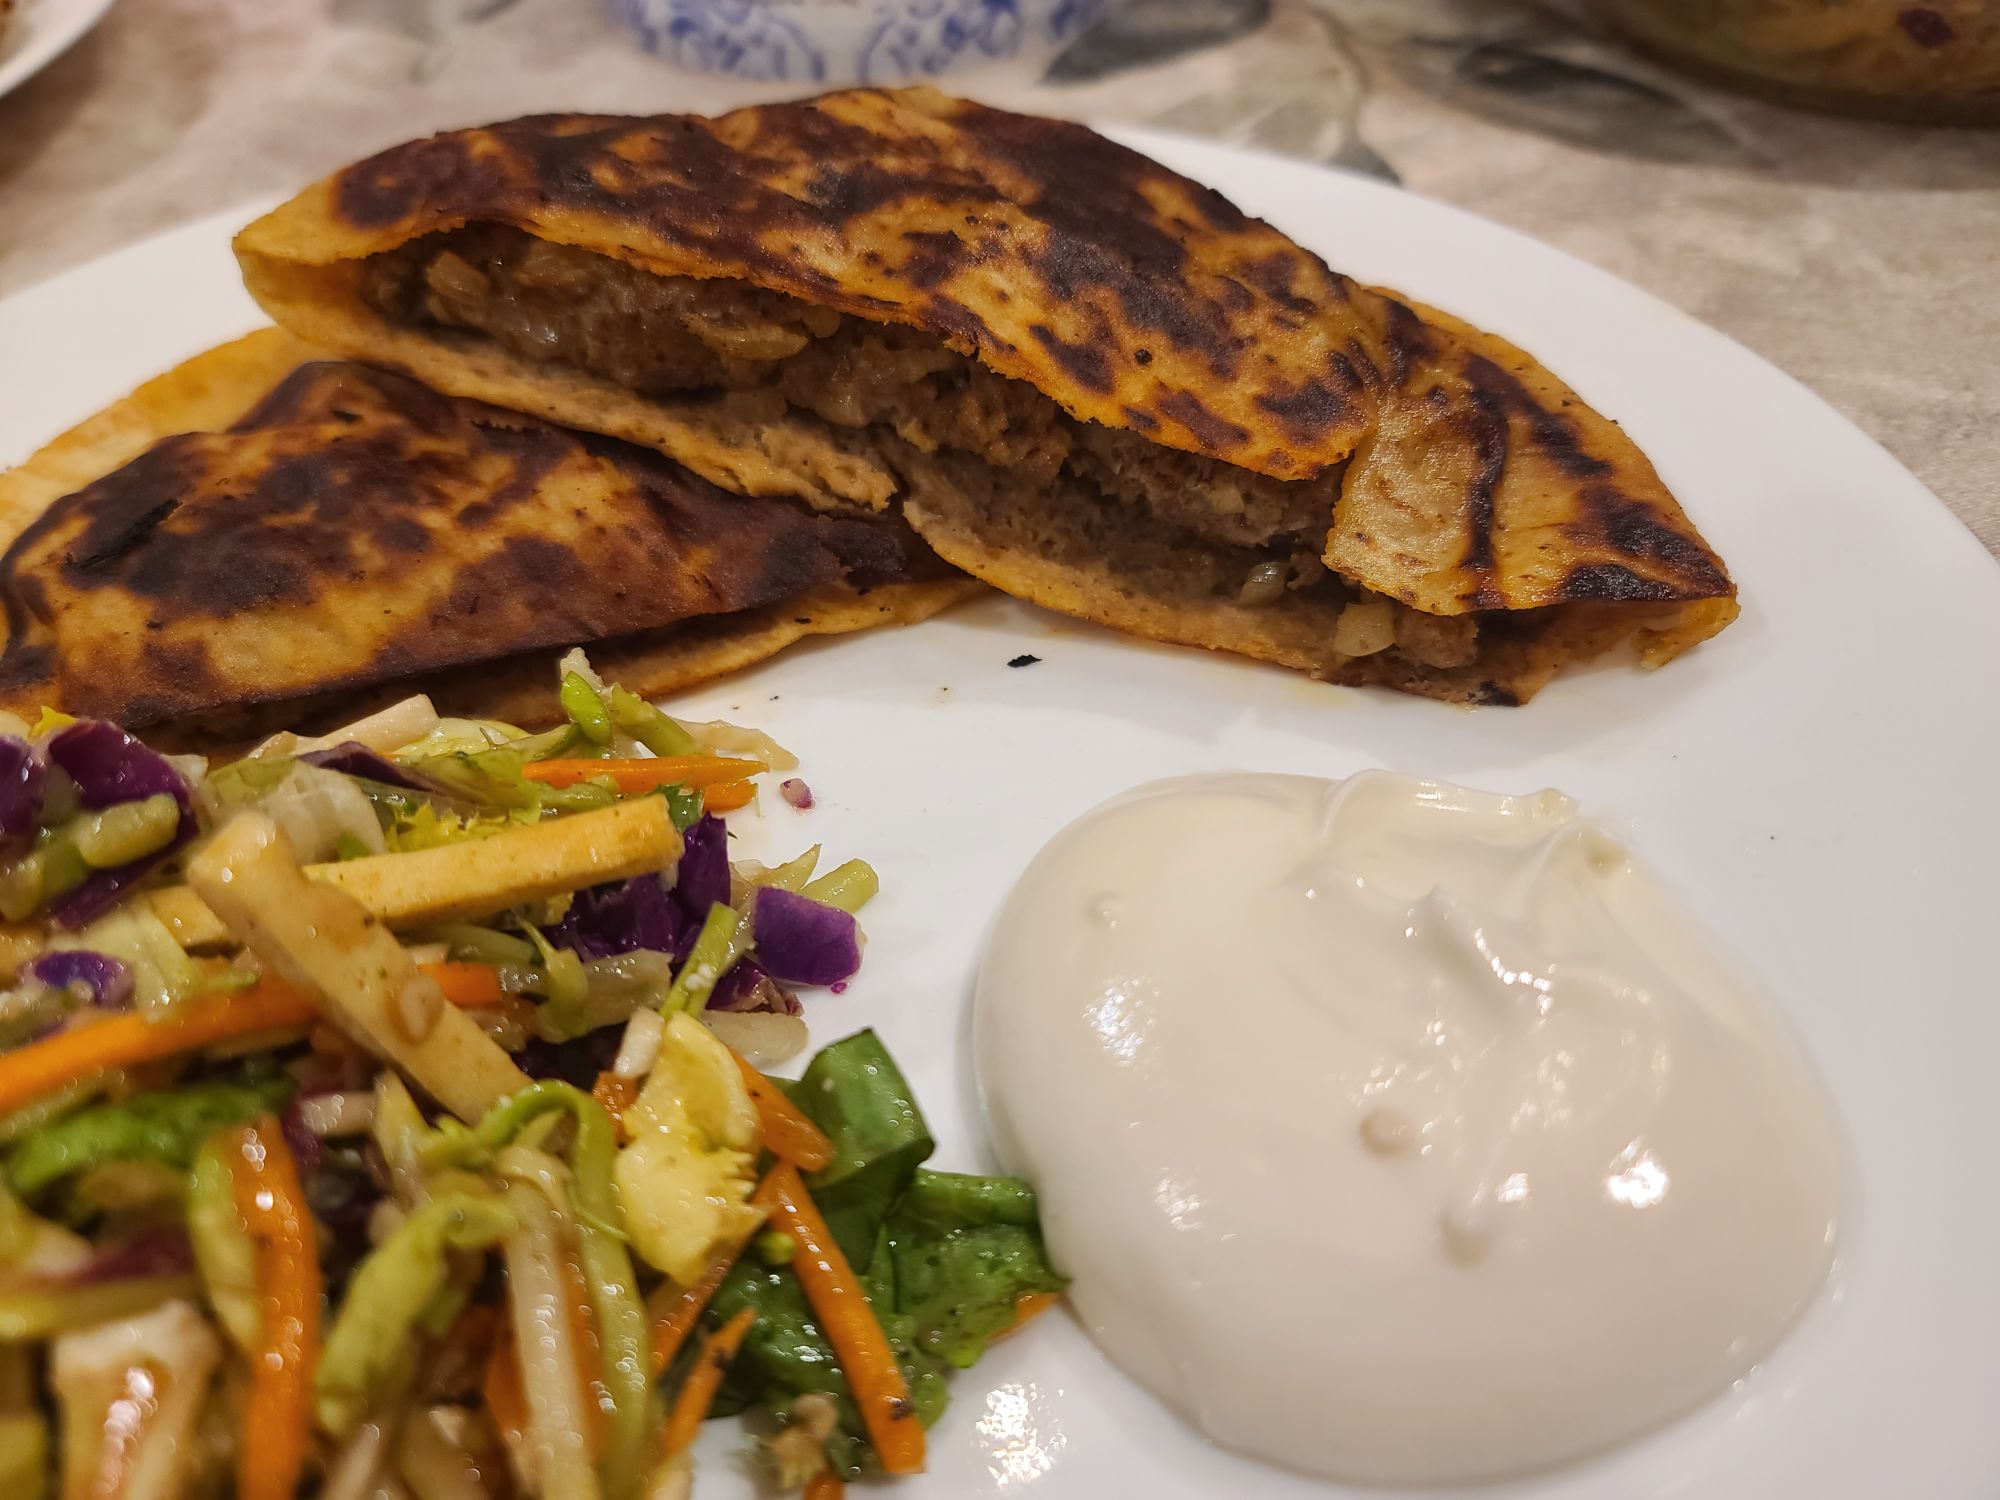
Gently open each of the pita halves and set aside.
Add all ingredients except ground beef, pitas, and olive oil spray into a large bowl. Mix until onions are coated in an even distribution of the spices. Add the ground beef and mix by hand to combine.
Scoop out about 1/4 cup of meat filling and flatten into a semi-circle shape slightly smaller than the pita bread half. Place inside one half of a pita and press until it spreads to fill the edges. It should be flat and have the meat filling all the way to the edge of the opening. Repeat until all the pitas are full.
Heat a large frying pan over medium high heat. Spray both sides of the pita with olive oil and place as many pieces that will fit, laying flat, in the pan. Cook for about 2 minutes on each side, until golden and crispy and the meat is cooked through. Repeat until all are cooked.
In a mixing bowl, combine the masa harina and salt. Add the water and mix with the spoon until it thickens and a smooth dough forms. Knead with your hands if necessary.
Divide the dough into 12 balls. Smash into flat rounds and form into a small bowl. Place one teaspoon of refried beans and one tablespoon of queso fresco into the dough bowl (you can add additional fillings like pulled pork, if desired). Using the edges, cover the filling and form a ball once again. Flatten into a thick disk shape, about 1/3″ thick.
On the stove, place a non-stick pan over medium heat. Once hot, spray with oil and add the pupusas to the pan (as many as will fit flat) and cook for 3 minutes per side until it starts browning. Serve with curtido and salsa roja.
You can store the leftovers in an airtight container in the fridge for up to 3 days. To make in advance, freeze before cooking on a baking sheet until solid, and store in an airtight bag in the freezer for up to 3 months.
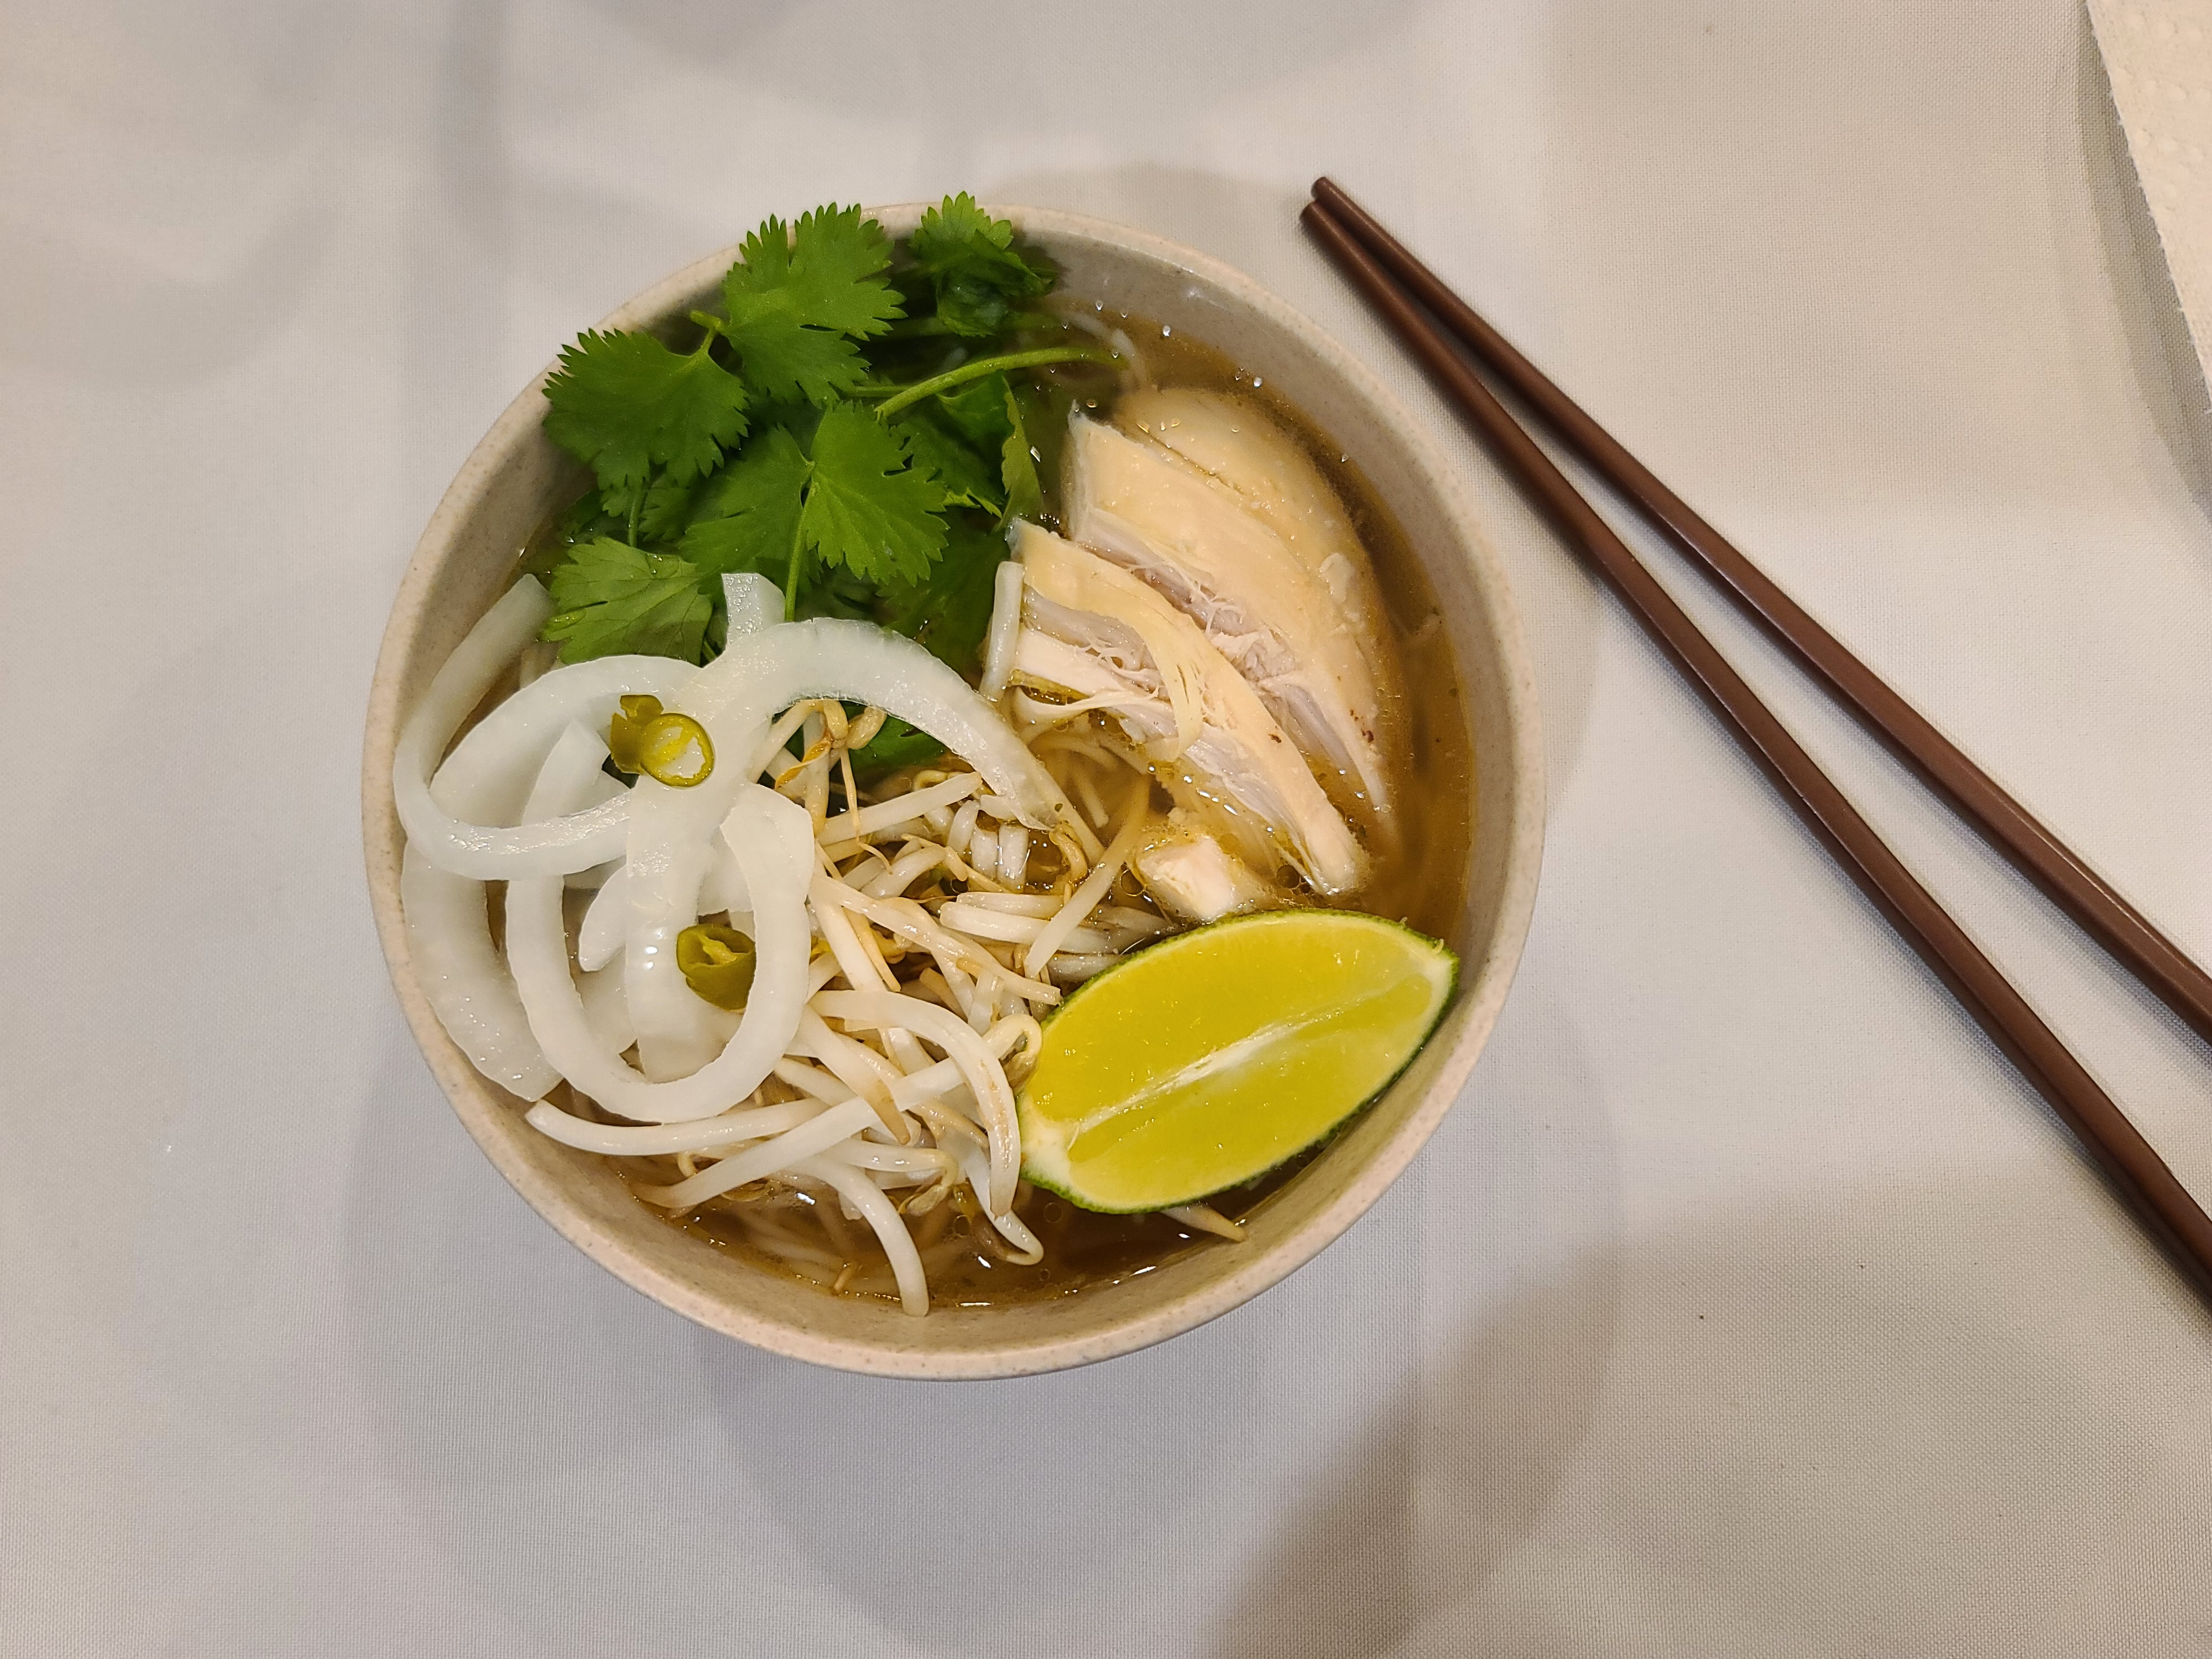
Set oven to broil. Cut the ginger and onion in half. Place cut-side down on a foil-covered cookie sheet and place in the oven until charred on top. Remove from the oven, allow to cool and remove the outer skin of the onion and ginger. Pull apart the rotisserie chicken, removing the bones and skin, keeping the chicken bones/carcass for later. Shred the chicken meat and set aside.
In a frying pan, toast the pho spice mix until fragrant. Allow to cool and place in the provided aromatics bag. Into a large pot, add the chicken bones/carcass, onion, ginger, spice mix, water, fish sauce, rock sugar, and bouillon. Bring to a boil and then reduce to a simmer for 45 minutes.
Serve broth over vermicelli noodles (cooked to package instructions) with shredded chicken and whatever toppings you prefer. Toppings may include Chili Vinegar Onions, Hoisin sauce, sriracha sauce, sliced jalapenos, bean sprouts, Thai basil, mint leaves, cilantro, or lime wedges.
To a tall, plastic container, add the onion, chilis, vinegar, water, and sugar. Mix gently and allow to sit for at least 10 minutes. Great with pho soup.
Place the onions in a small bowl of cold water. Let sit for ten minutes, then drain well and pat dry with a paper towel. While the onions are in the water, cut the cucumbers in half lengthwise. Remove the seeds and pulp from the center and cut each in half lengthwise again. Cut each piece into 1/4″ thick slices.
To make the dressing, whisk the lime juice, oil, fish sauce, sugar, and garlic together in a large bowl. Add the drained red onions, cucumbers, cilantro, peanuts and jalapeño pepper to the dressing. Taste and add salt if necessary.
1 1/2 lbs boneless chicken breasts, sliced into cutlets
In a gallon Ziploc bag, place all ingredients except salt, pepper, and chicken. Zip the bag closed and massage the ingredients until thoroughly combined. Season the marinade with salt and pepper to taste (usually about a large pinch of each) and mix again.
Place chicken pieces in the bag of yogurt marinade. Zip the bag closed and massage the bag again so that each piece of the chicken is coated with the marinade. Refrigerate for 2 hours or overnight.
Preheat the oven to 400F. Coat the bottom of a 9×13 pan with olive oil. Remove the chicken from the bag and arrange the chicken in a single layer, leaving space between each cutlet. Cover the pan with foil and bake for 10 minutes, then remove the foil and bake another 8-10 minutes. Remove from heat, replace the foil, and let the chicken breasts rest for another 5 minutes. Serve and enjoy!
*Dried mint is not easy to find. You could replace it with dried basil, but if you leave it out, it turns out fine.
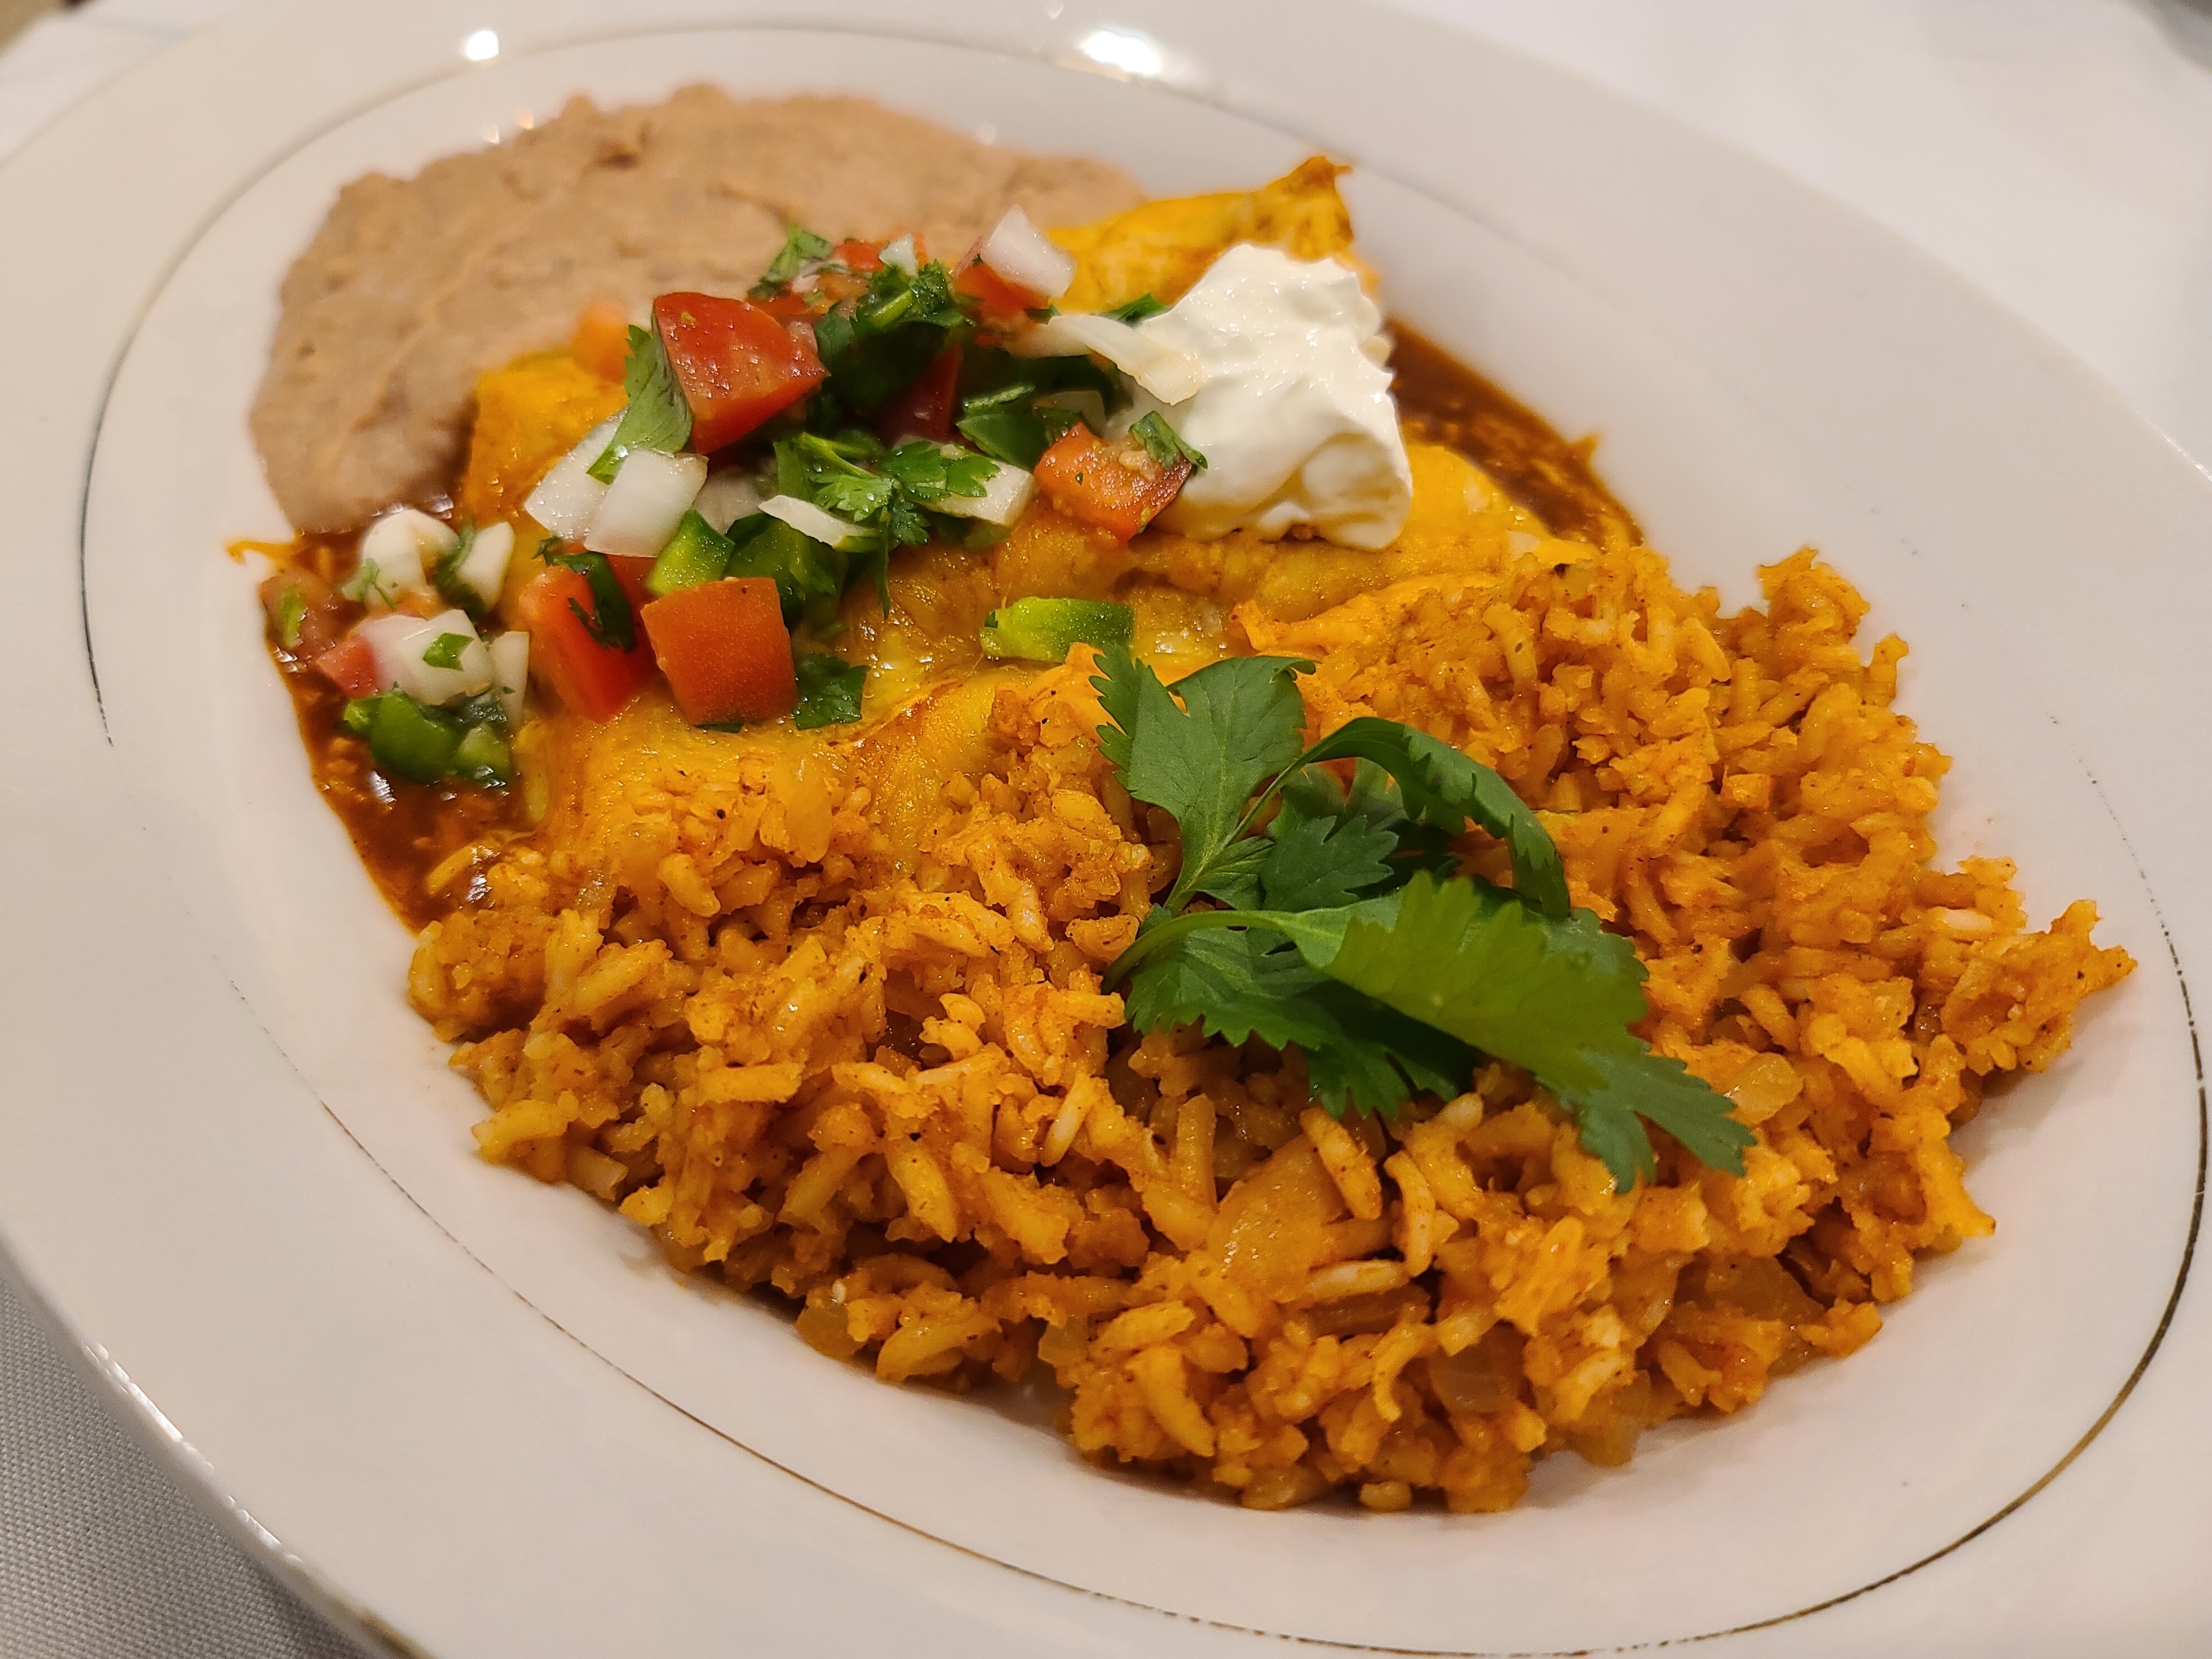
Preheat the oven to 350F. Pour some of the enchilada sauce into a glass 9×13 pan—just enough to coat the bottom. In a plate with a lip or large, shallow bowl, pour the rest of the enchilada sauce. One at a time, dip each tortilla in the sauce so that both sides are coated. Lay the tortilla in the 9×13 pan and place 1/4-1/2 cup of cheese in a line down the middle of the tortilla.
Carefully roll the tortilla around the cheese and push to the side of the pan. Repeat with each tortilla, lining them up side-by-side. When all the tortillas are in the pan (usually fits 8 across and the other 4 facing perpendicular in a 2×2 pattern on the side), pour the remaining enchilada sauce from the plate/bowl over the top of the enchiladas. Sprinkle the remaining cheese on top of the rolled tortillas until fully covered. Bake at 350F for 20 minutes.
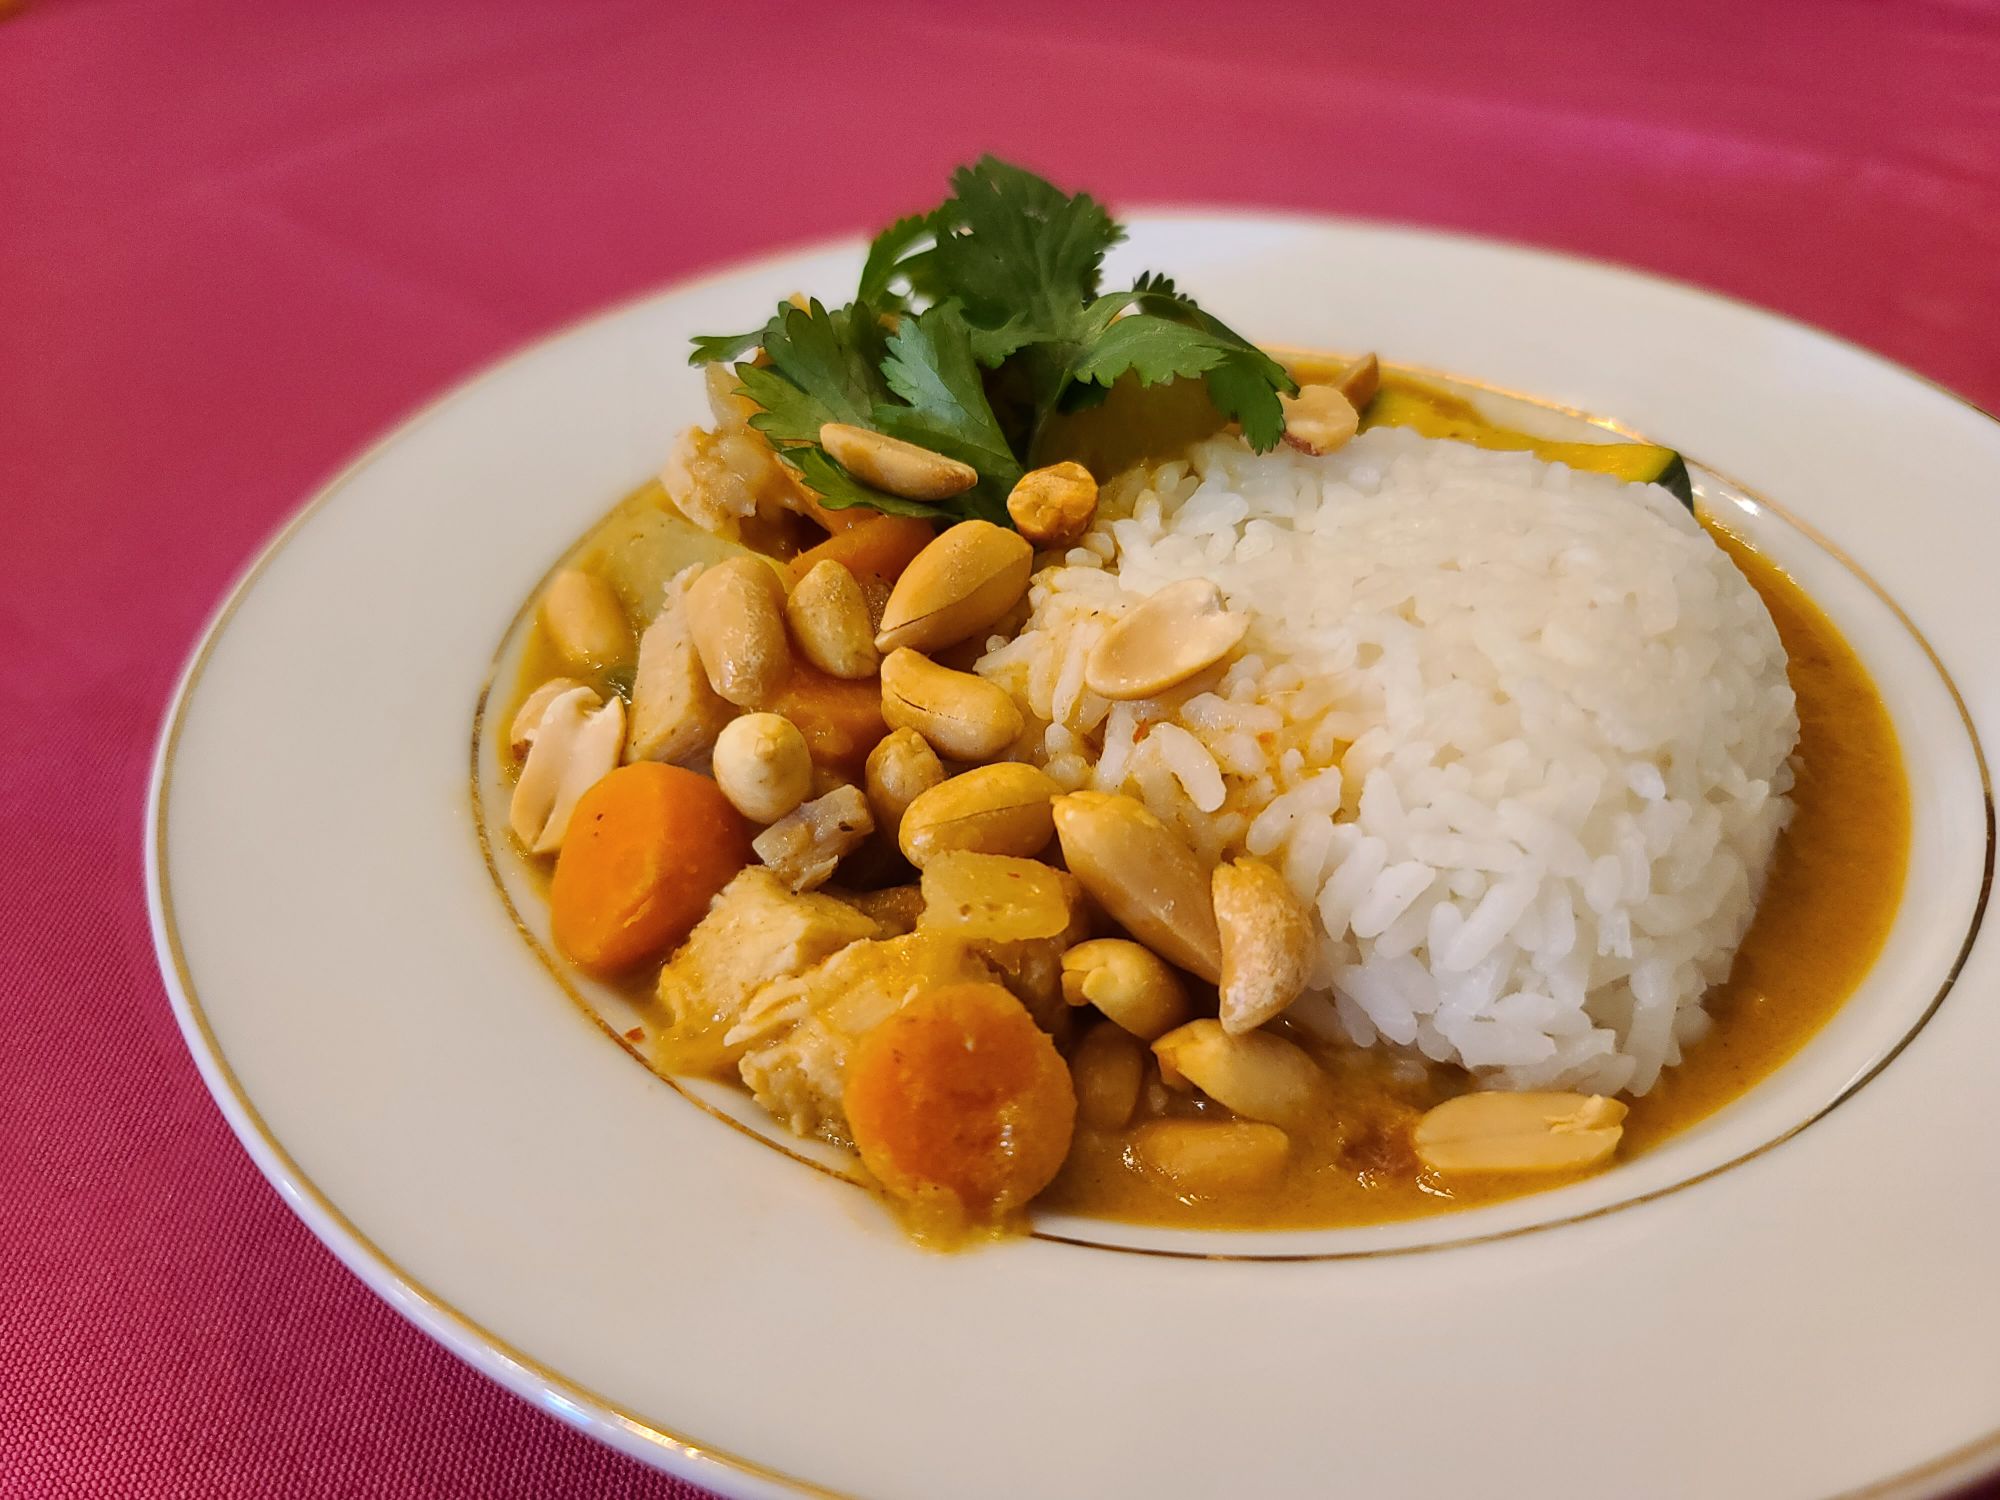
Add the oil to a large pot over medium heat. Add the onion and sauté until tender. Add the carrots and potatoes, and cook for an additional 5 minutes.
Add the coconut milk and chicken broth, peanut butter, brown sugar, lime juice, fish sauce (optional), and curry paste. Stir until the peanut butter and curry paste are fully incorporated, then bring the mixture to a low boil for 10 minutes. Add the chicken, zucchini, and bell pepper. Continue cooking for an additional 10-15 minutes or until the vegetables are tender and the chicken is fully cooked.
Remove from the heat, and serve over rice. Garnish with peanuts, lime, and Thai basil/cilantro, if desired.
Place beef tongue, onion, garlic, and bay leaf in a slow cooker. Generously season with salt. Pour in enough water to cover the ingredients. Cook on Low for 8 hours.
Transfer the beef tongue to a cutting board and cool slightly. Peel outer layer of skin from beef tongue (should remove easily) and cut off the tough end at the back of the tongue. Chop the meat into small pieces. Heat butter in a skillet over medium heat. Add the tongue meat and cook until beginning to crisp on the edges, about 5 to 10 minutes. Season with salt and pepper to taste. A great protein for street tacos or burritos!
Cut the beef into pieces about 3 inches wide (this is easier if you put the beef in the freezer for about 10 minutes beforehand). Set aside.
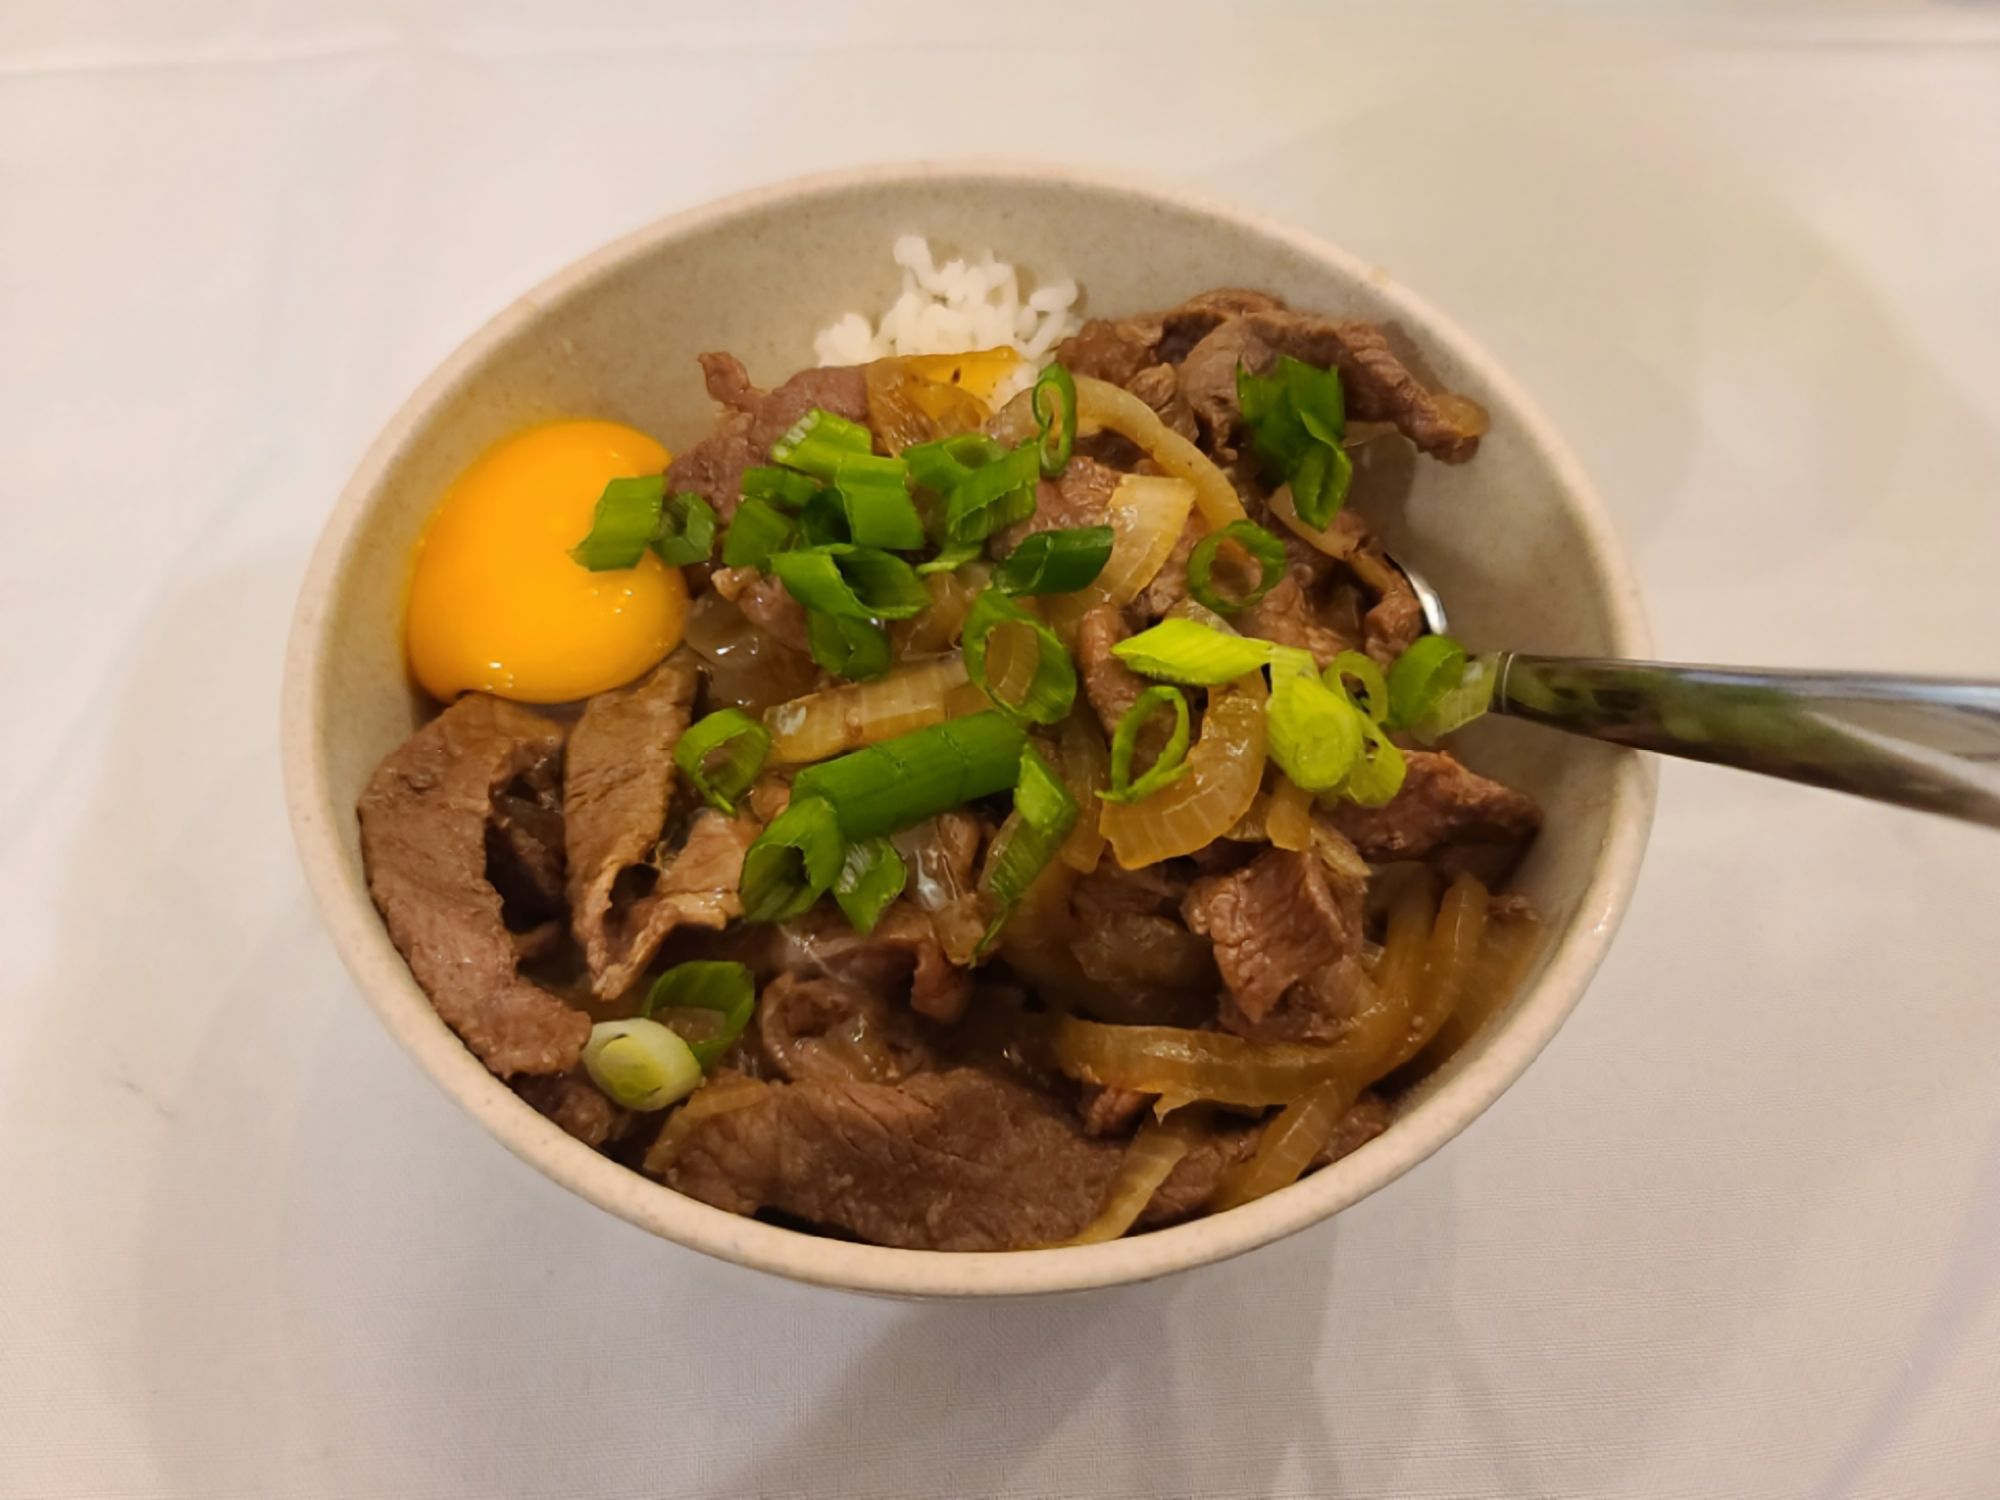
In a large pot (do not turn on the heat yet), add the dashi granules, water, mirin, soy sauce, and sugar. Mix to combine. Add the onion slices and spread them throughout the pan, separating the layers. Add the beef on top of the onions. Separate the thin slices of beef so the meat covers the onions.
Cover the pan with a lid and turn the heat to medium. When the meat has browned, skim off any scum and fat from the broth. Reduce the heat to a simmer and continue cooking, covered, for 3–4 minutes. Sprinkle the top with the scallions and cook covered for another minute.
Add about a cup of rice to a bowl for each person. Add some of the meat and onions on top with plenty of the broth. If you would like to add an egg, you can add it now (full egg or just the raw yolk) or you can scramble an egg and mix it into the meat and onions. Top with pickled ginger if desired.
Can be stored in the refrigerator for up to 2–3 days and in the freezer for up to 3–4 weeks.
*You can ask the butcher at your local grocery to slice the meat for you.
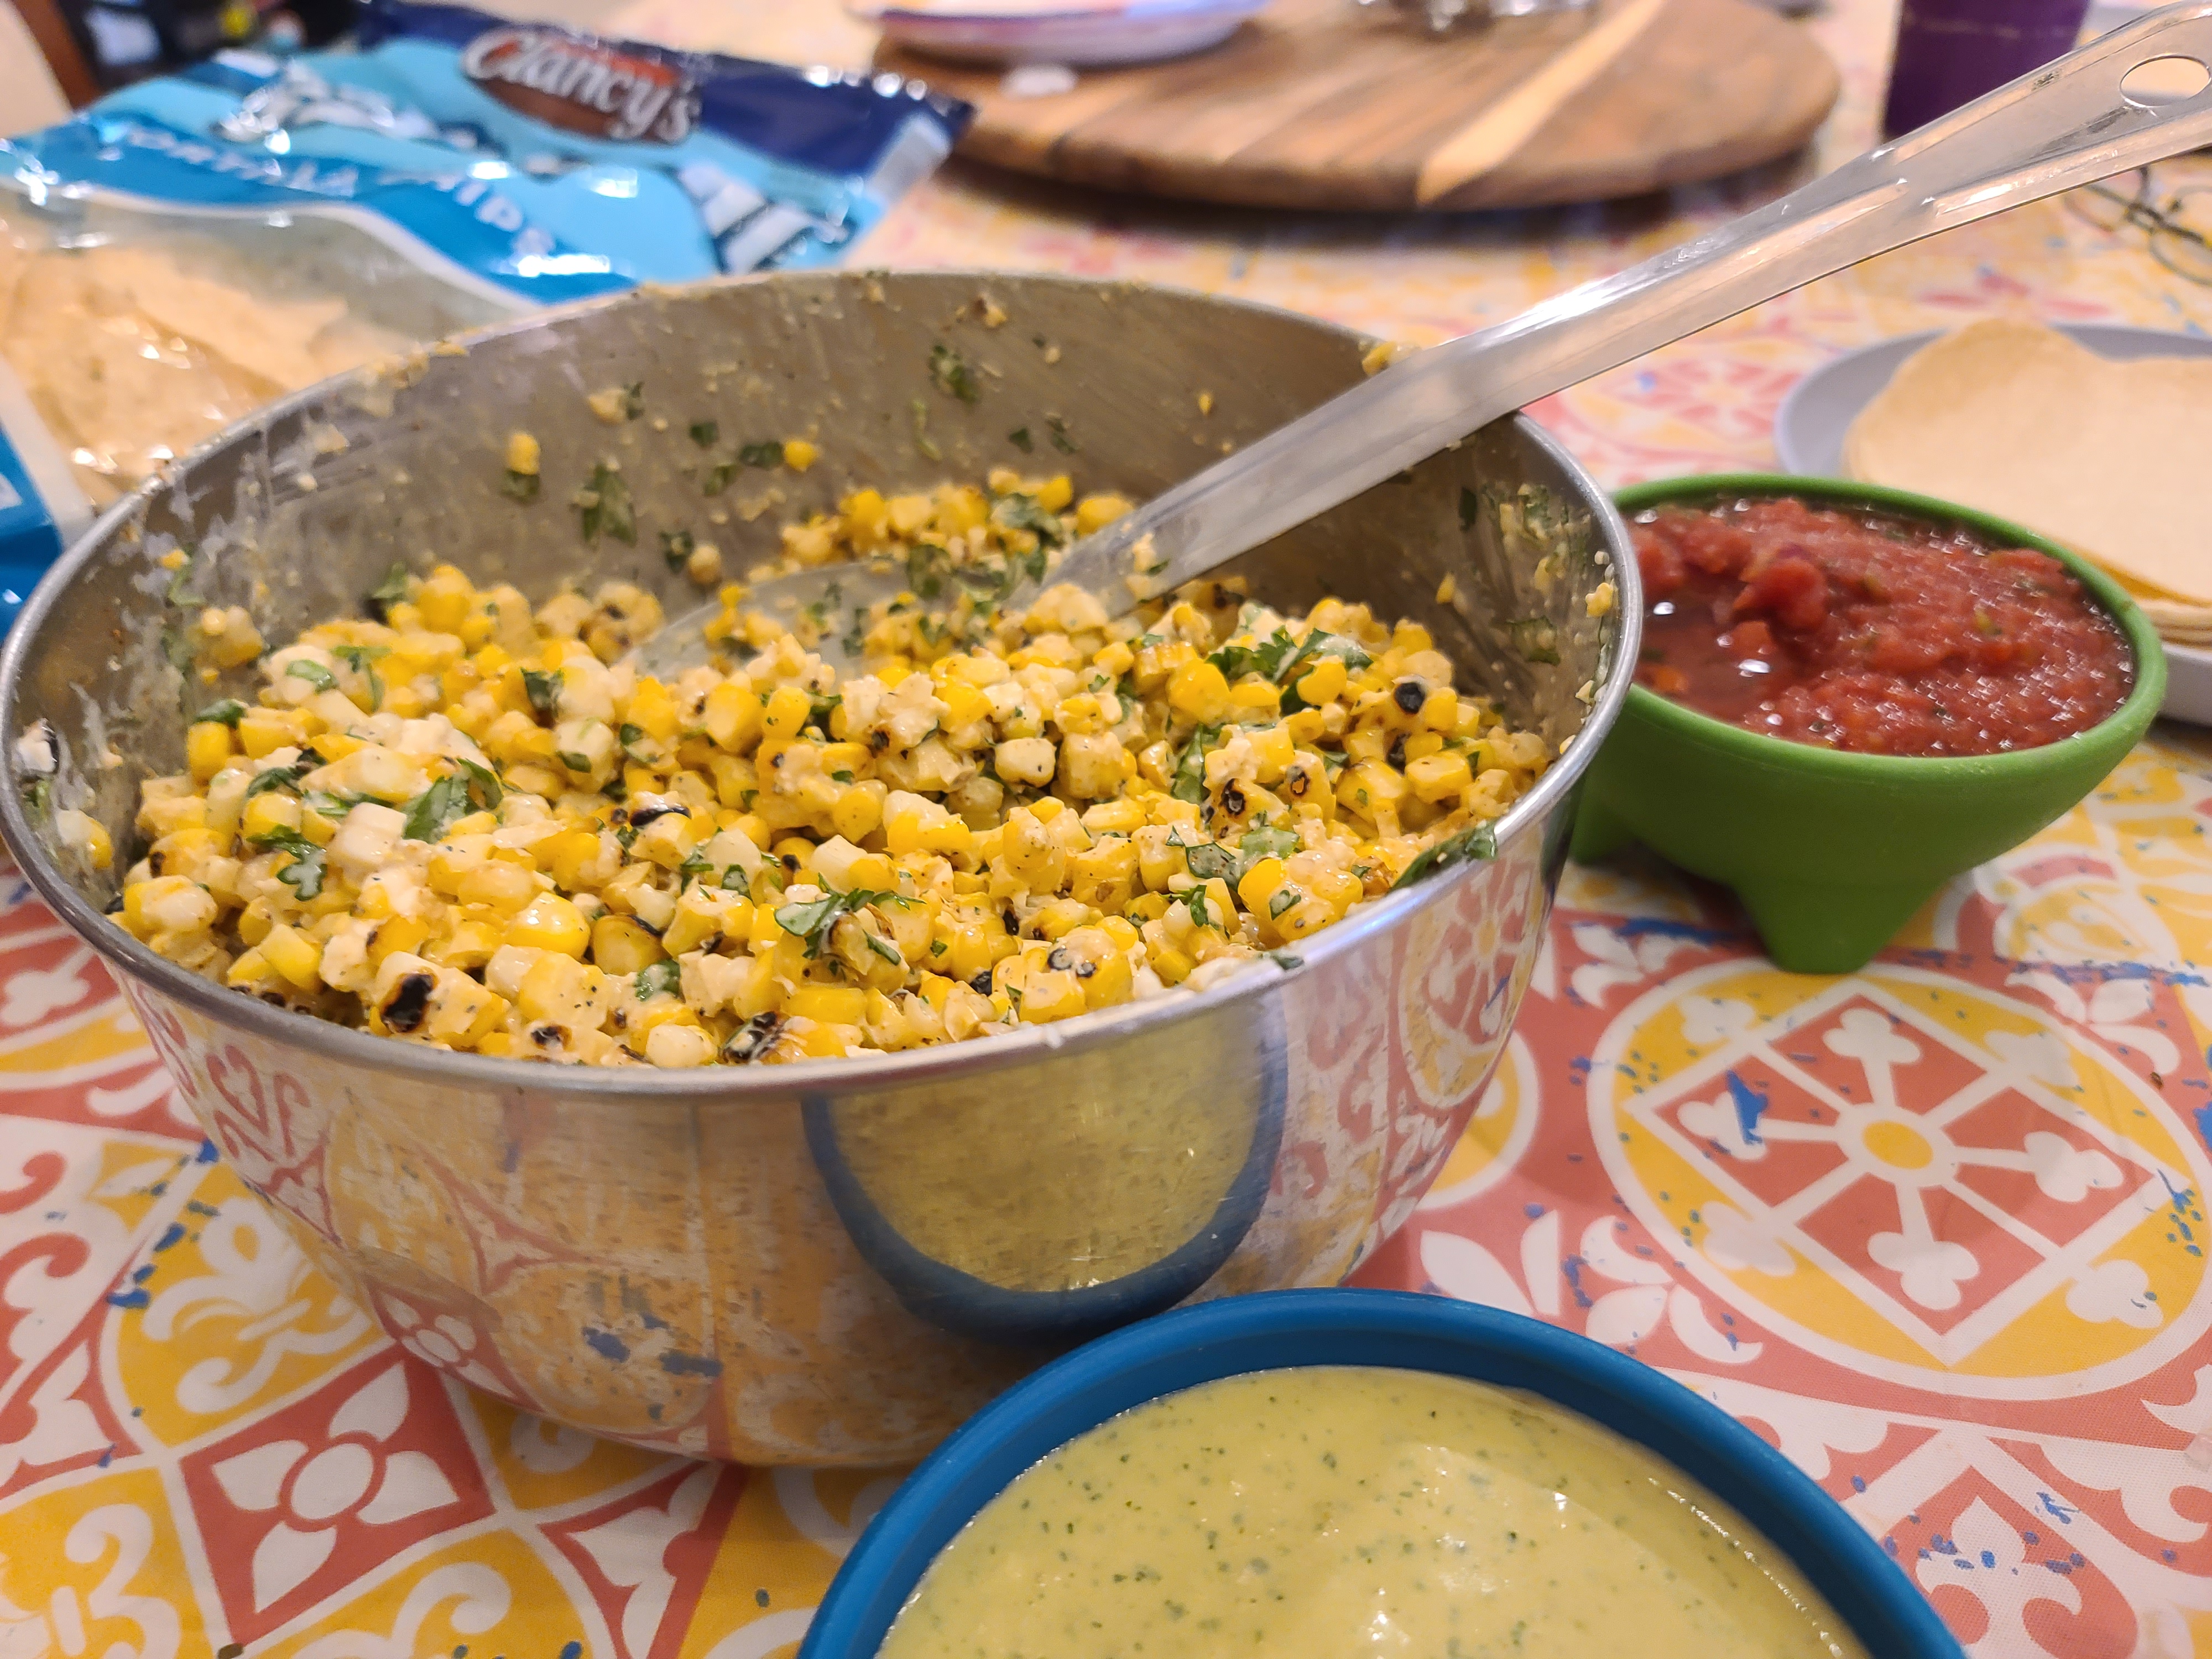
Preheat grill or skillet to high heat. Brush corn with vegetable oil and grill, turning every 2-3 minutes, until slightly charred on all sides. Cool and cut corn kernels off the cobs (you can alternatively leave the corn on the cob and cover in the mixture below).
In a medium bowl, combine corn kernels, mayonnaise, sour cream, lime juice, chili powder, and cayenne. Add salt and pepper to taste. Garnish with cotija cheese and chopped cilantro.
*Can substitute with 2 1/2 cups of frozen corn (10oz bag). Cover a lipped baking sheet with foil, spray with vegetable oil, and spread the corn in a single layer as much as possible. Bake at 425F for 20 minutes, stirring to flip after 10 minutes. **Crumbled feta cheese is a fantastic substitute for cotija cheese
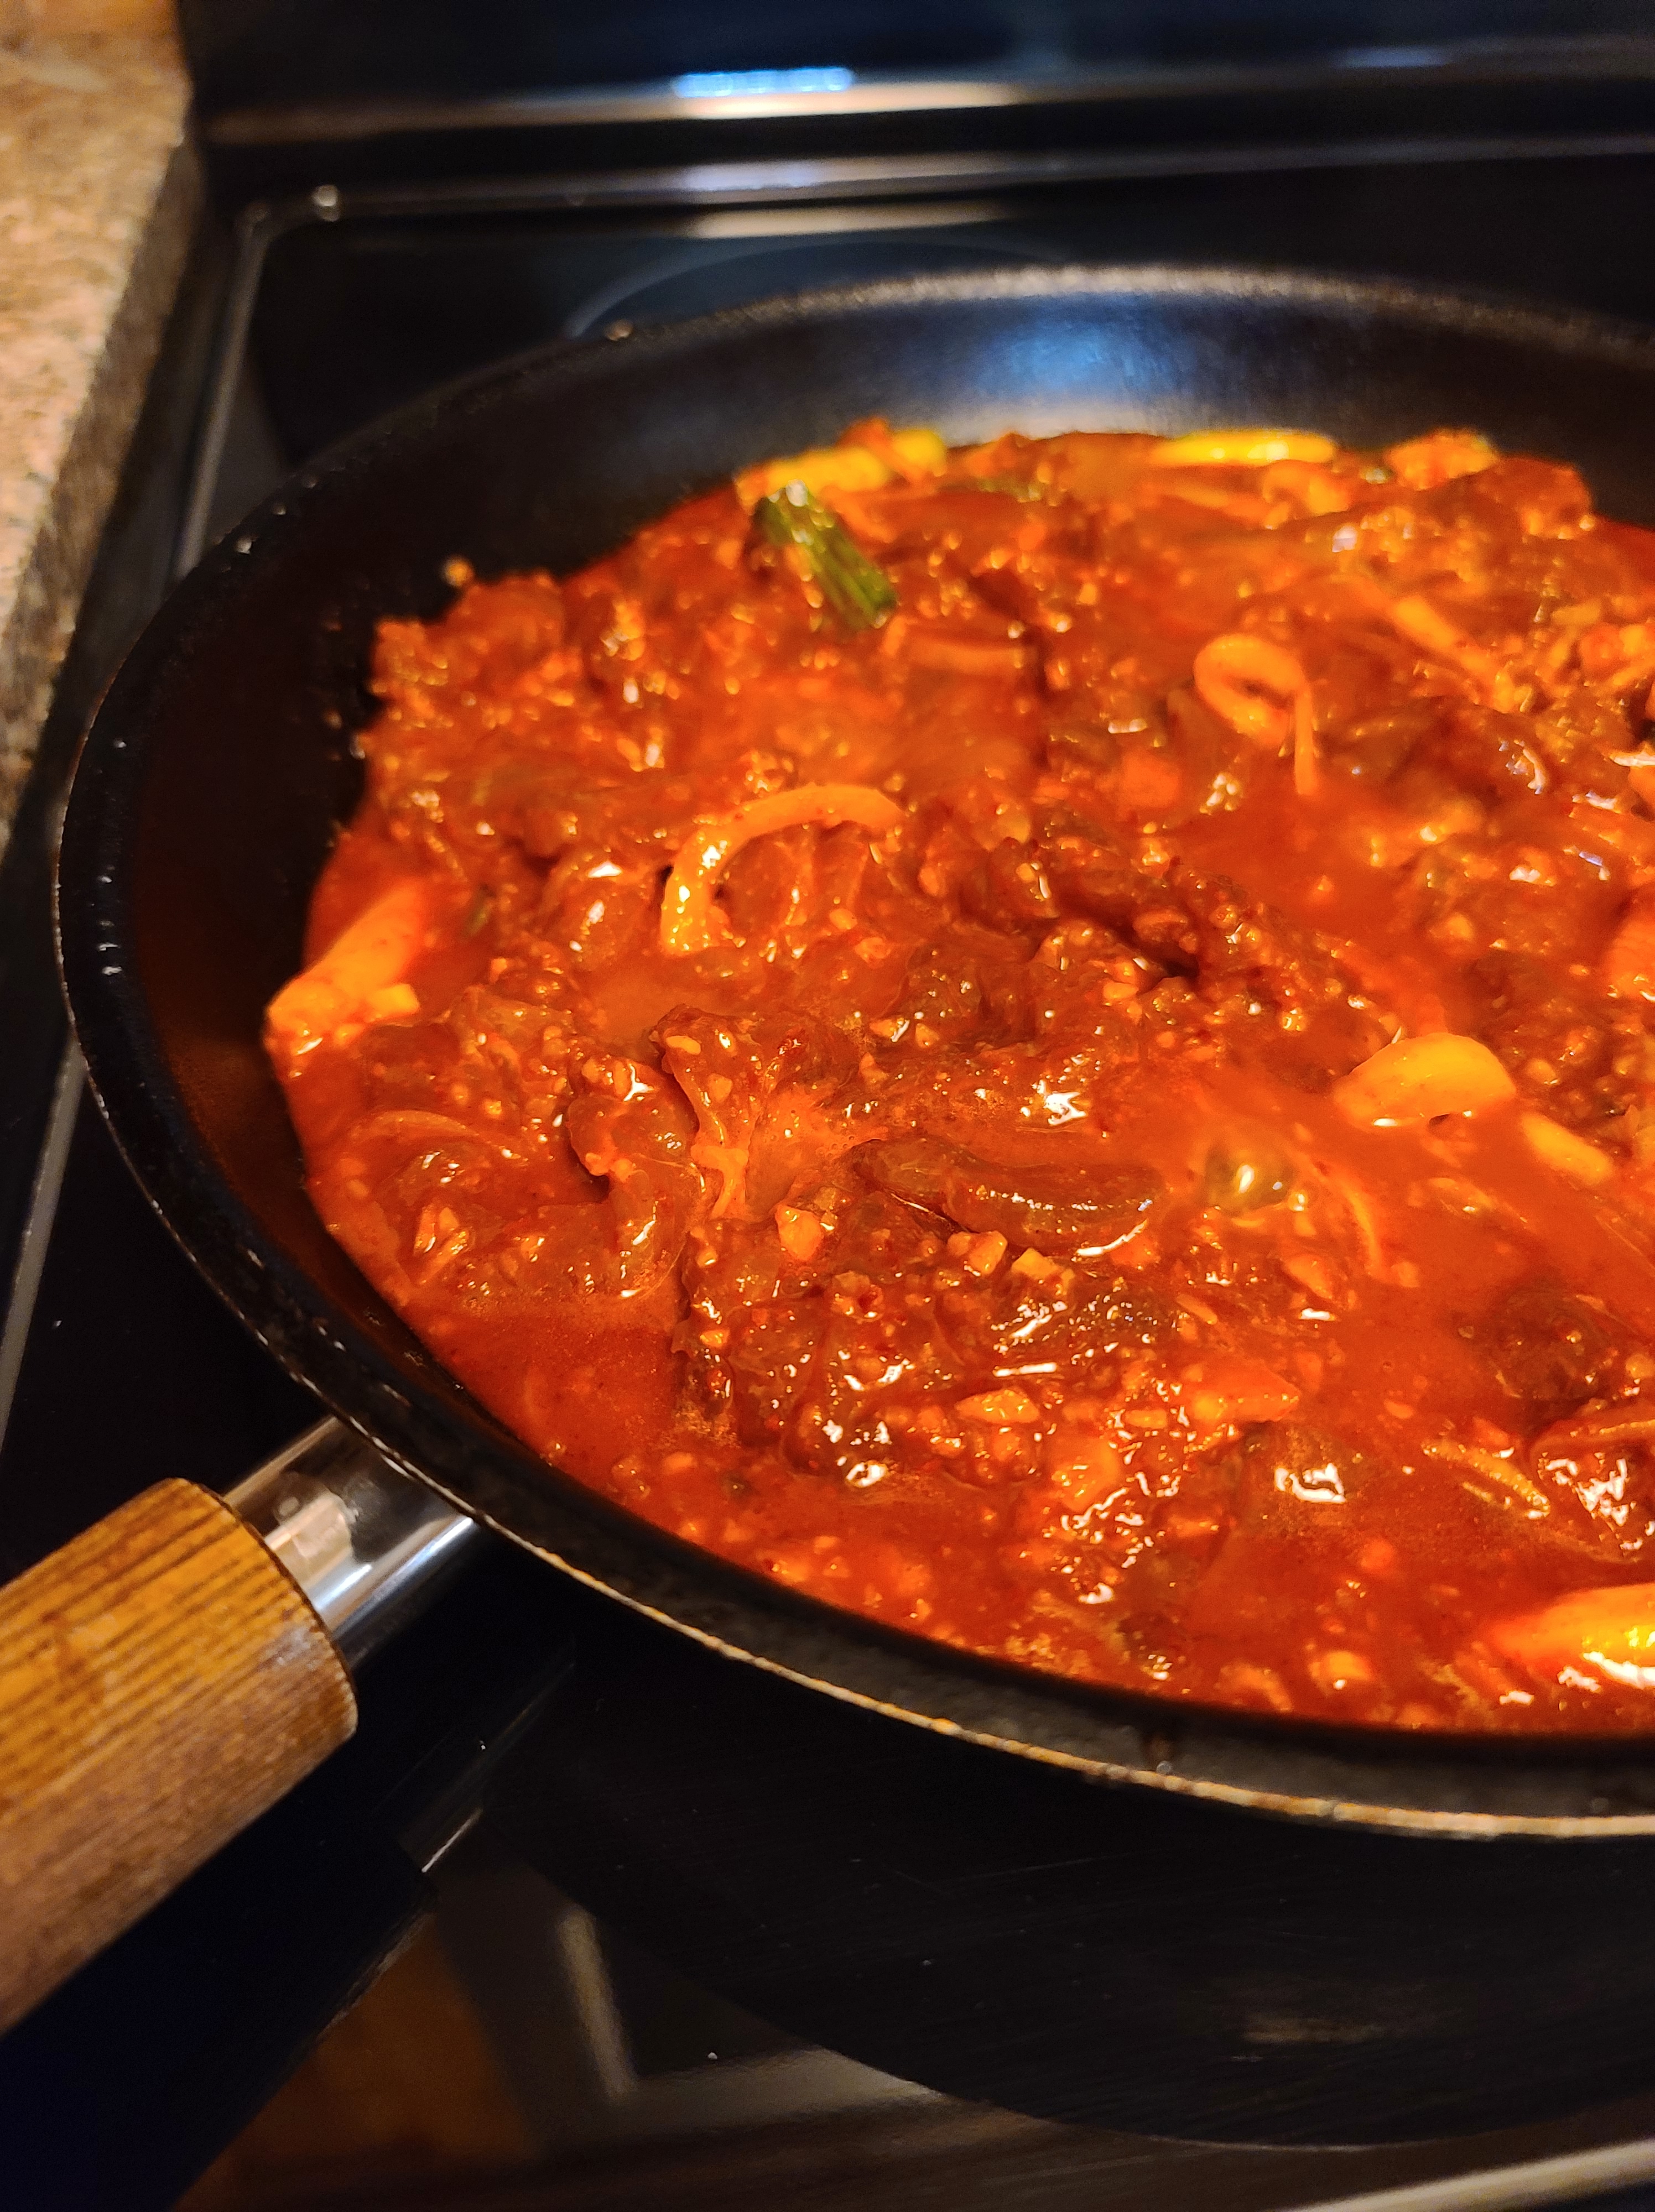
In a large bowl or gallon Ziploc bag, add all ingredients except the pork, onion, and scallions. Mix well until fully combined. Slice the pork into thin medallions. Add the pork, onion, and scallions to the bowl/bag and toss everything well to coat with the marinade. Set in the refrigerator to sit for at least 30 minutes.
Pan fry in a skillet over medium high heat until slightly caramelized and most of the sauce has reduced. Adjust the heat as necessary.
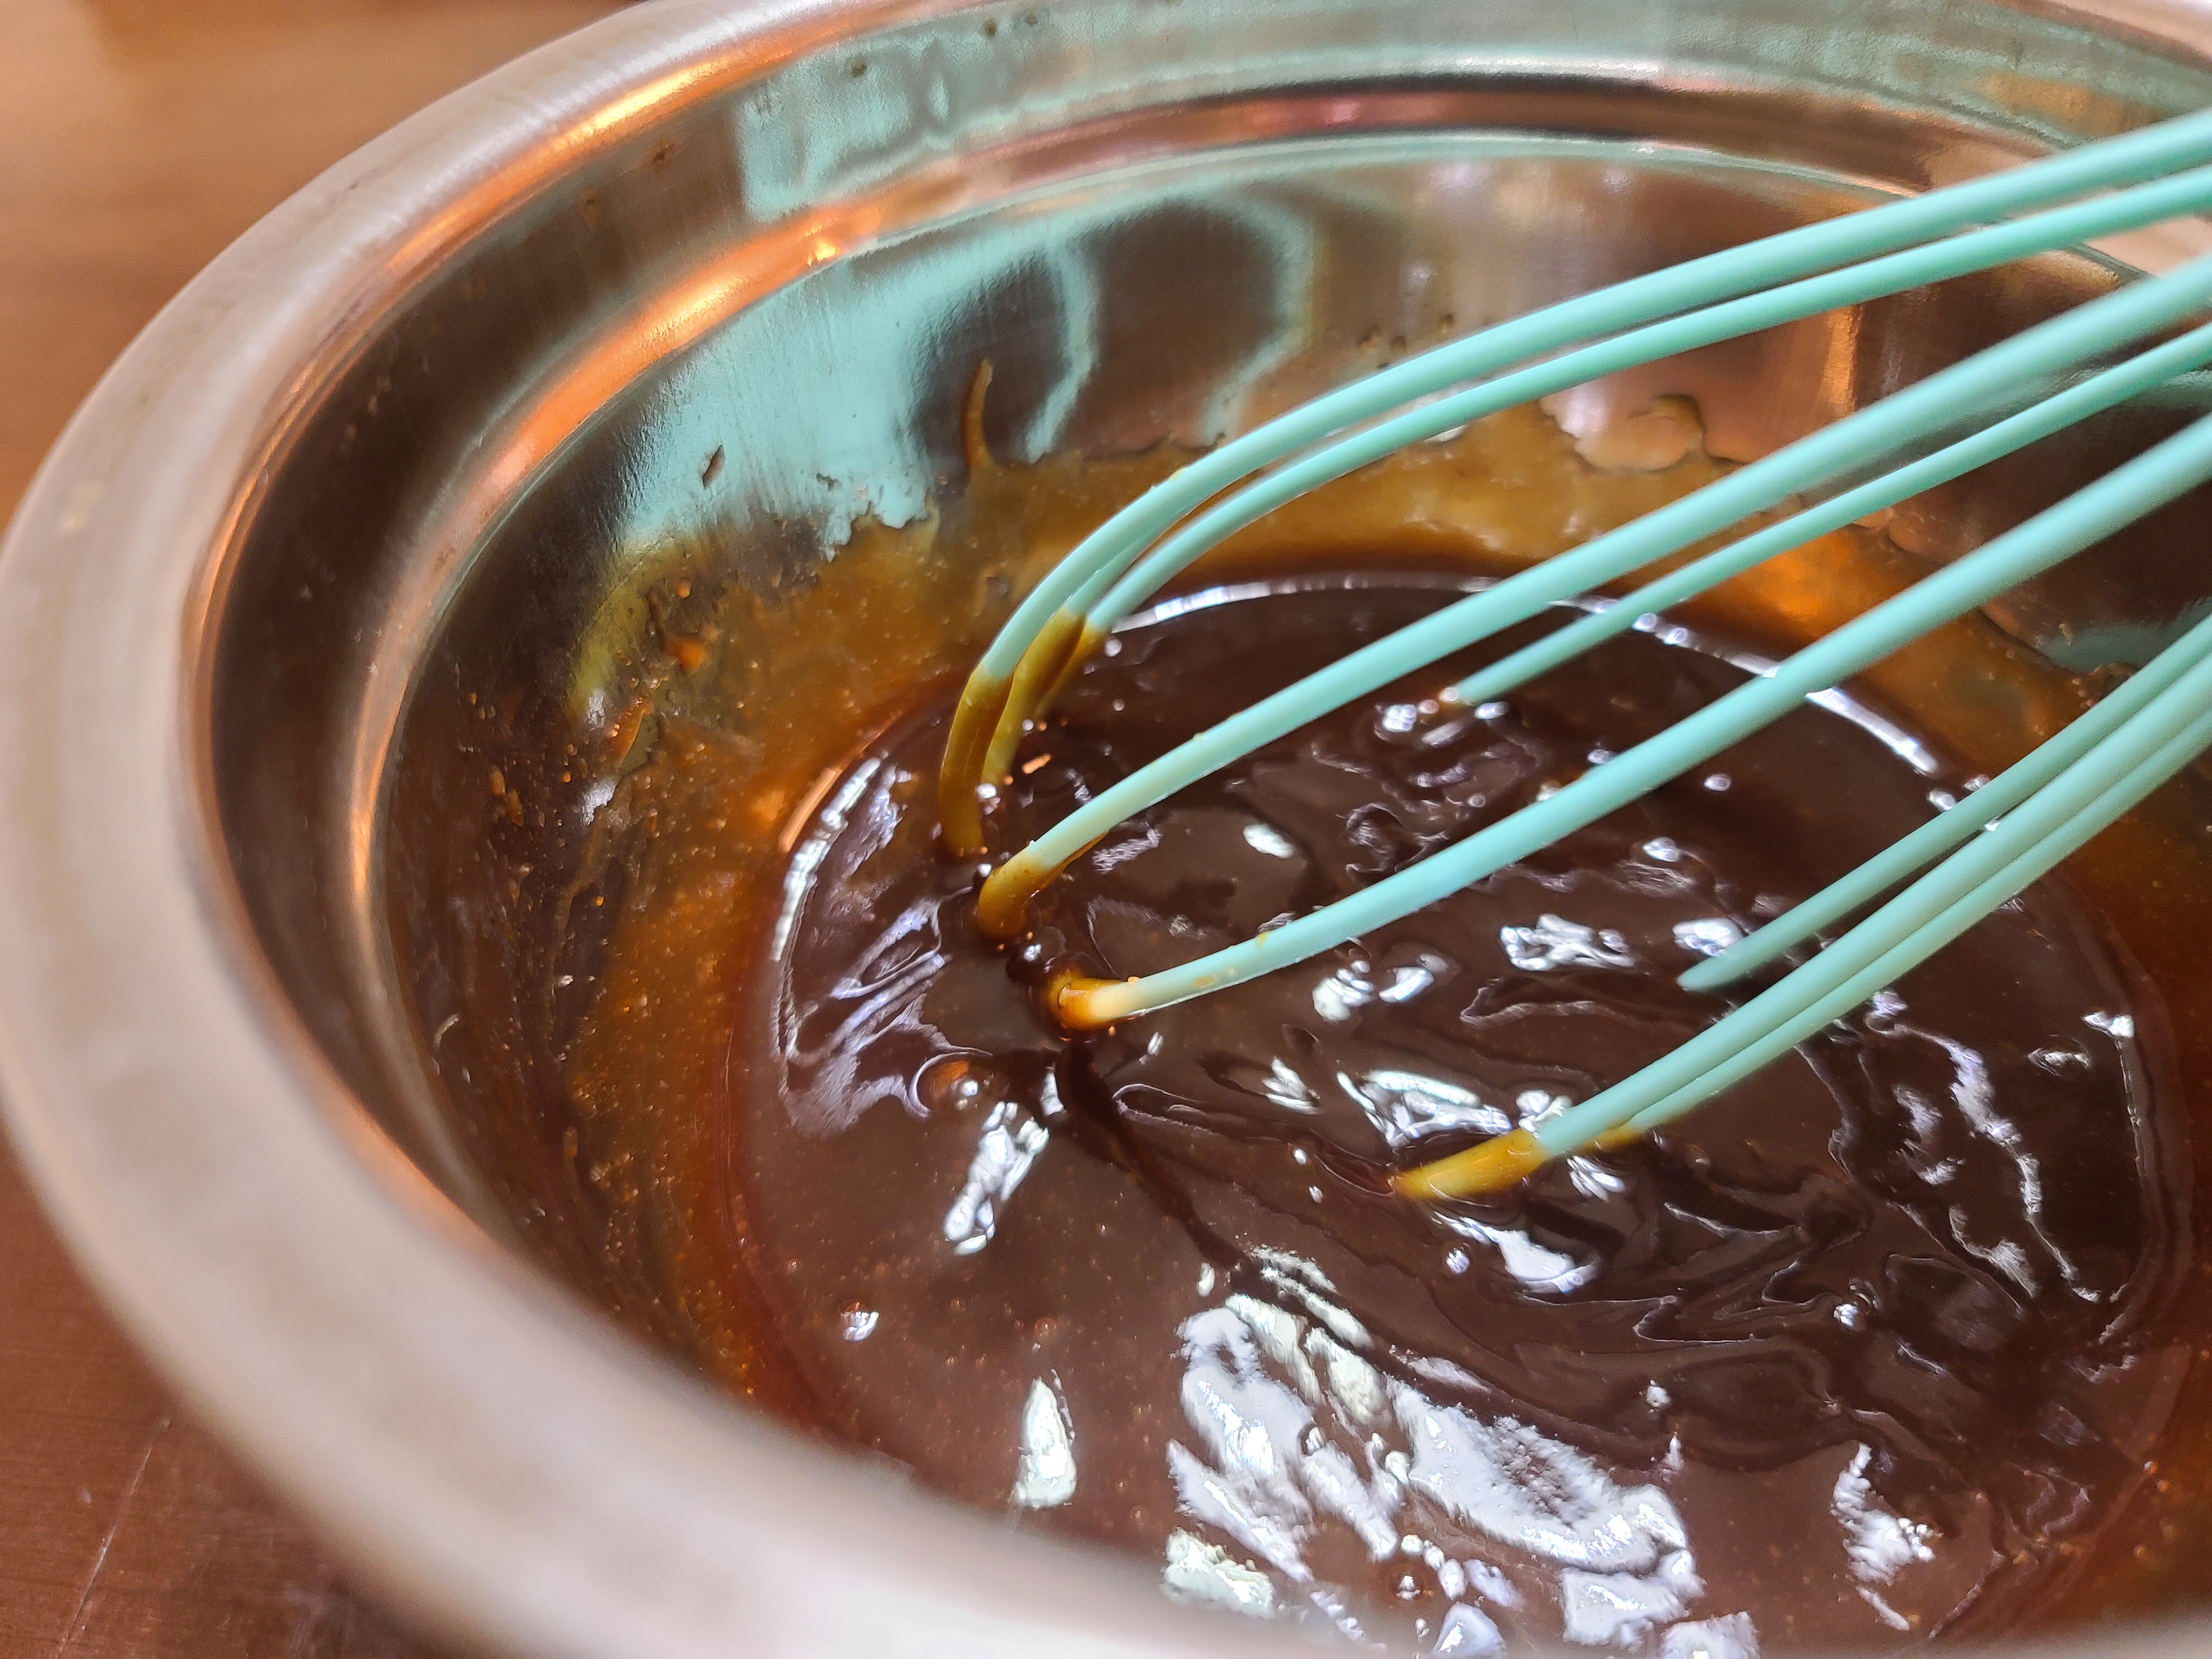
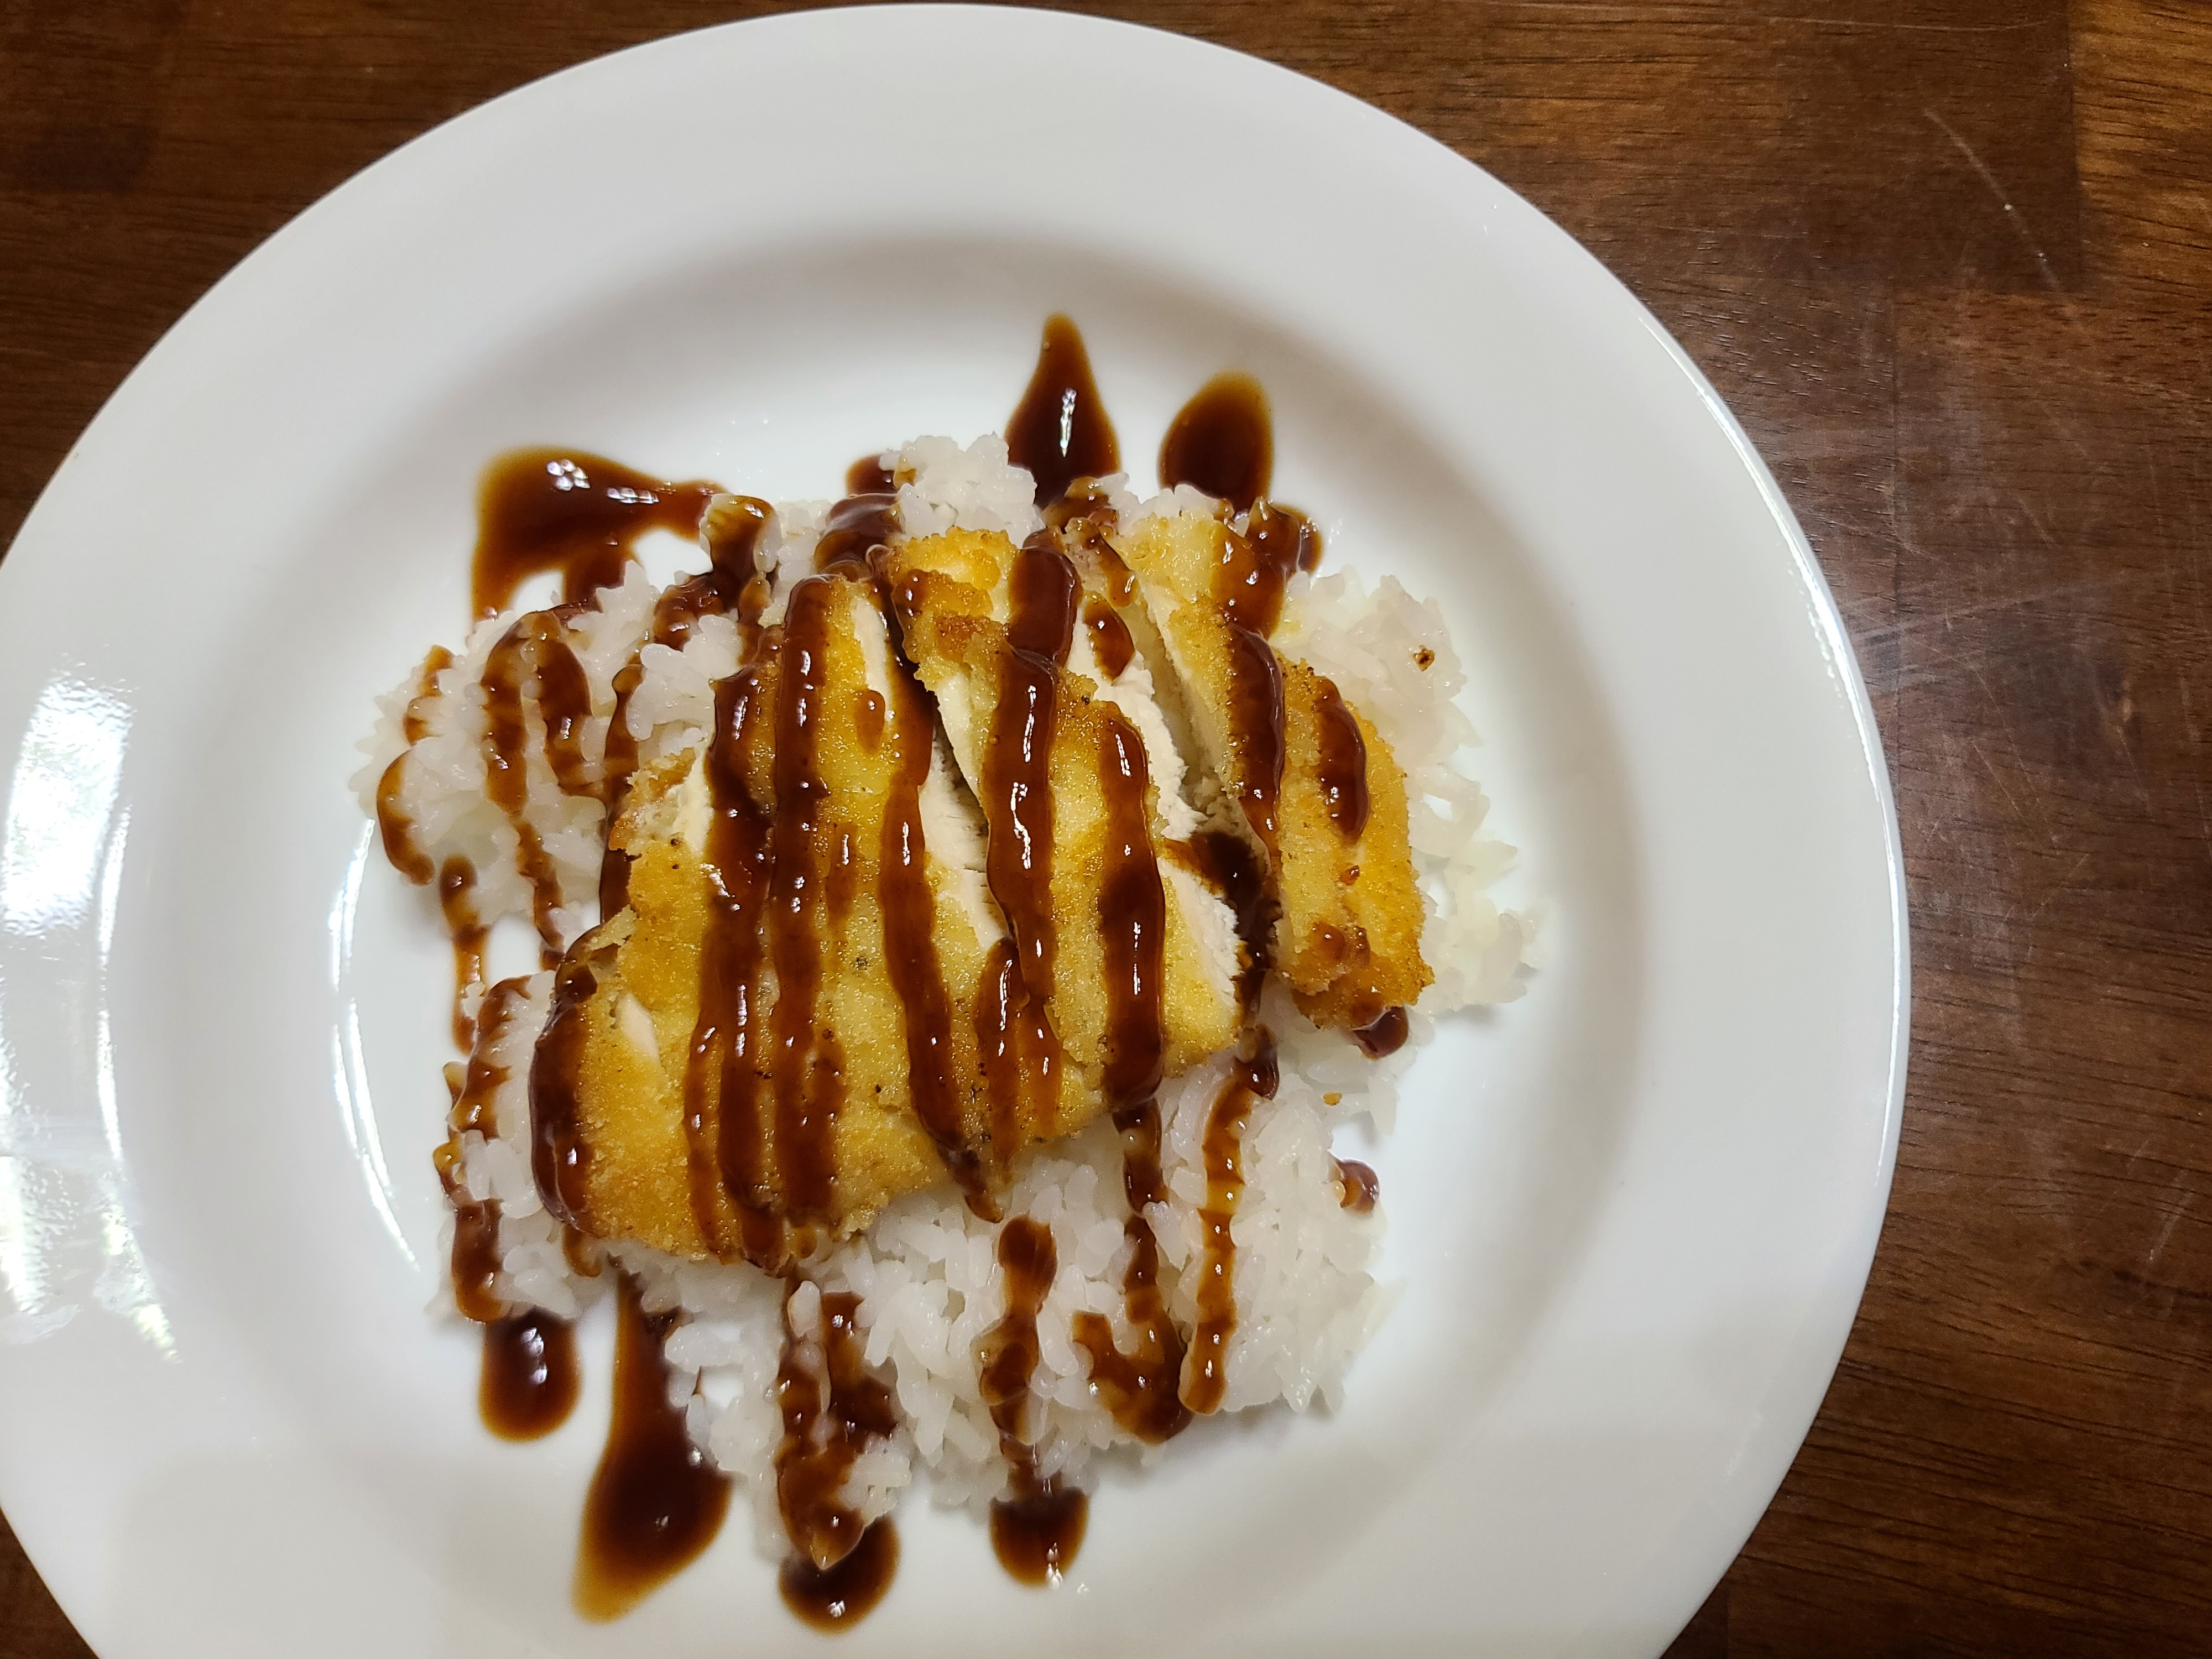
Combine all ingredients except cornstarch in a medium bowl. Stir well and transfer to a saucepan, leaving about 1/4 cup behind in the bowl. Add the cornstarch to the bowl, using the remaining liquid to mix until the cornstarch is dissolved, forming a slurry. Add the cornstarch slurry to the saucepan. Bring the sauce to a boil, stirring often. Reduce the heat to medium and continue to cook and stir for another 5 minutes. Remove from the heat and allow to cool. Sauce will thicken as it cools. Store in the refrigerator when not in use.
In a bowl, add the coleslaw mixture (you can make your own, but buying a bag in the produce section is faster and prevents you from having lots of leftover cabbage) and the lettuce. Toss to combine.
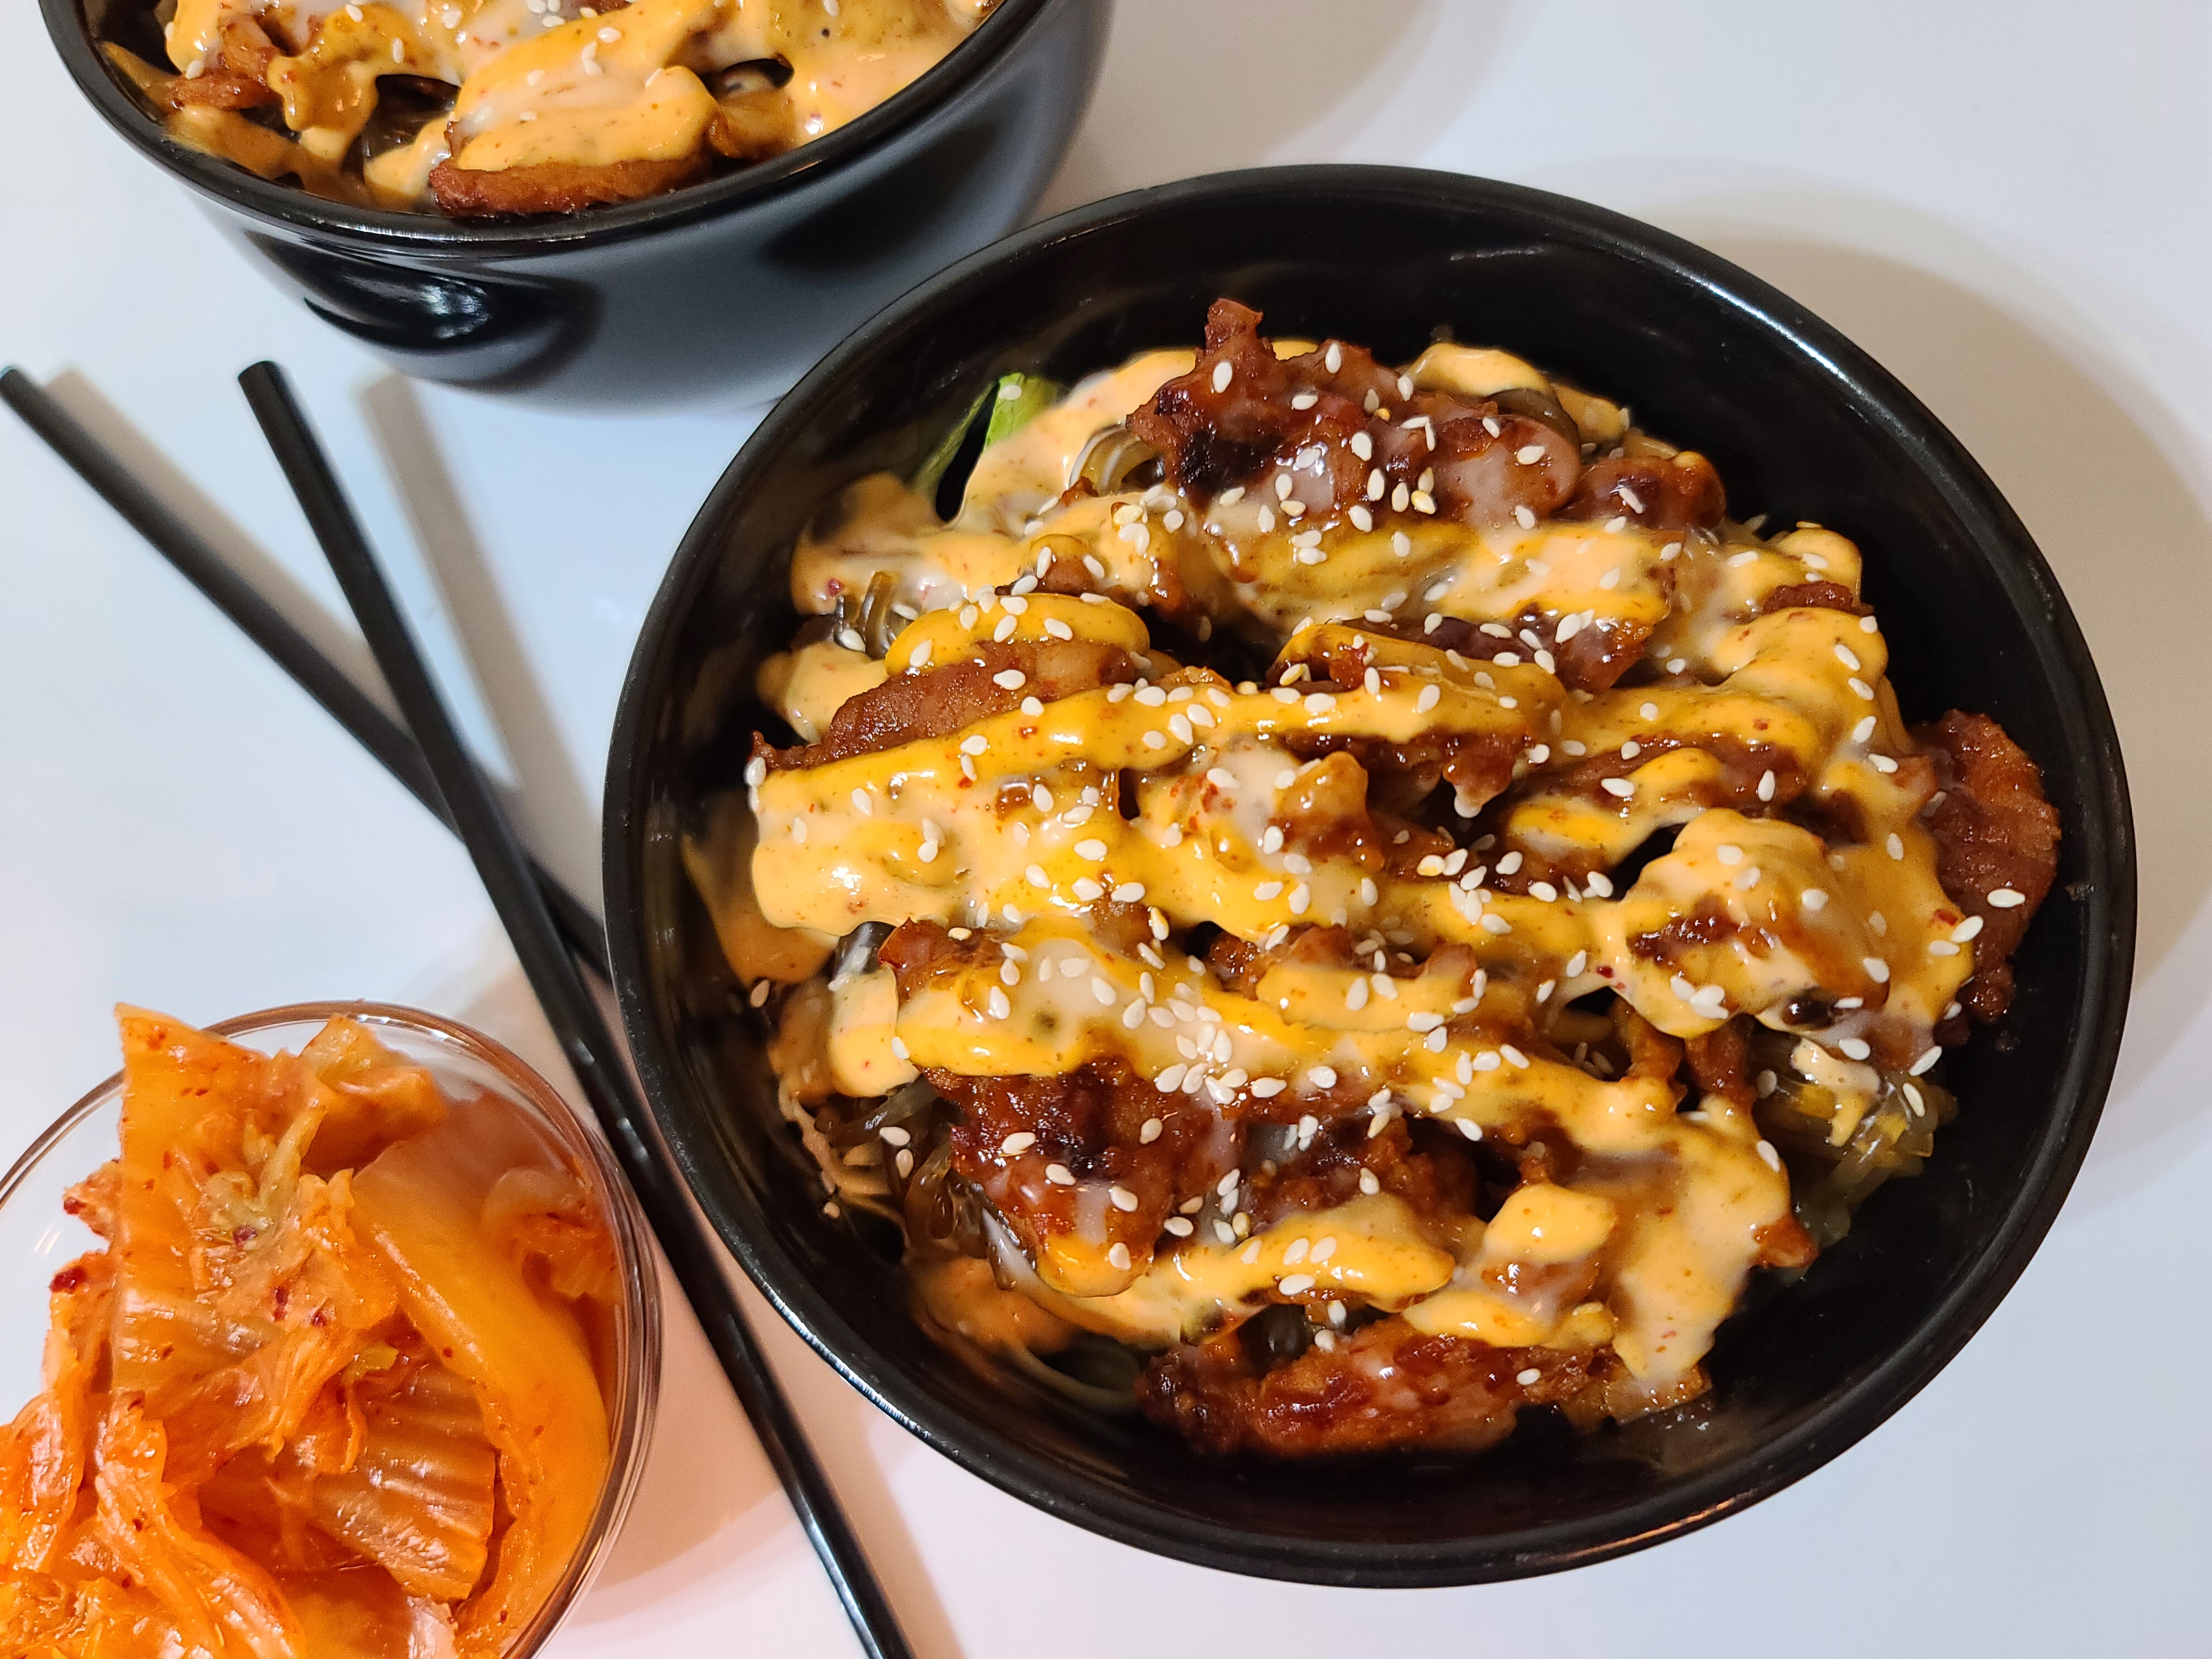
Cook the japchae noodles, following the package instructions or boil for 6-8 minutes and drain. If the japchae noodles are too long, cut them in half. Add the bulgogi sauce to the noodles and toss to coat. If you haven’t already cooked your Korean BBQ Pork (or protein of your choice), do it now.
In a bowl, add the ingredients in the following order: rice, coleslaw/lettuce mixture, japchae noodles, and pork/protein. Drizzle with a generous amount of the sriracha mayo and then the white lime sauce. Sprinkle with the roasted sesame seeds.
Great served with kimchi and/or mandoo (Korean dumplings).
*You can choose your protein. I prefer to order the Piggy Bop (formerly known as the Hot Bop) at heat level 4, so I use the Korean BBQ Pork recipe linked above with the listed sauces. Cupbop’s menu has beef, chicken, fried chicken, tofu, steamed vegetables, or even just more japchae noodles, so the options are very customizable. You can vary the heat level with the sauces you choose as well.
1/4 c daikon radish, peeled and cut into matchsticks
1/4 c white onion, thinly sliced
1/2 t garlic powder
4 T butter, softened
1 12″ French baguette
protein of choice, sliced thin and cooked thoroughly*
1/4 cucumber, thinly sliced
2 T cilantro leaves
1 jalapeno pepper, cut into thin medallions
In a saucepan over medium heat, combine the rice vinegar, sugar, and water. Bring the mixture to a boil, stirring until sugar has dissolved (about 1 minute). Remove from heat and allow to cool. Place the carrot, radish, and onion in a large bowl. Pour in cooled vinegar mixture and let it marinate at least 30 minutes.
In a small bowl, add the butter and garlic powder. Mix until thoroughly combined.
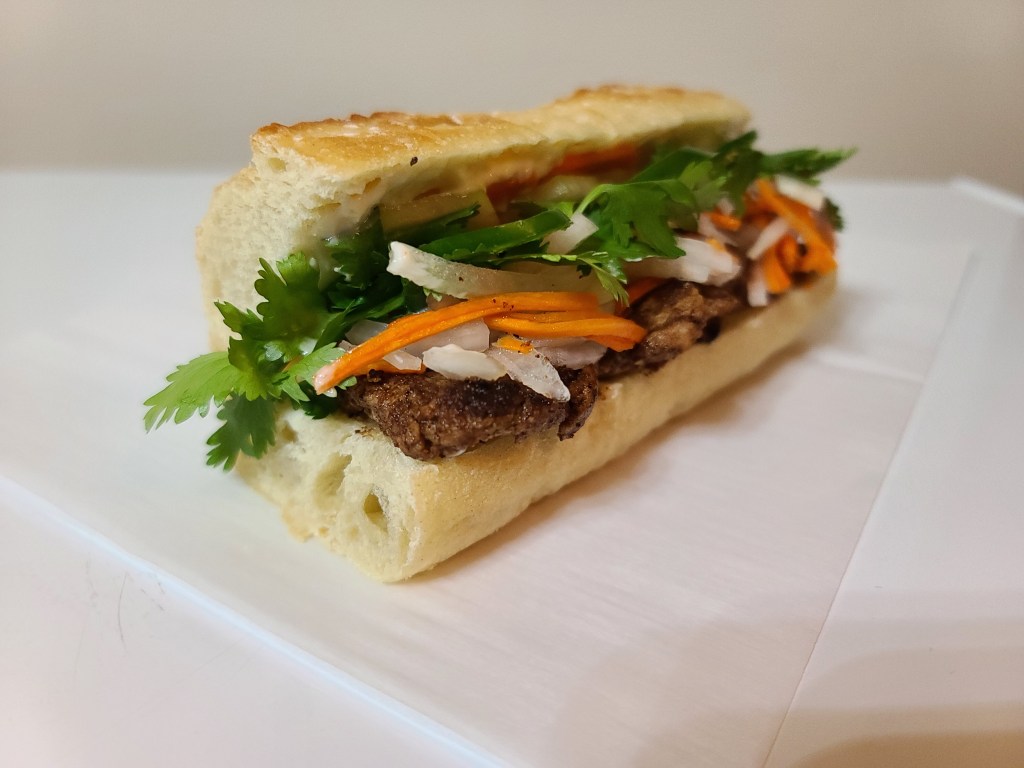
Slice a baguette open by cutting in half lengthwise. Gently remove the soft center of the bread, leaving a cavity for the fillings. Lightly toast baguette under the broiler, 2 to 3 minutes (optional).
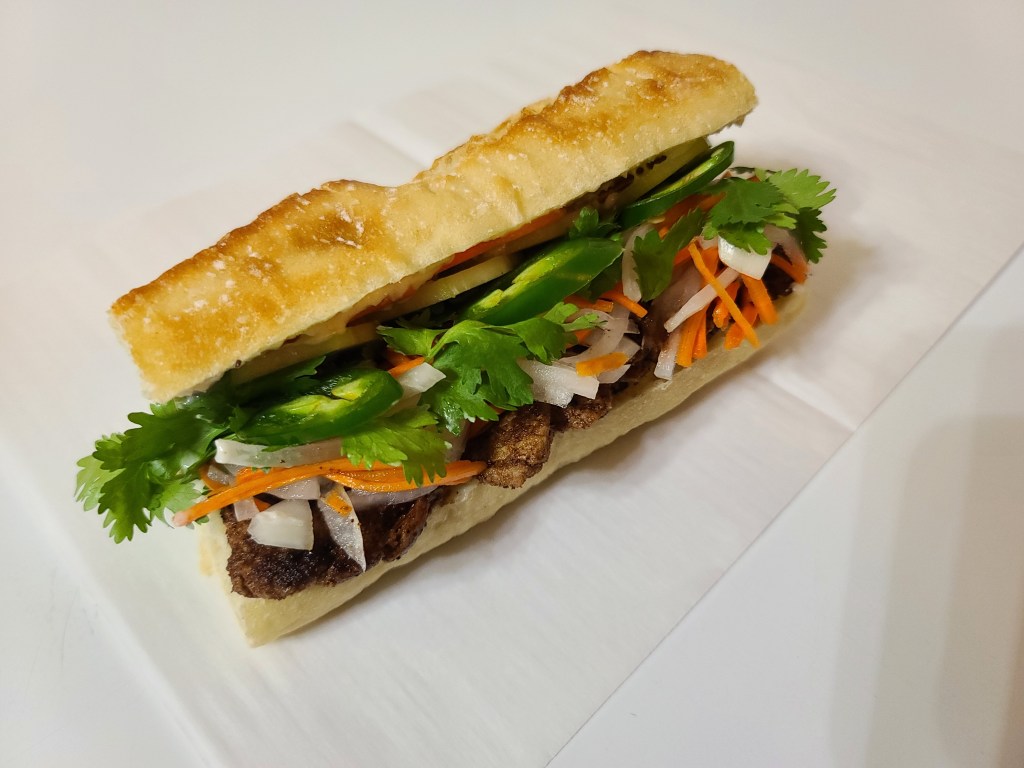
Spread the garlic butter mixture on the inside of the baguette. Layer your protein of choice on the bottom half of the bread. Top with the cucumber, drained pickled vegetables, cilantro, and jalapeno. Cover with the top half of the baguette.
Cut into two 6-inch sandwiches to serve.
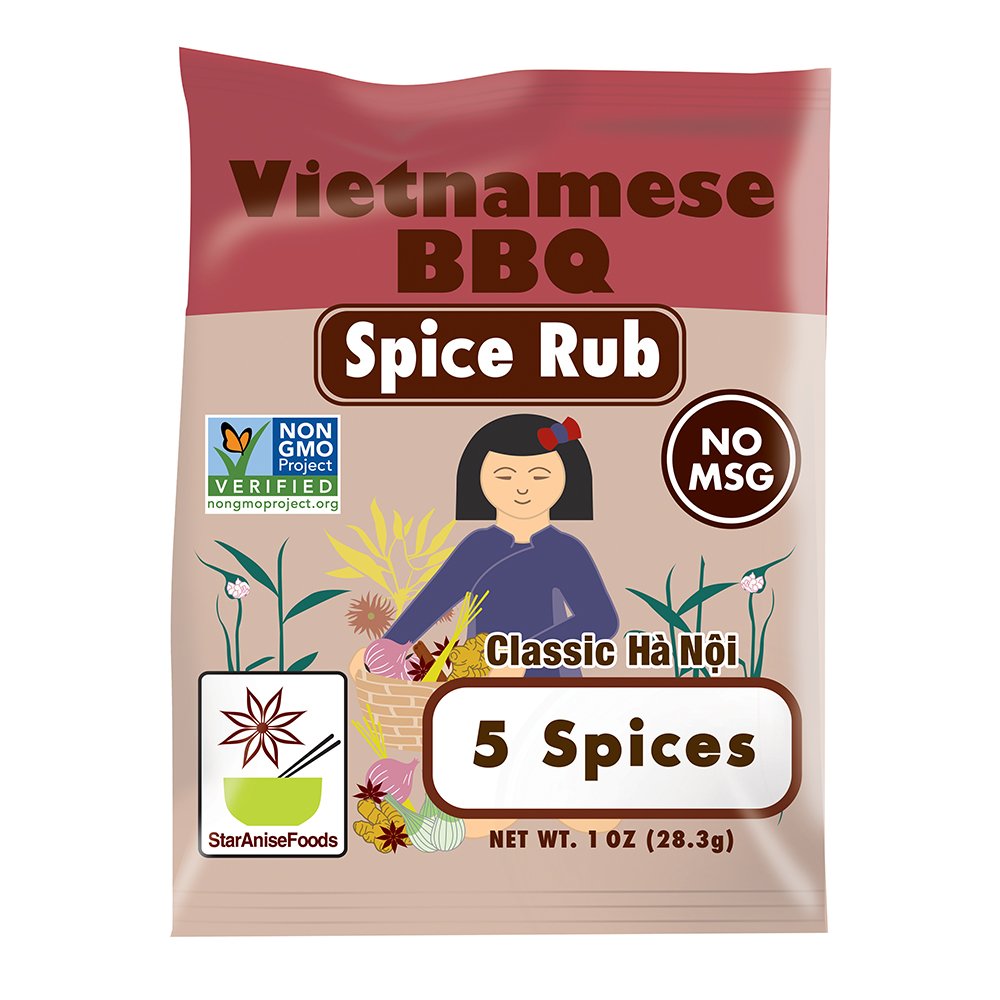
*Bánh mìs can be made with chicken, beef, or pork. You can also add an over-easy egg on top! My preference is pork loin, cut into thin medallions and seasoned with either the Vietnamese BBQ Spice Rub – 5 Spices (Classic Hà Nội) by Star Anise Foods (pictured above) or in the following marinade:
In a large pot over medium heat, combine coconut milk and water. Bring to a simmer, and add the rice and corn (if using canned corn, wait until later to add). Reduce the heat to low and let the mixture cook for approximately 12-15 minutes, stirring often to prevent the rice from sticking. Add the sugar and 1 cup of the coconut cream, stirring until the sugar dissolves (if using canned corn, add it now). Cook for an additional 8-10 minutes until the rice is cooked through. The mixture may thicken more as it cools. Serve with a drizzle of the remaining coconut cream and enjoy! Delicious warm or cold.
*With minor variation, this dish is referred to as Ginataang Mais in the Philippines, Chè bắp in Southern Vietnam, and Chè Ngô in Northern Vietnam.
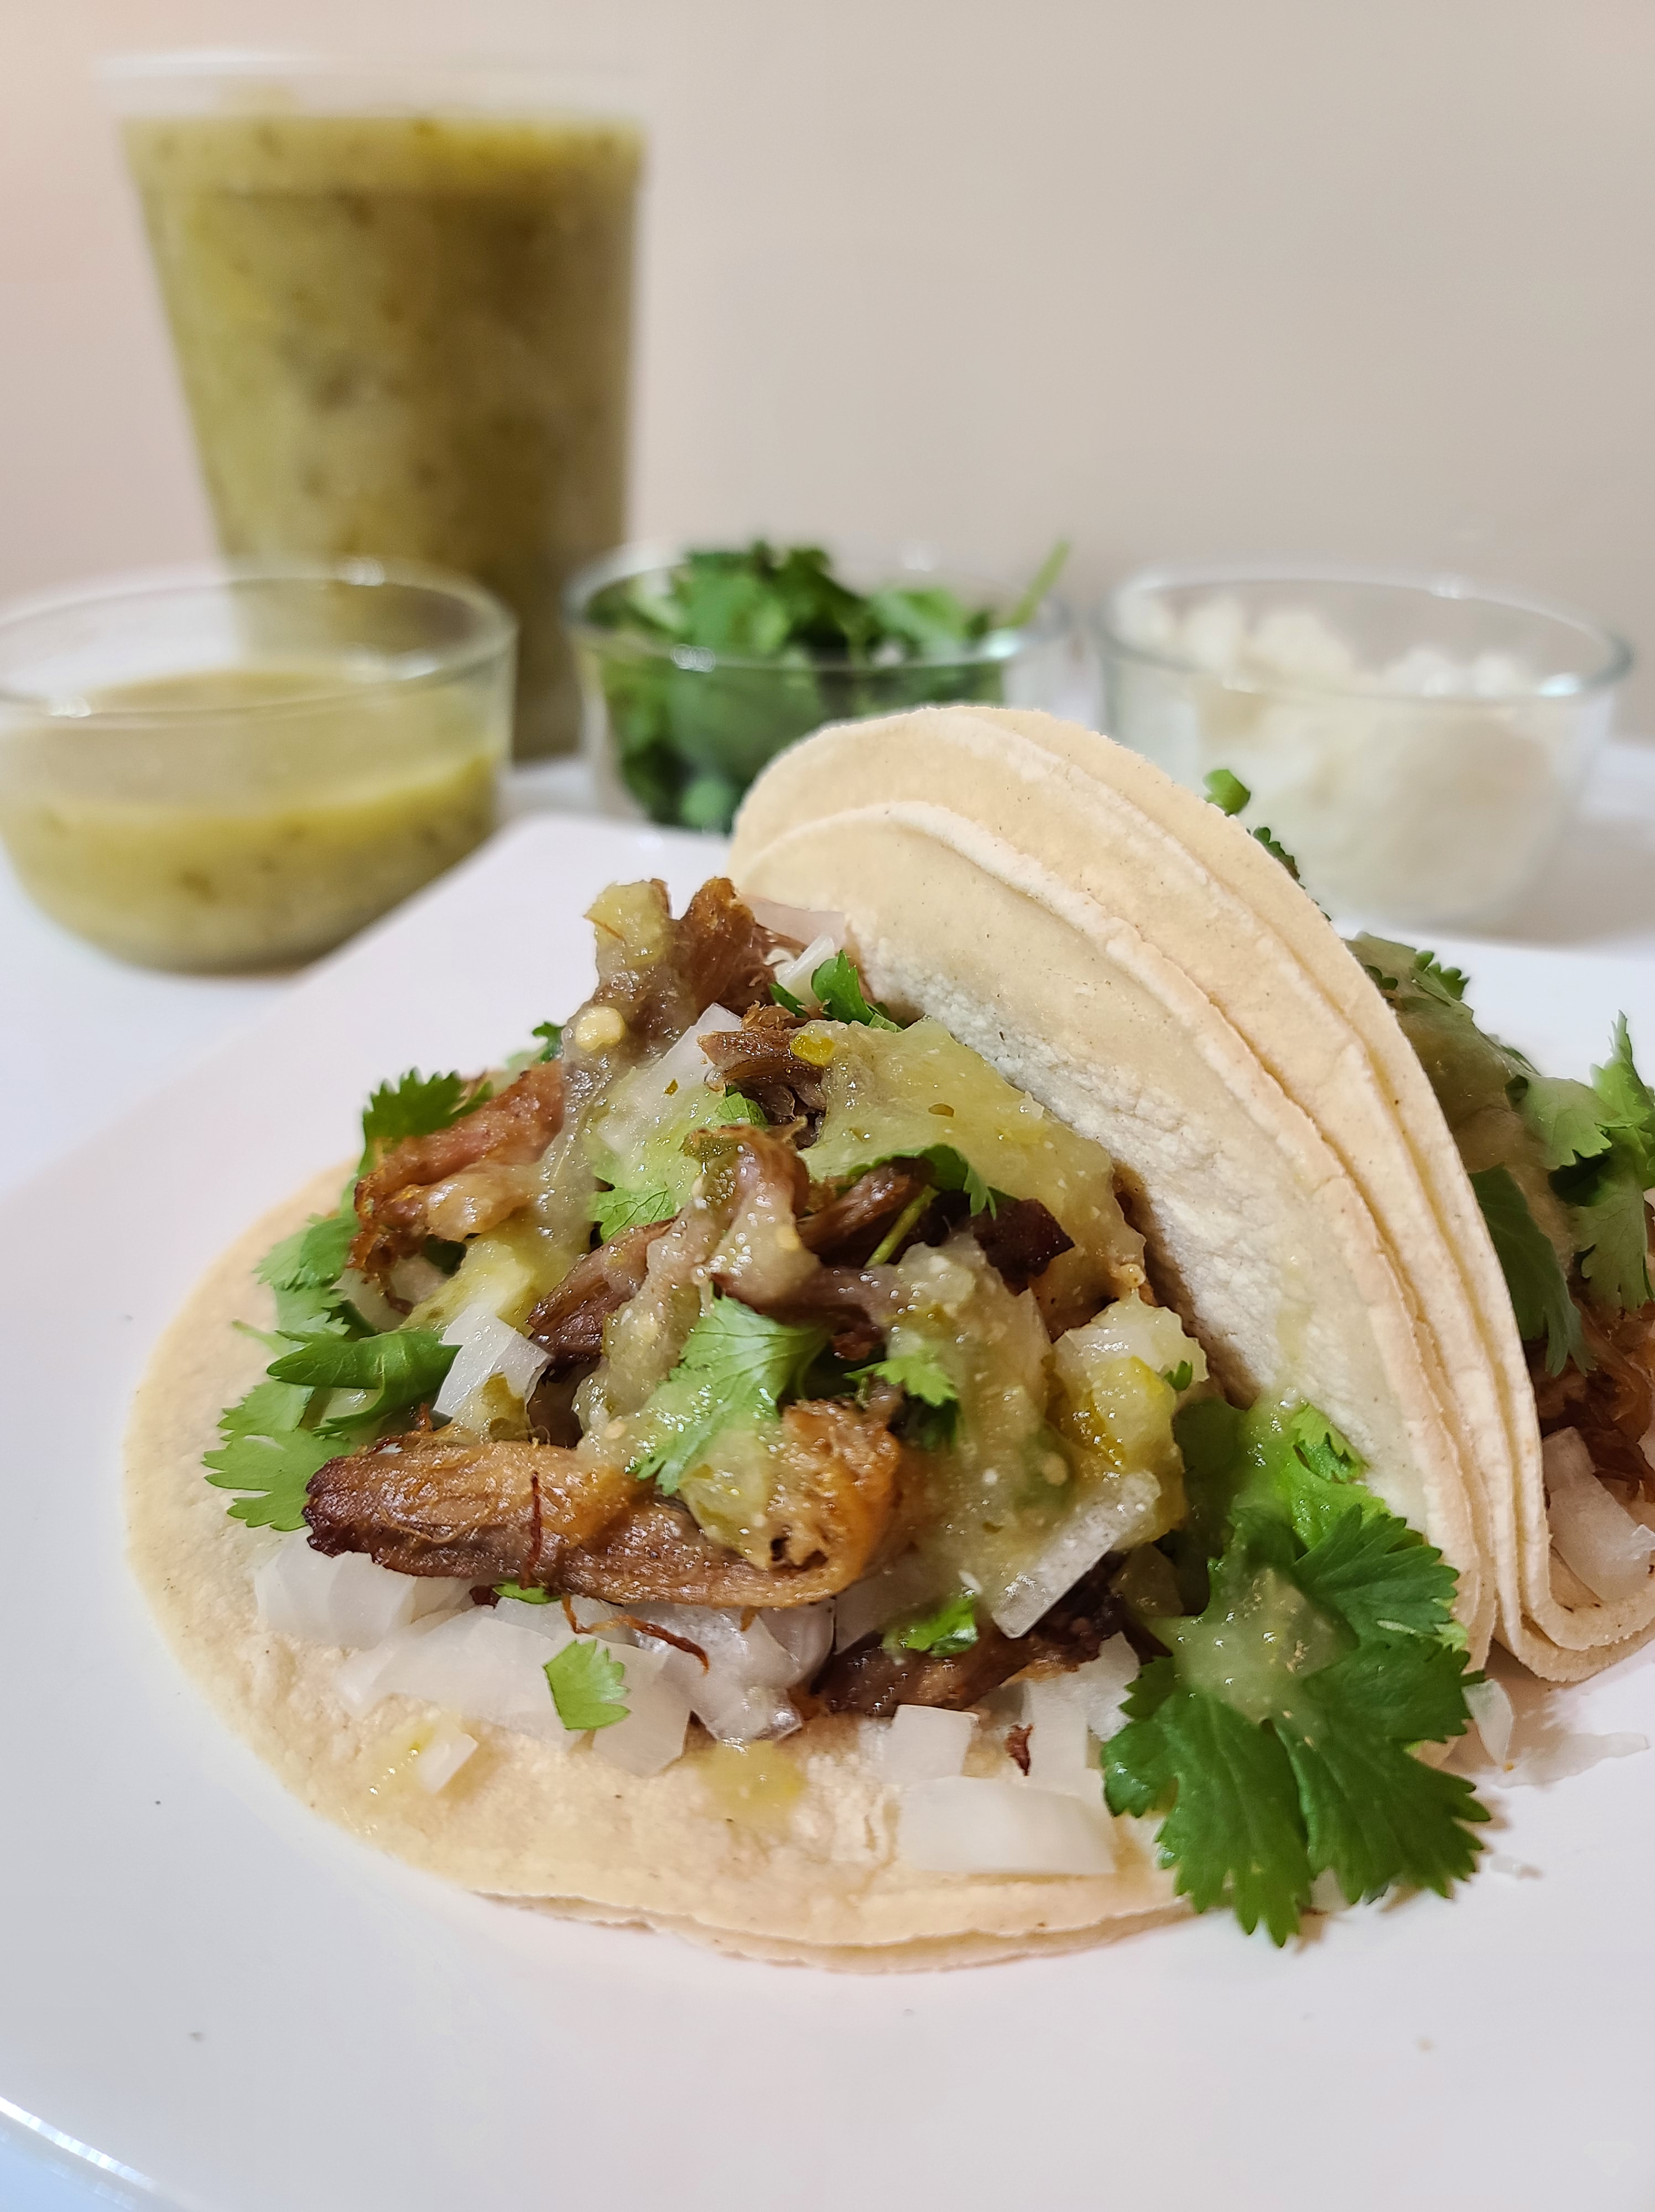
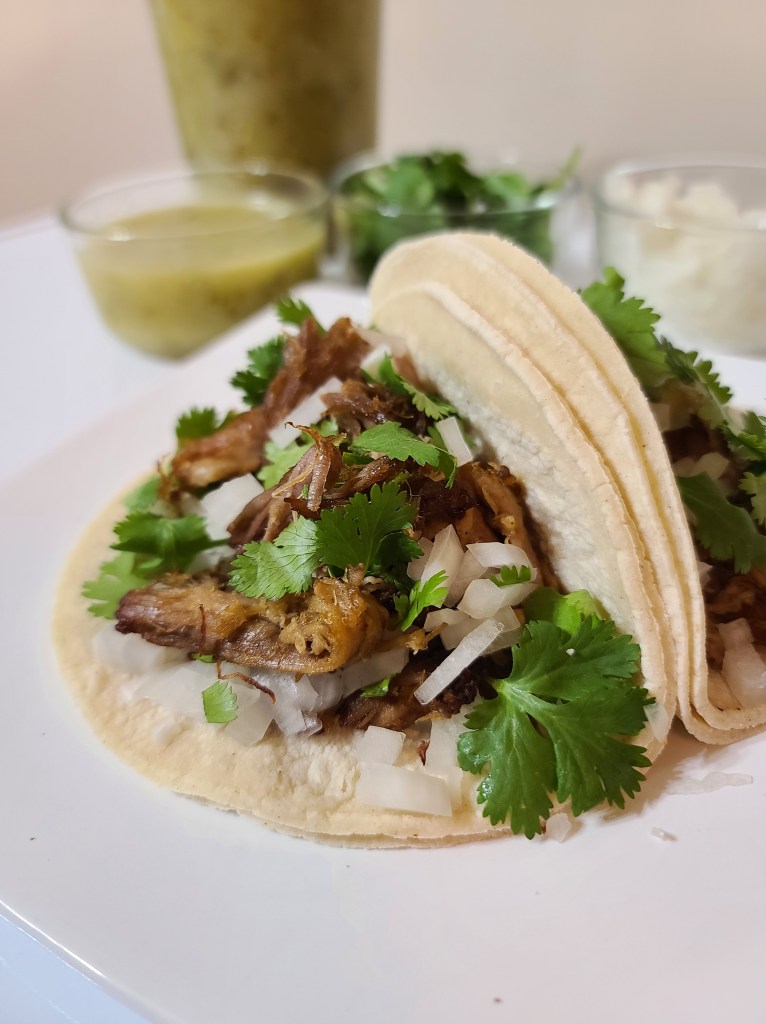
Gently heat the tortillas in a pan (or in the microwave). This helps prevent them from breaking when folded. Stack two tortillas for each taco. Add meat, then onion, cilantro, and salsa.
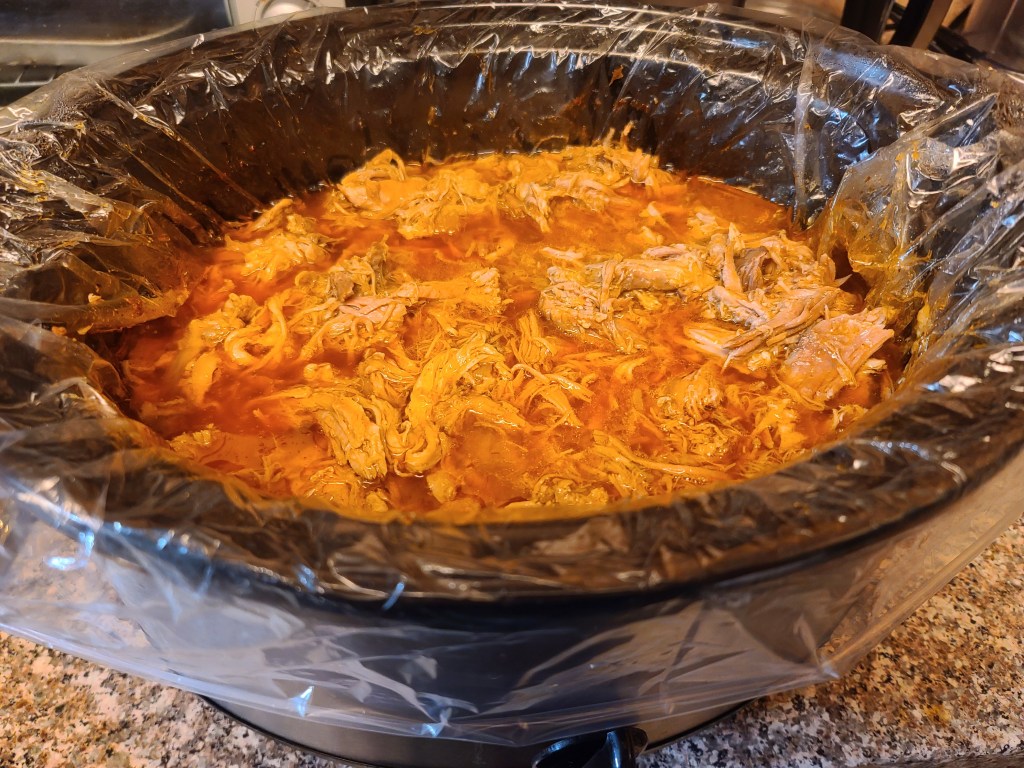
Add all ingredients except the pork shoulder to a large slow cooker and stir to combine. Add the pork shoulder and turn to coat in the mixture. Cook on low for 8 hours (or on high for 4-5 hours) until the pork is tender. Shred with a fork.
Set the oven to broil and prepare a baking sheet with aluminum foil. Use a slotted spoon to transfer the shredded pork to the prepared baking sheets, spreading in an even layer. Place one sheet under the broiler for about 5 minutes or until the edges of the pork begin to brown. Remove the sheet from the oven and ladle about 1/4 cup of the juices from the slow cooker evenly over the pork, then toss with some tongs. Broil for an additional 5-10 minutes until the meat is more crispy. Repeat until all the pork is crisped.
Remove the husks from the tomatillos and rinse thoroughly. Remove the outer layer(s) and ends of the onion and cut into quarters. Add the tomatillos, onion, serrano peppers, and garlic to a large pot and add enough water to barely cover them (when pressed down—they will float).
Bring to a boil and then reduce heat to low and allow to simmer for 10 minutes. You may need to flip the tomatillos and simmer an additional 5 minutes until they’re a uniform color. Transfer the ingredients to a blender with a slotted spoon. Add the cooking water until the blender is full and discard the rest. Add the cilantro and blend until smooth.
Add vegetable oil to the pot and heat on medium-high until it starts to sizzle. Carefully pour the blended salsa back into the pot. Reduce the heat to low and simmer for 20 minutes. Add the salt and adjust if necessary (you will likely need at least double the salt, but start low and add slowly. The finished result should be salty on its own so it flavors whatever it is used on). If the salsa is too runny, simmer until it reaches the desired consistency. If too thick, add water 2 tablespoons at a time. Great on tacos, breakfast burritos, and more!
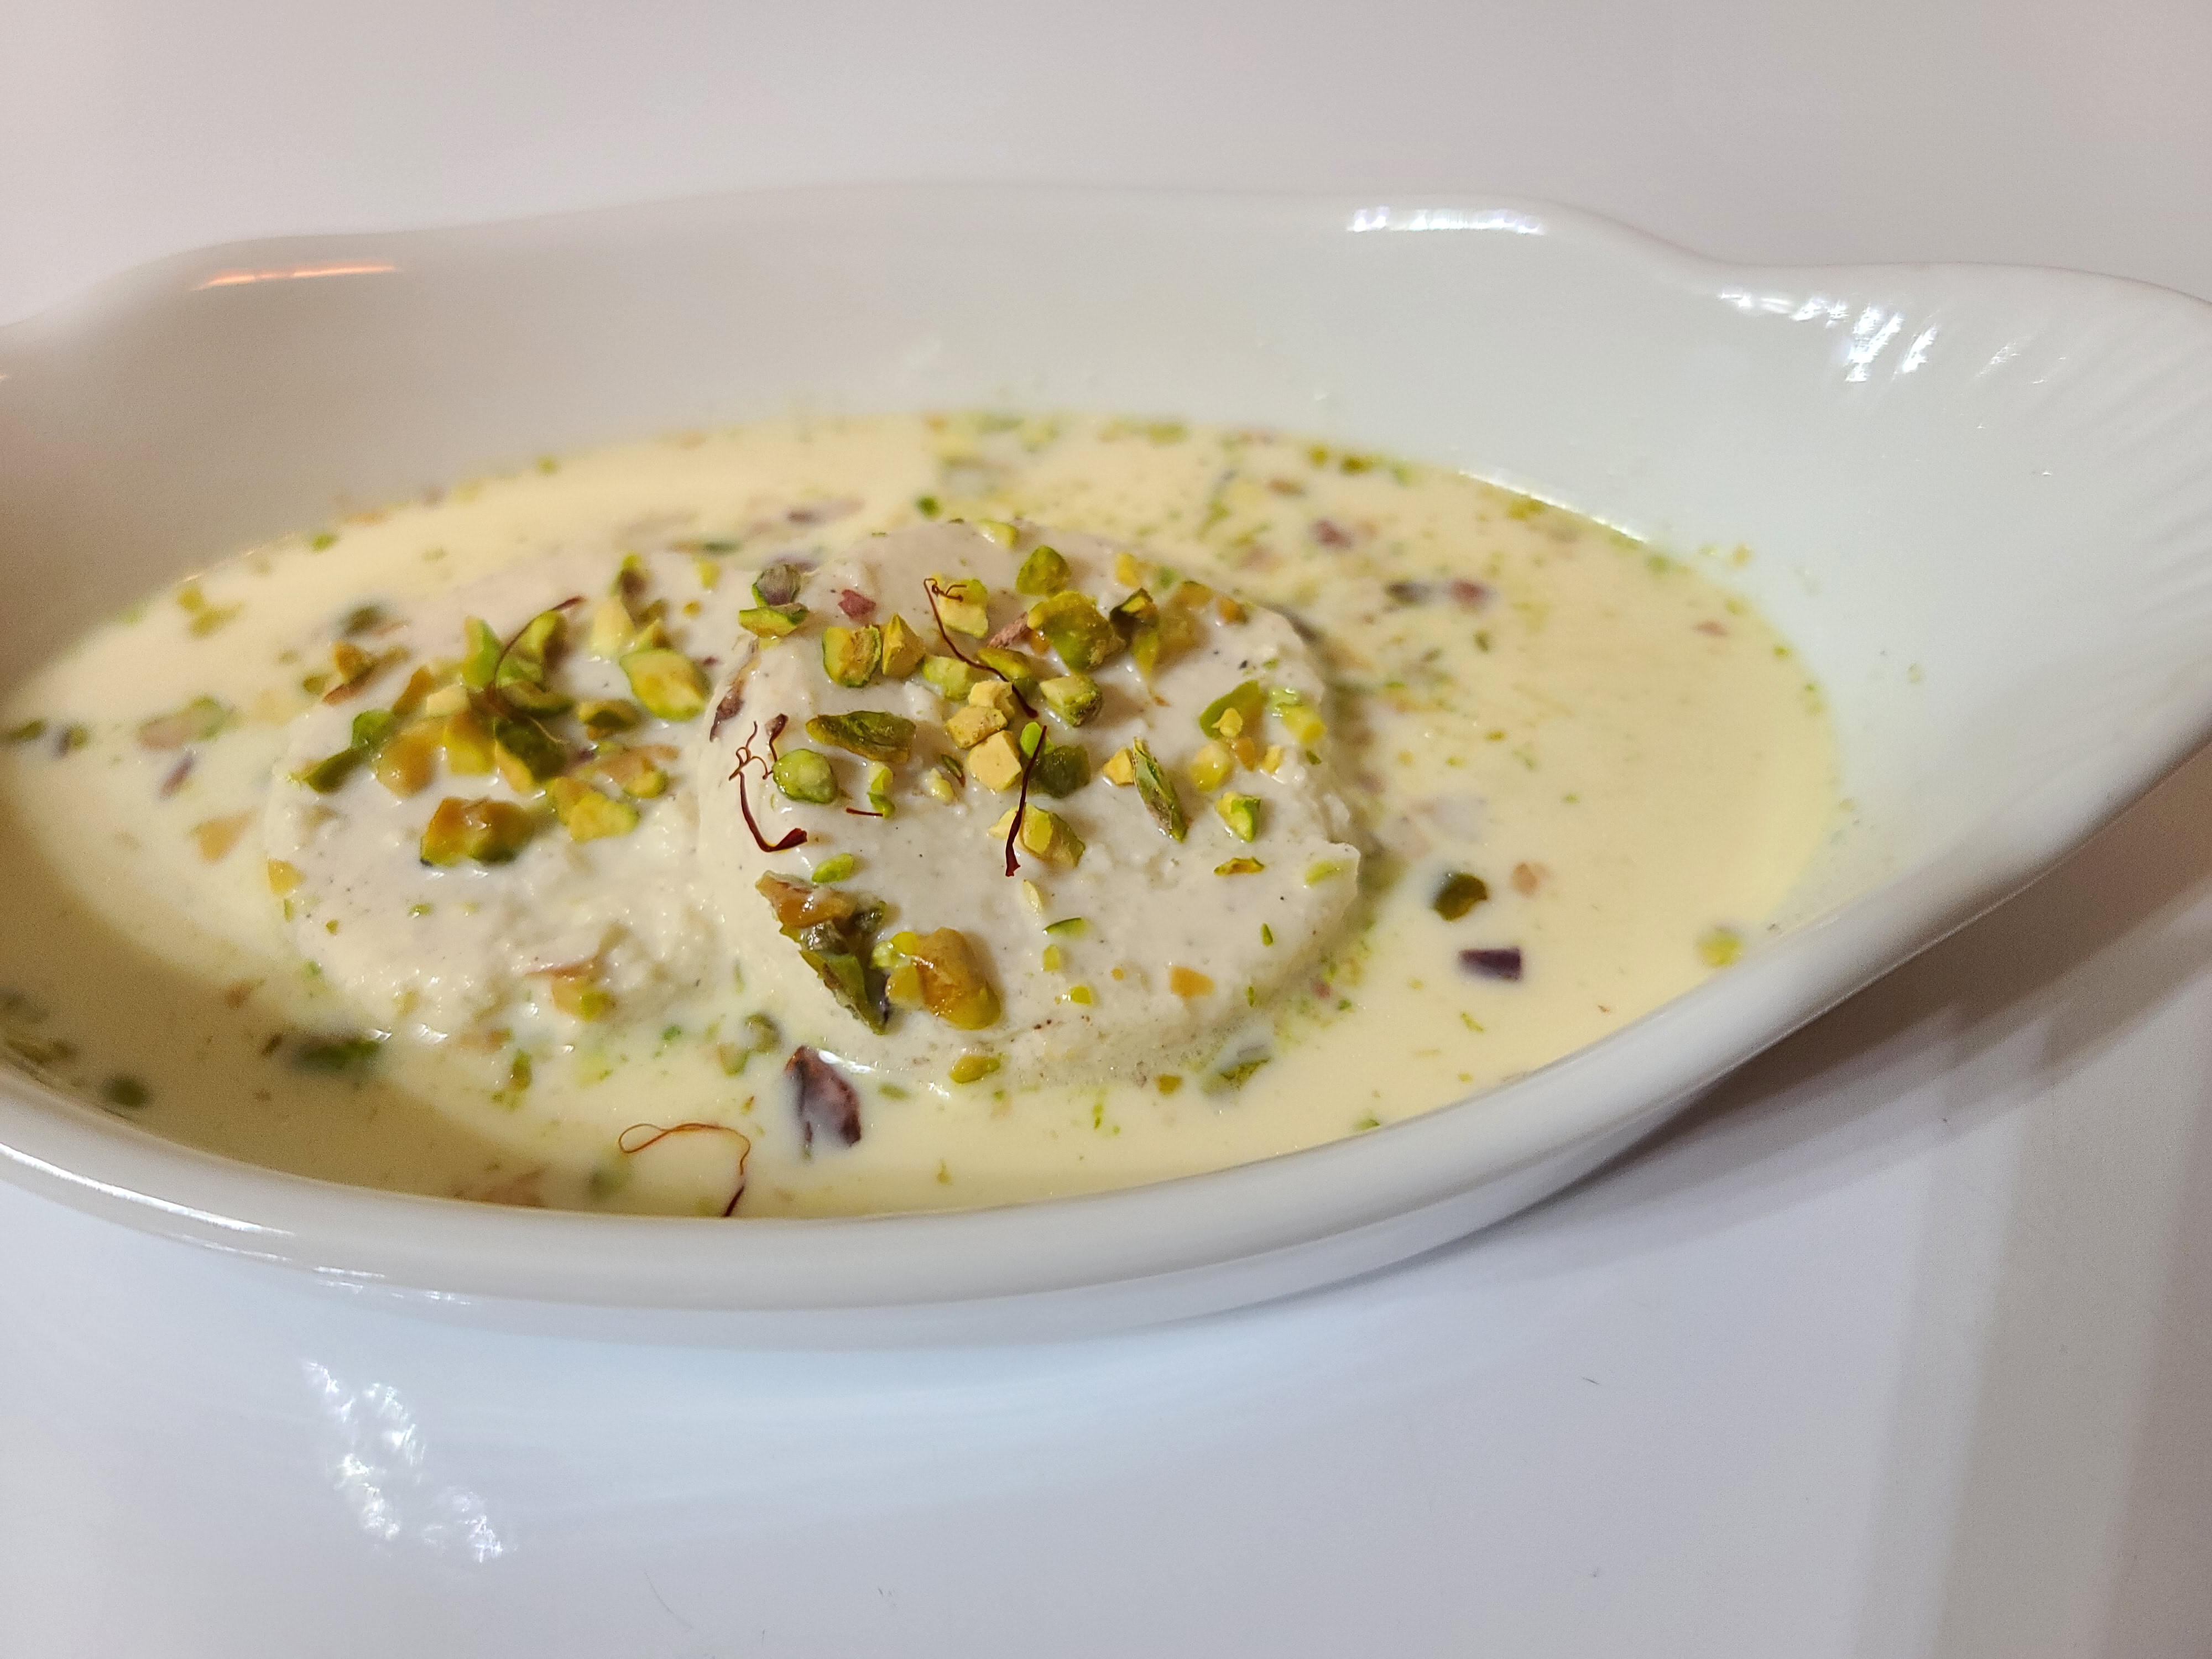
Preheat the oven to 325F. Combine ingredients for cheese mixture and set aside. Spray a standard-size muffin tin with vegetable oil. Fill each hole with 2 tablespoons of the cheese mixture. Fill a 9×13 pan halfway with water and place on the bottom rack of the oven. Place the muffin tin with the cheese mixture on the rack above (middle of the oven). Bake for 25-30 minutes. Check the cheese “cakes” to see if they’ve firmed up. They should no longer pour, but will be soft. If still too loose, bake 5 min more until more solid. When done, remove from oven and place in the refrigerator immediately. Allow to cool for 15-20 minutes.
Combine all the ingredients for the milk mixture in a large saucepan. Heat on the lowest setting until just until warm. Do not boil or simmer. Pour into a 9×9 pan and add the cheese “cakes”. Soak the cheese “cakes” in the milk mixture overnight. Garnish with crushed pistachios.
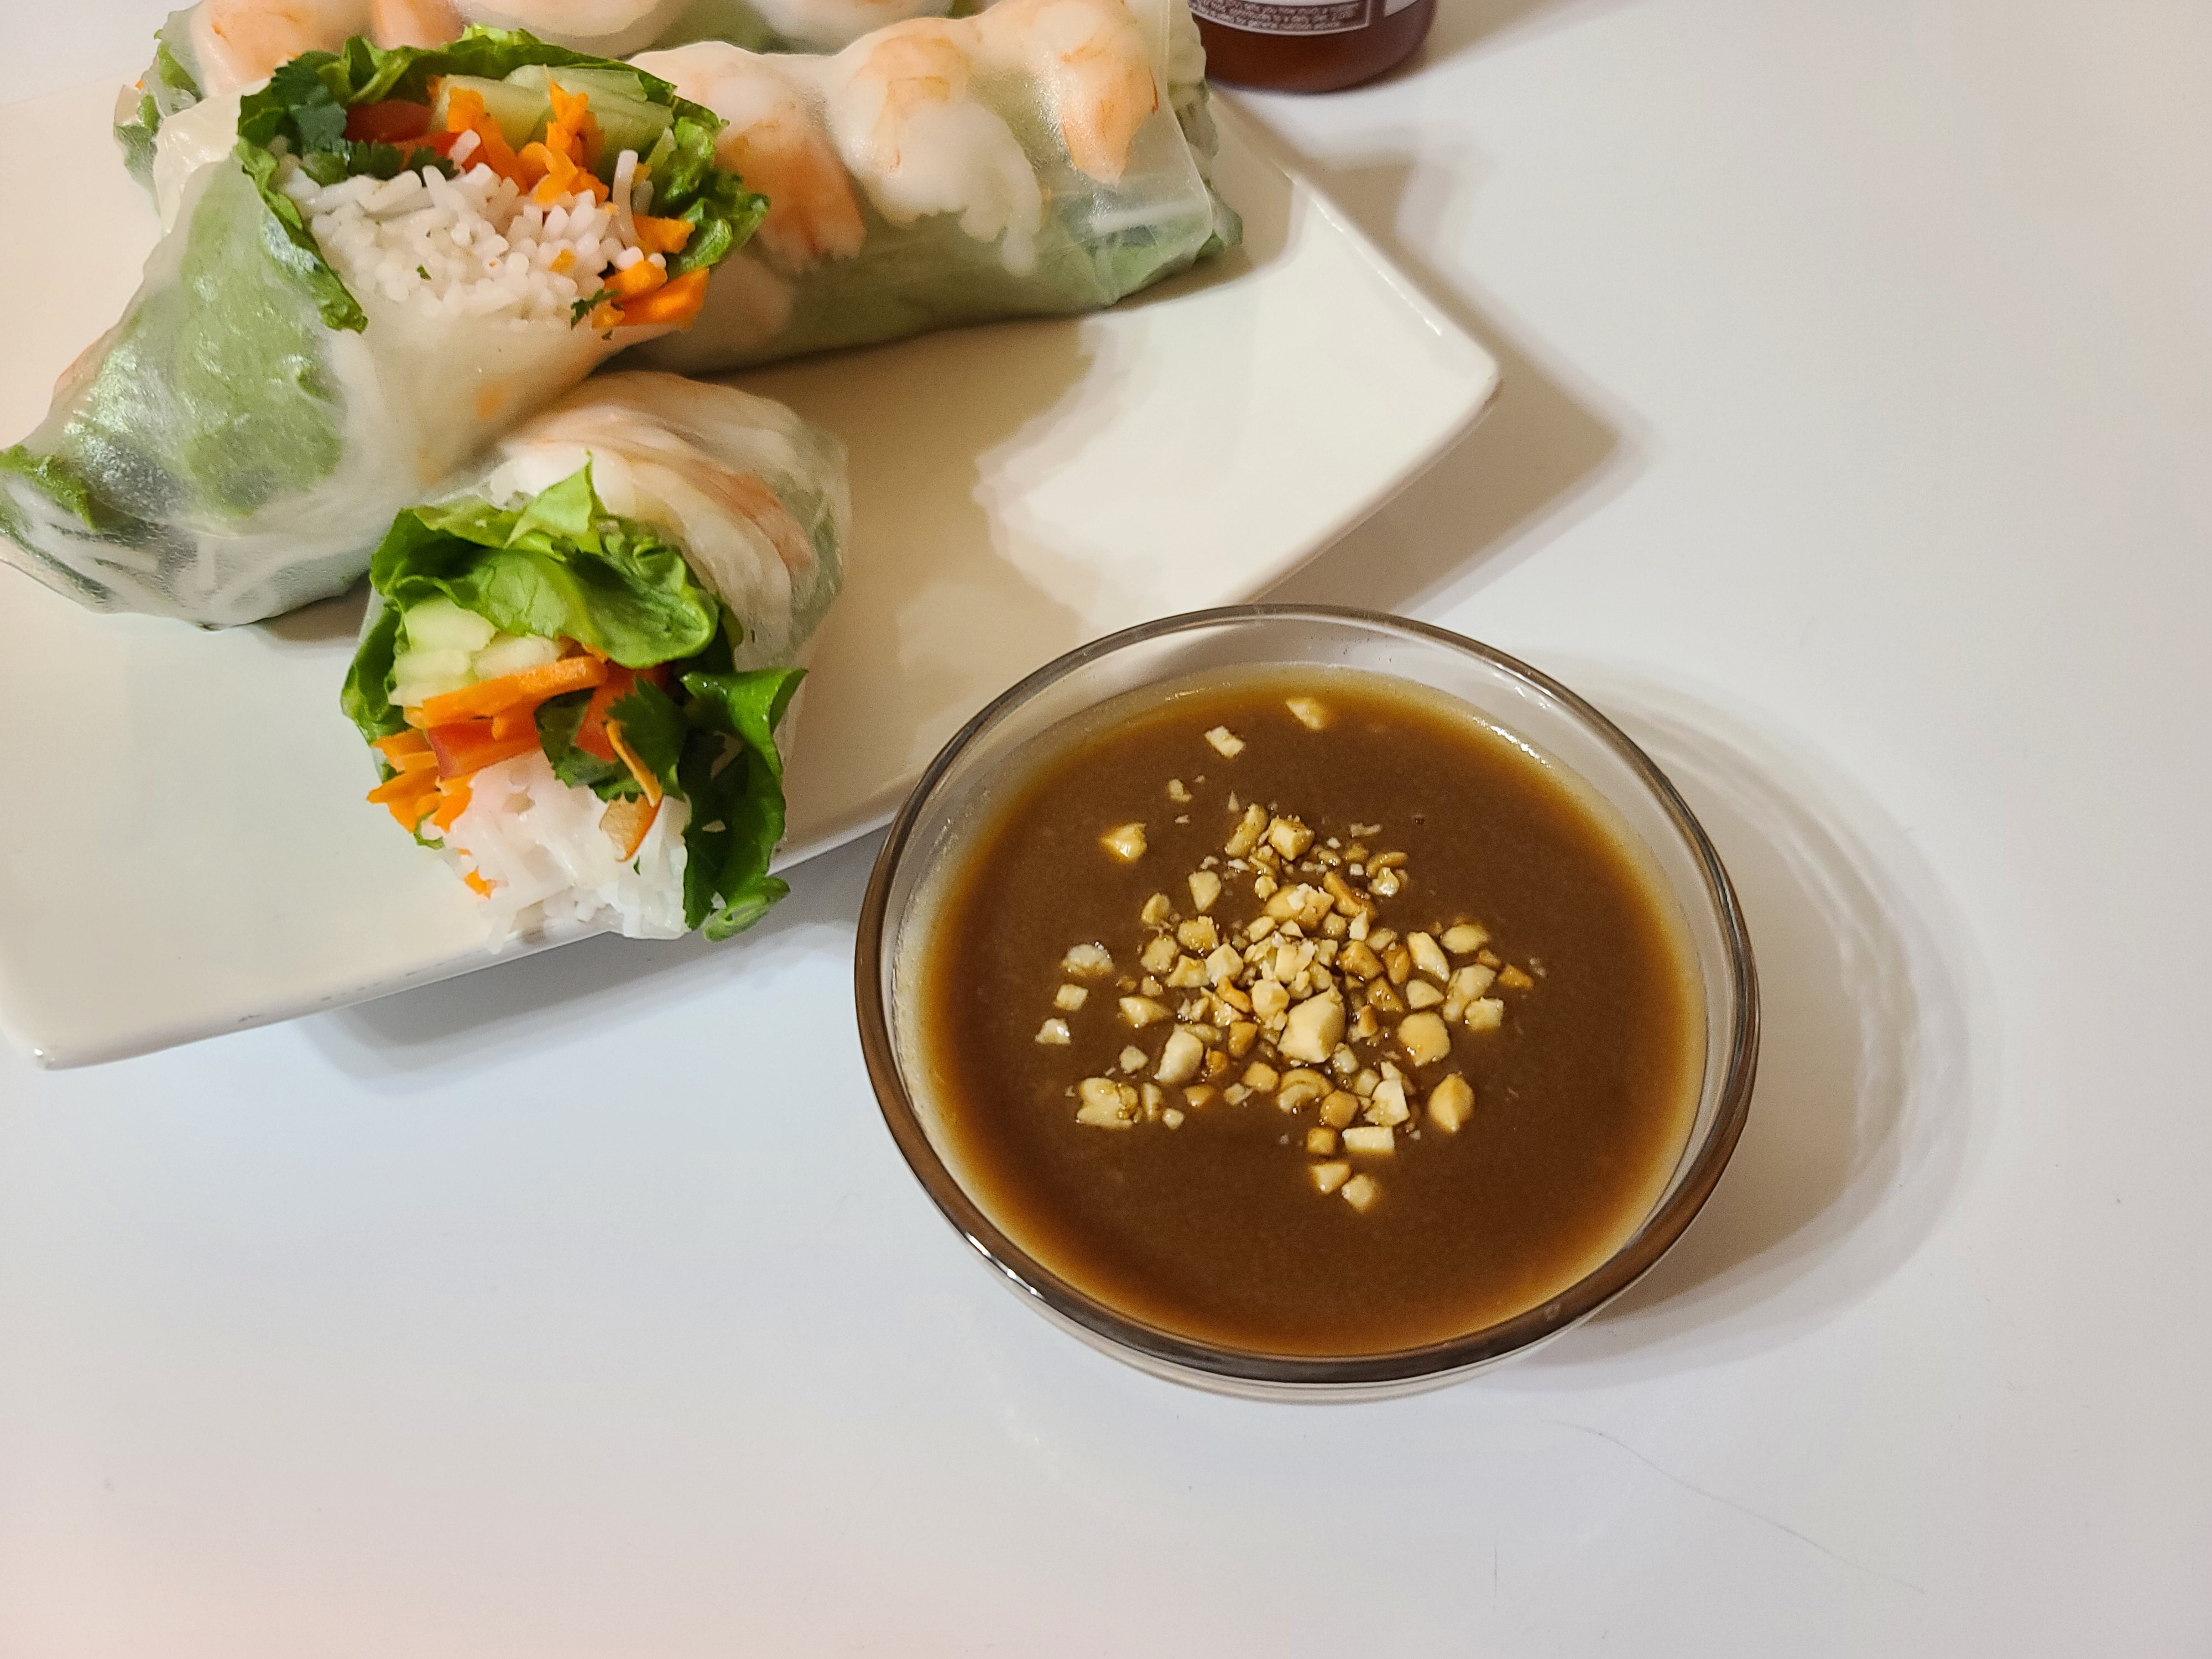
Add the oil to a pan over medium heat. Add the garlic and saute until fragrant. Add the hoisin sauce, peanut butter, and water. Whisk until fully combined. Bring to boil, and then immediately turn off the heat and pour the sauce into a heat-safe bowl. The sauce will thicken slightly as it cools.
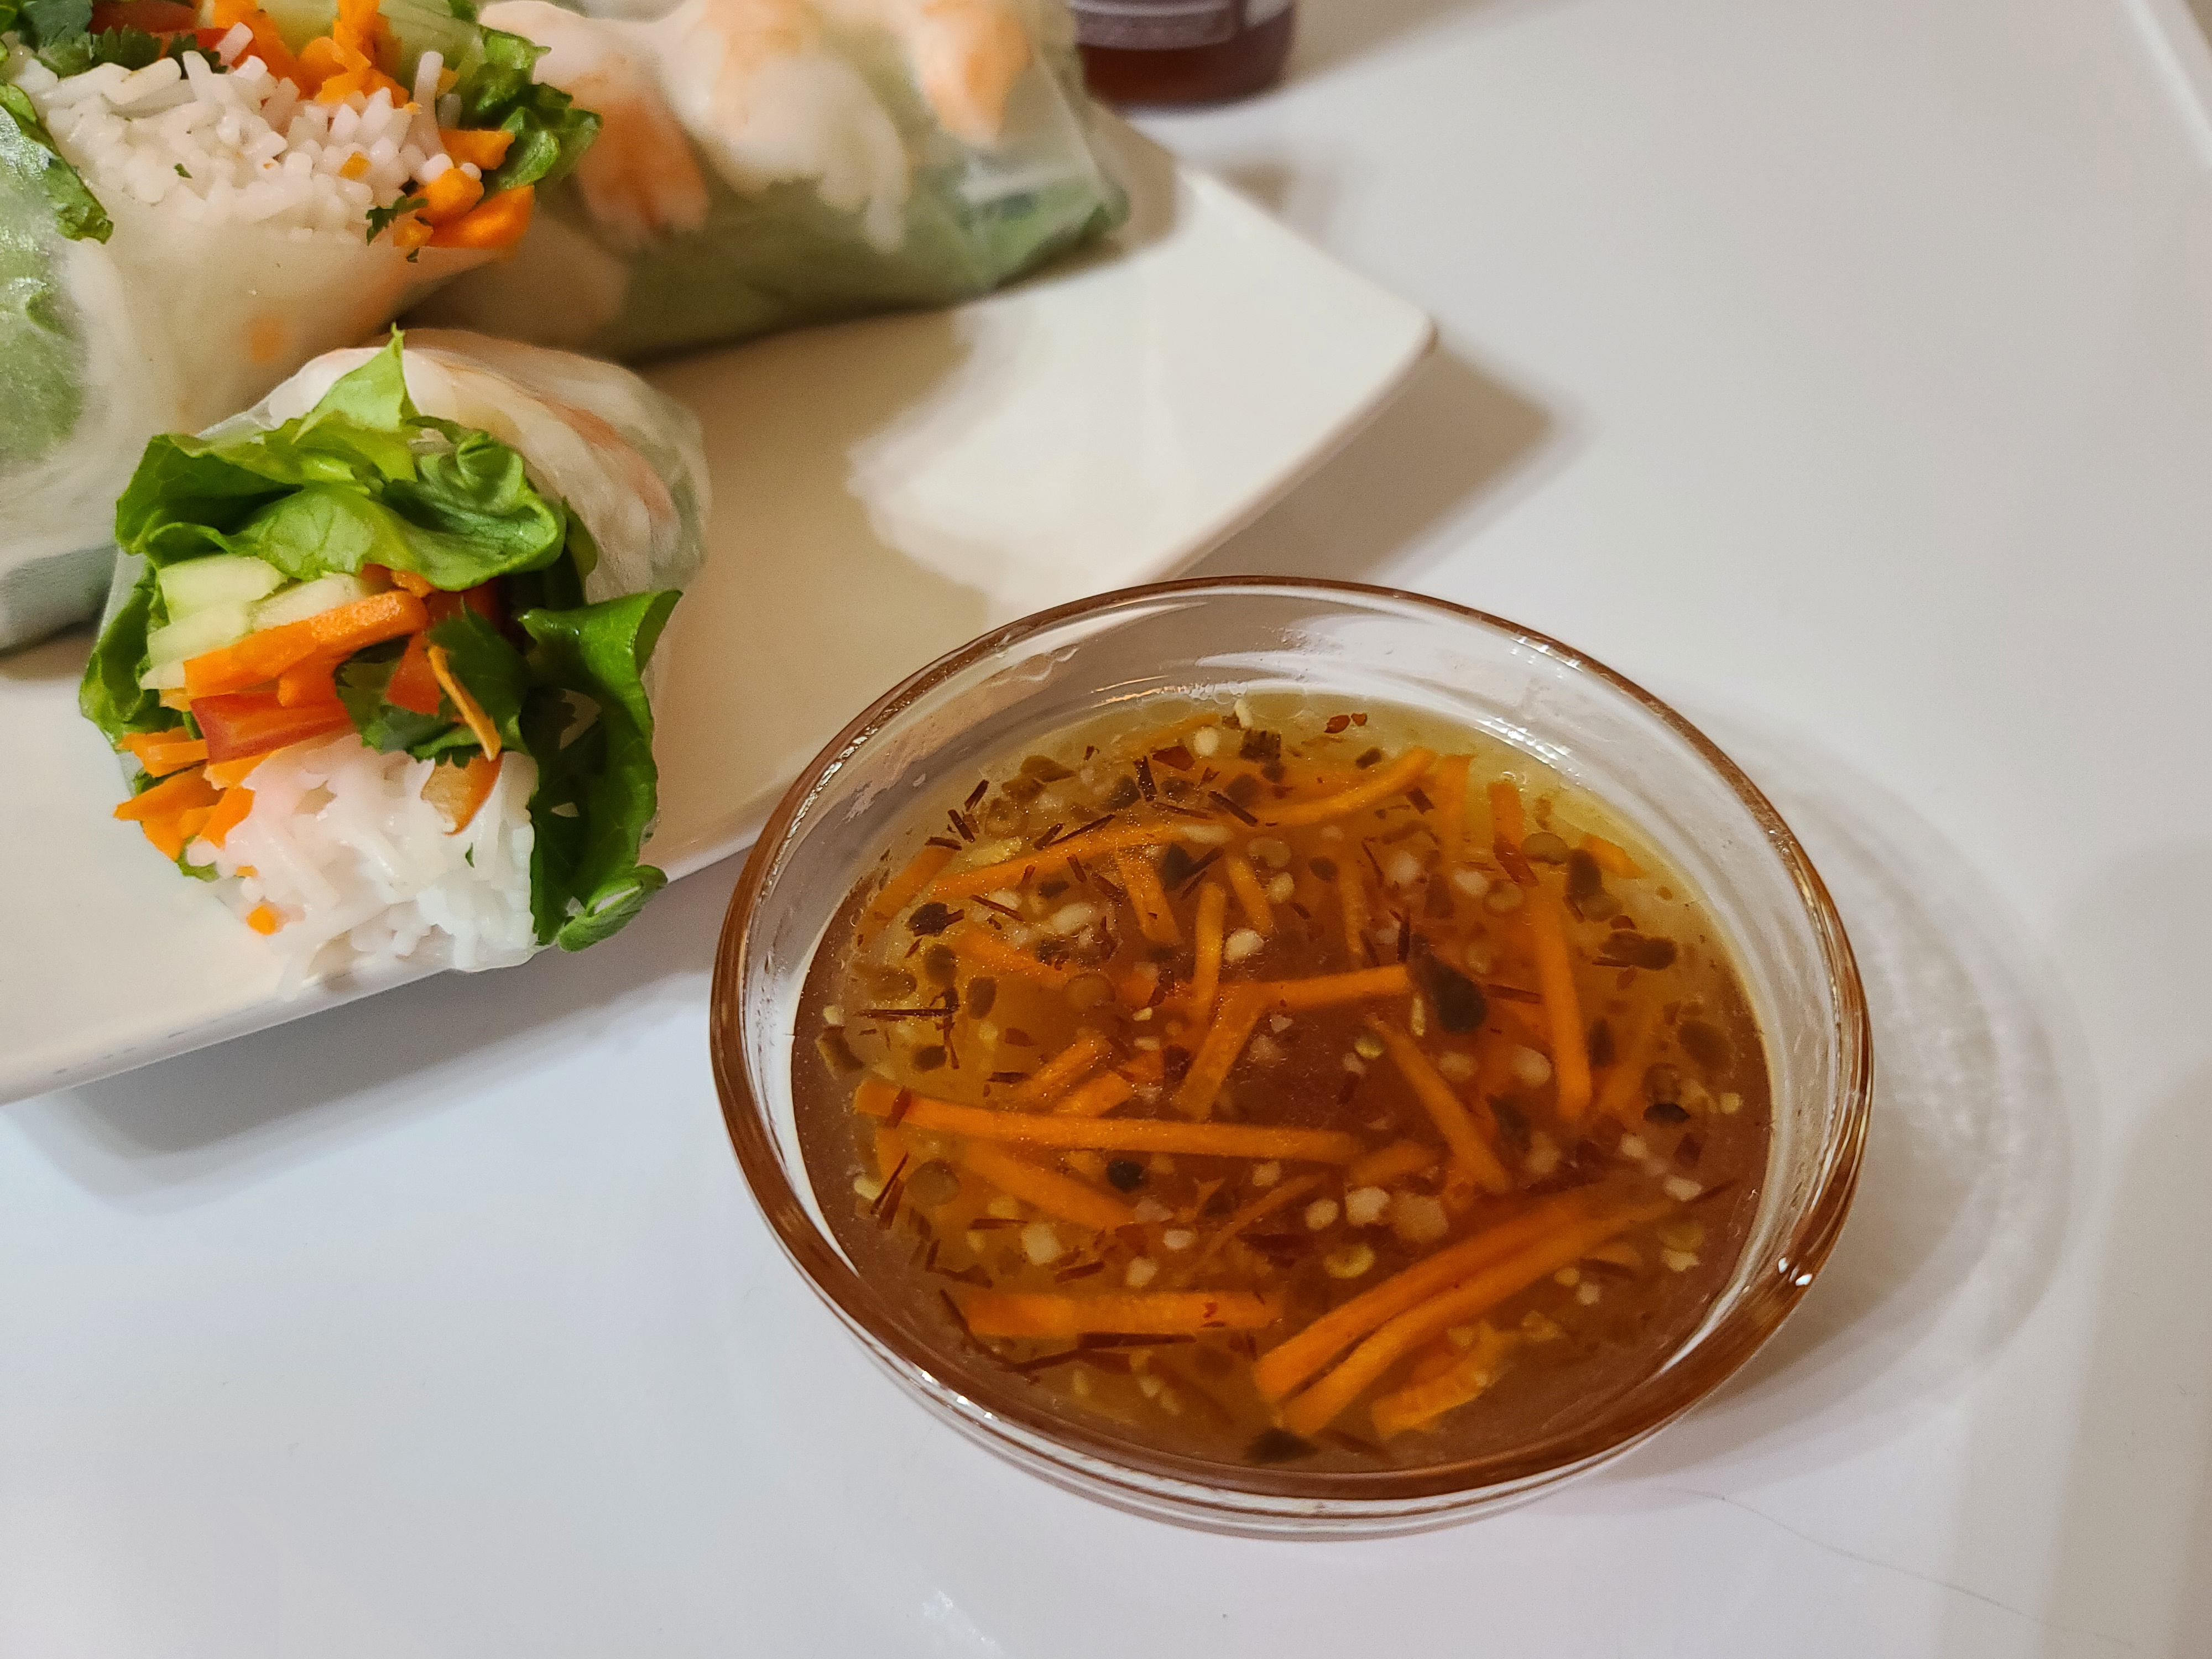
Portion into dipping bowls and sprinkle ground peanuts on top. Serve with Vietnamese spring rolls.
Cook noodles according to package instructions. Drain and rinse with cold water. Let noodles drain while prepping everything else (wet noodles will cause your rolls to disintegrate over time). Cut the shrimp down the middle so you have 2 mirrored halves.
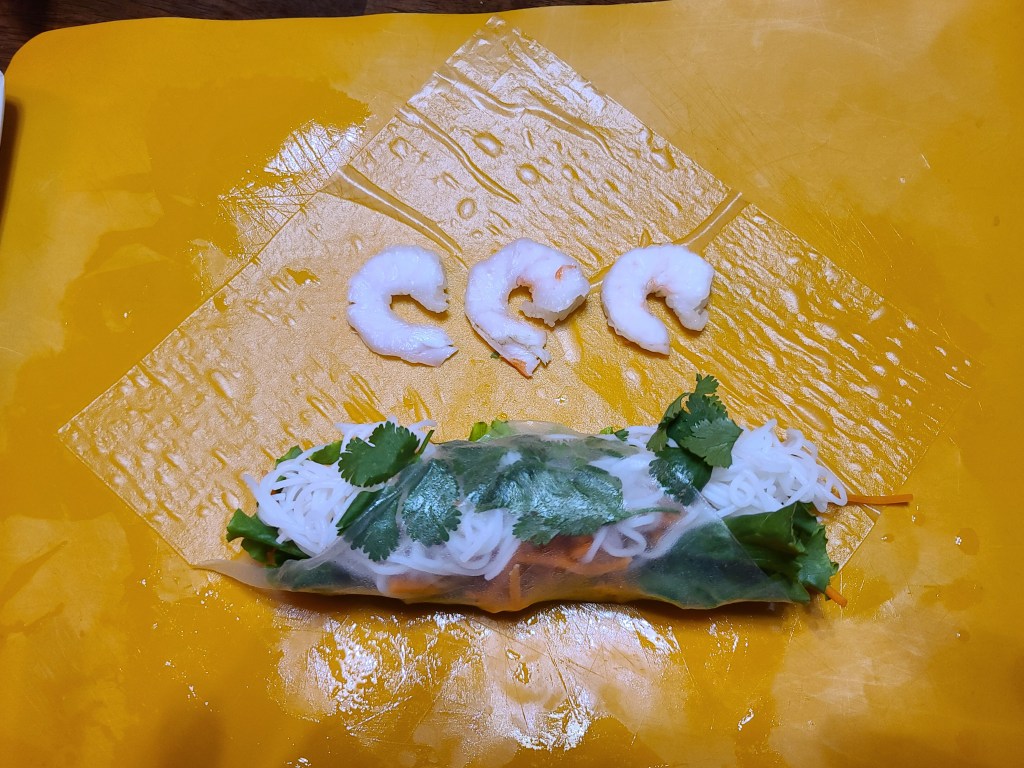
Set all ingredients in bowls around a cutting board. Fill a large, shallow bowl or pan with warm/hot water. Spread a little water on your cutting board/work surface (this will help prevent the wet rice paper from sticking while you fold). Submerge the rice paper in the water according to package instructions (usually 5-15 seconds). Place the rice paper on the cutting board.
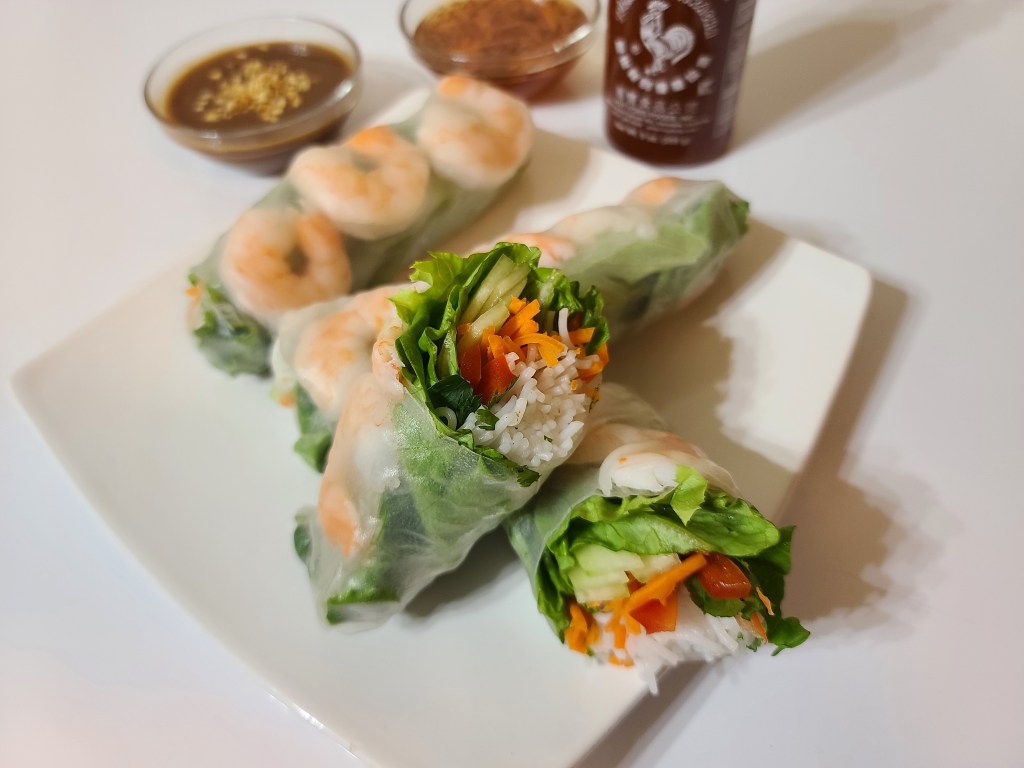
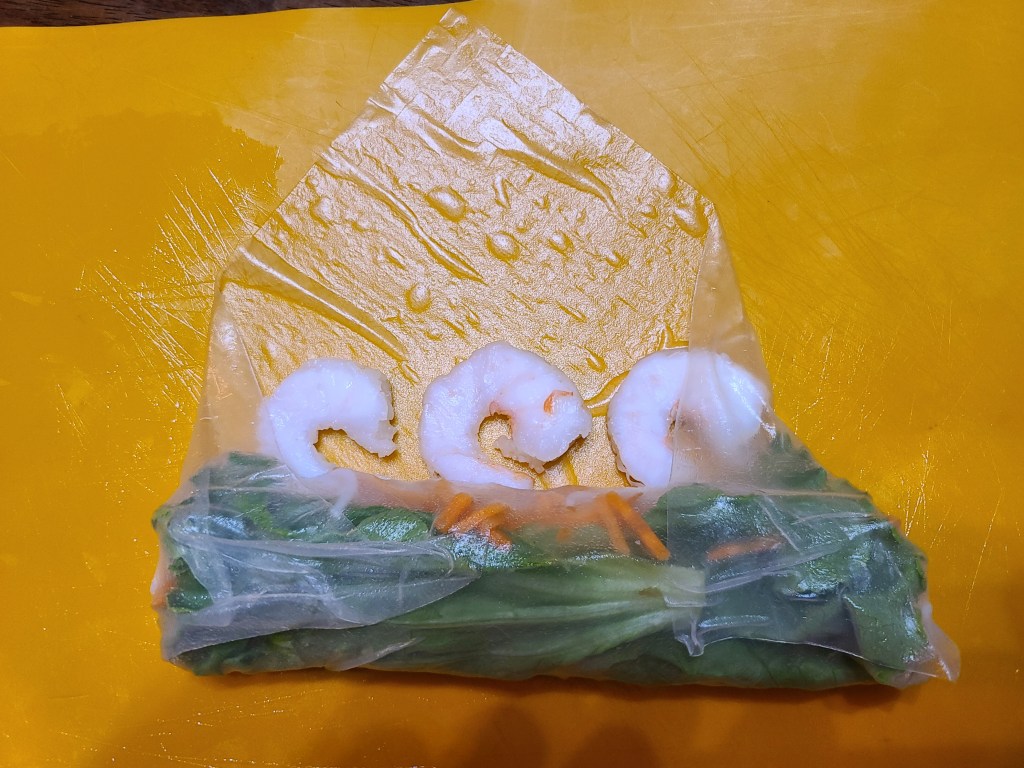
On the bottom half of the rice paper, place the lettuce (your toppings will take up about a 3″x5″ area). Place on top of the lettuce the vermicelli noodles, followed by the carrots, cucumber, bell pepper, and cilantro. On the upper half, place 3 shrimp halves, cut side up, on the rice paper.
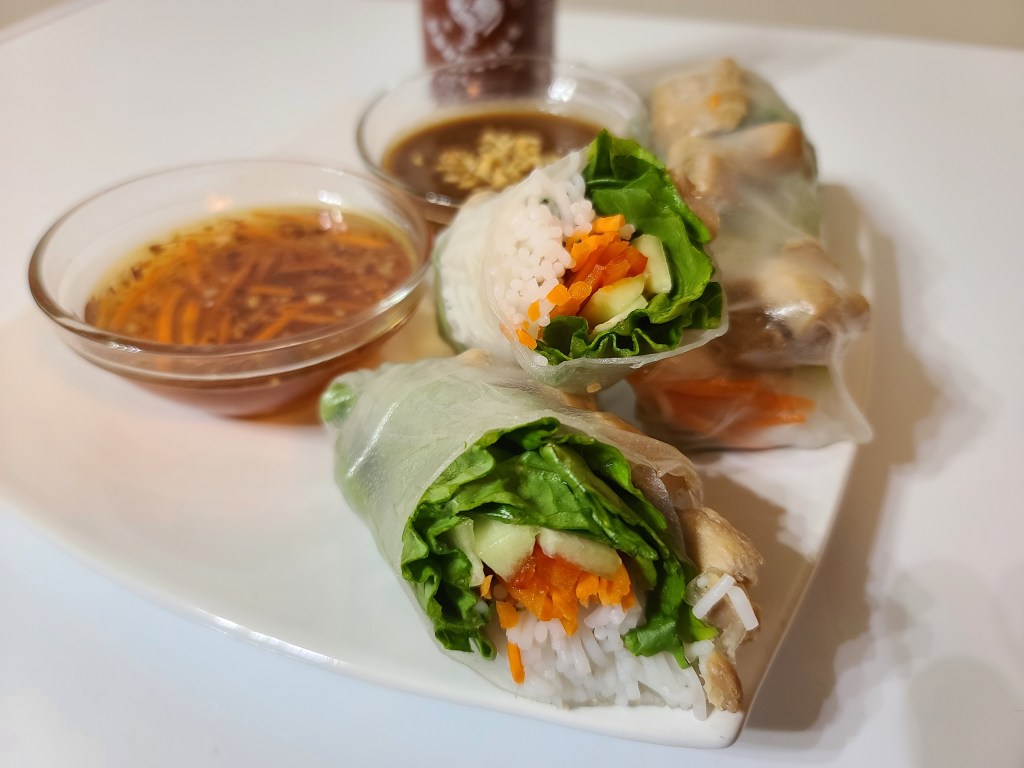
Fold the bottom edge over the lettuce and other toppings and tightly (but gently) roll toward the shrimp. Fold the sides of the rice paper inward and continue rolling over the shrimp until the top edge seals against the rest of the roll. Cut the rolls diagonally, if desired, and serve with peanut sauce, Vietnamese fish sauce, and sriracha.
*Rice paper comes in round and square sheets. Either will work. If using square sheets, lay them down diagonally (with a point facing you, like a diamond) for easiest assembly.
**If you don’t like shrimp, you can use teriyaki chicken or a number of other proteins.
***There is a difference between vermicelli rice noodles and the vermicelli noodles you may find in the Italian noodle section (made with maida flour). There are also similar noodles made with mung bean starch called cellophane or glass noodles. You want the noodles made with rice flour (sometimes called “Thai Rice Vermicelli” or “Vietnamese Rice Vermicelli”).
Add whipping cream to a mixing bowl and beat on medium speed with electric mixers (or use a stand mixer). Slowly add sugar and vanilla and continue to beat until stiff peaks. Add mascarpone cheese and mix just until combined. Set aside.
Add coffee to a shallow bowl. Dip the lady fingers in the coffee (just a quick dip on each side) and lay them in a single layer on the bottom of an 8×8” or similar size pan. Smooth half of the mascarpone mixture over the top. Add another layer of dipped lady fingers. Smooth remaining mascarpone cream over the top. Using a fine mesh strainer, dust cocoa powder generously over the top. Refrigerate for at least 3-4 hours or up to overnight before serving.
*espresso/coffee can be substituted with a strong mix of cocoa powder and water.
Heat a large pan or wok on a stove set to medium-high. Add the oil and wait until very hot. Add the ribs and fry until the meat has turned white. Add enough water to submerge all the ribs. When the water begins to boil, add Sichuan douban sauce, ginger, garlic, and prickly ash. Continue to boil, uncovered and stirring occasionally, for about 30-45 minutes, or until the meat is cooked through and soft enough to bite and liquid has reduced by half of its original volume. Add a pinch of salt, if needed. Serve and enjoy!
*The recipe originally calls for 3 garlic flakes, but minced garlic has been substituted. Garlic flakes, Sichuan Douban Sauce (I used the Lee Kum Kee brand), and Chinese prickly ash can be found at your local Asian market.
**The Sichuan province where this originates is often called “Szechuan” or “Szechwan” in the west, but is synonymous.
1/2 t minced garlic (or 1 clove fresh garlic, grated)
Cut cucumbers into 2-3 inch slices and then length-wise. Lay each piece on a cutting board, open side down, and smash with the flat side of a large knife, then put in a bowl. Add the MSG, salt, chili oil, sesame oil, and garlic. Toss until well-combined and cucumbers are thoroughly coated. Serve immediately.
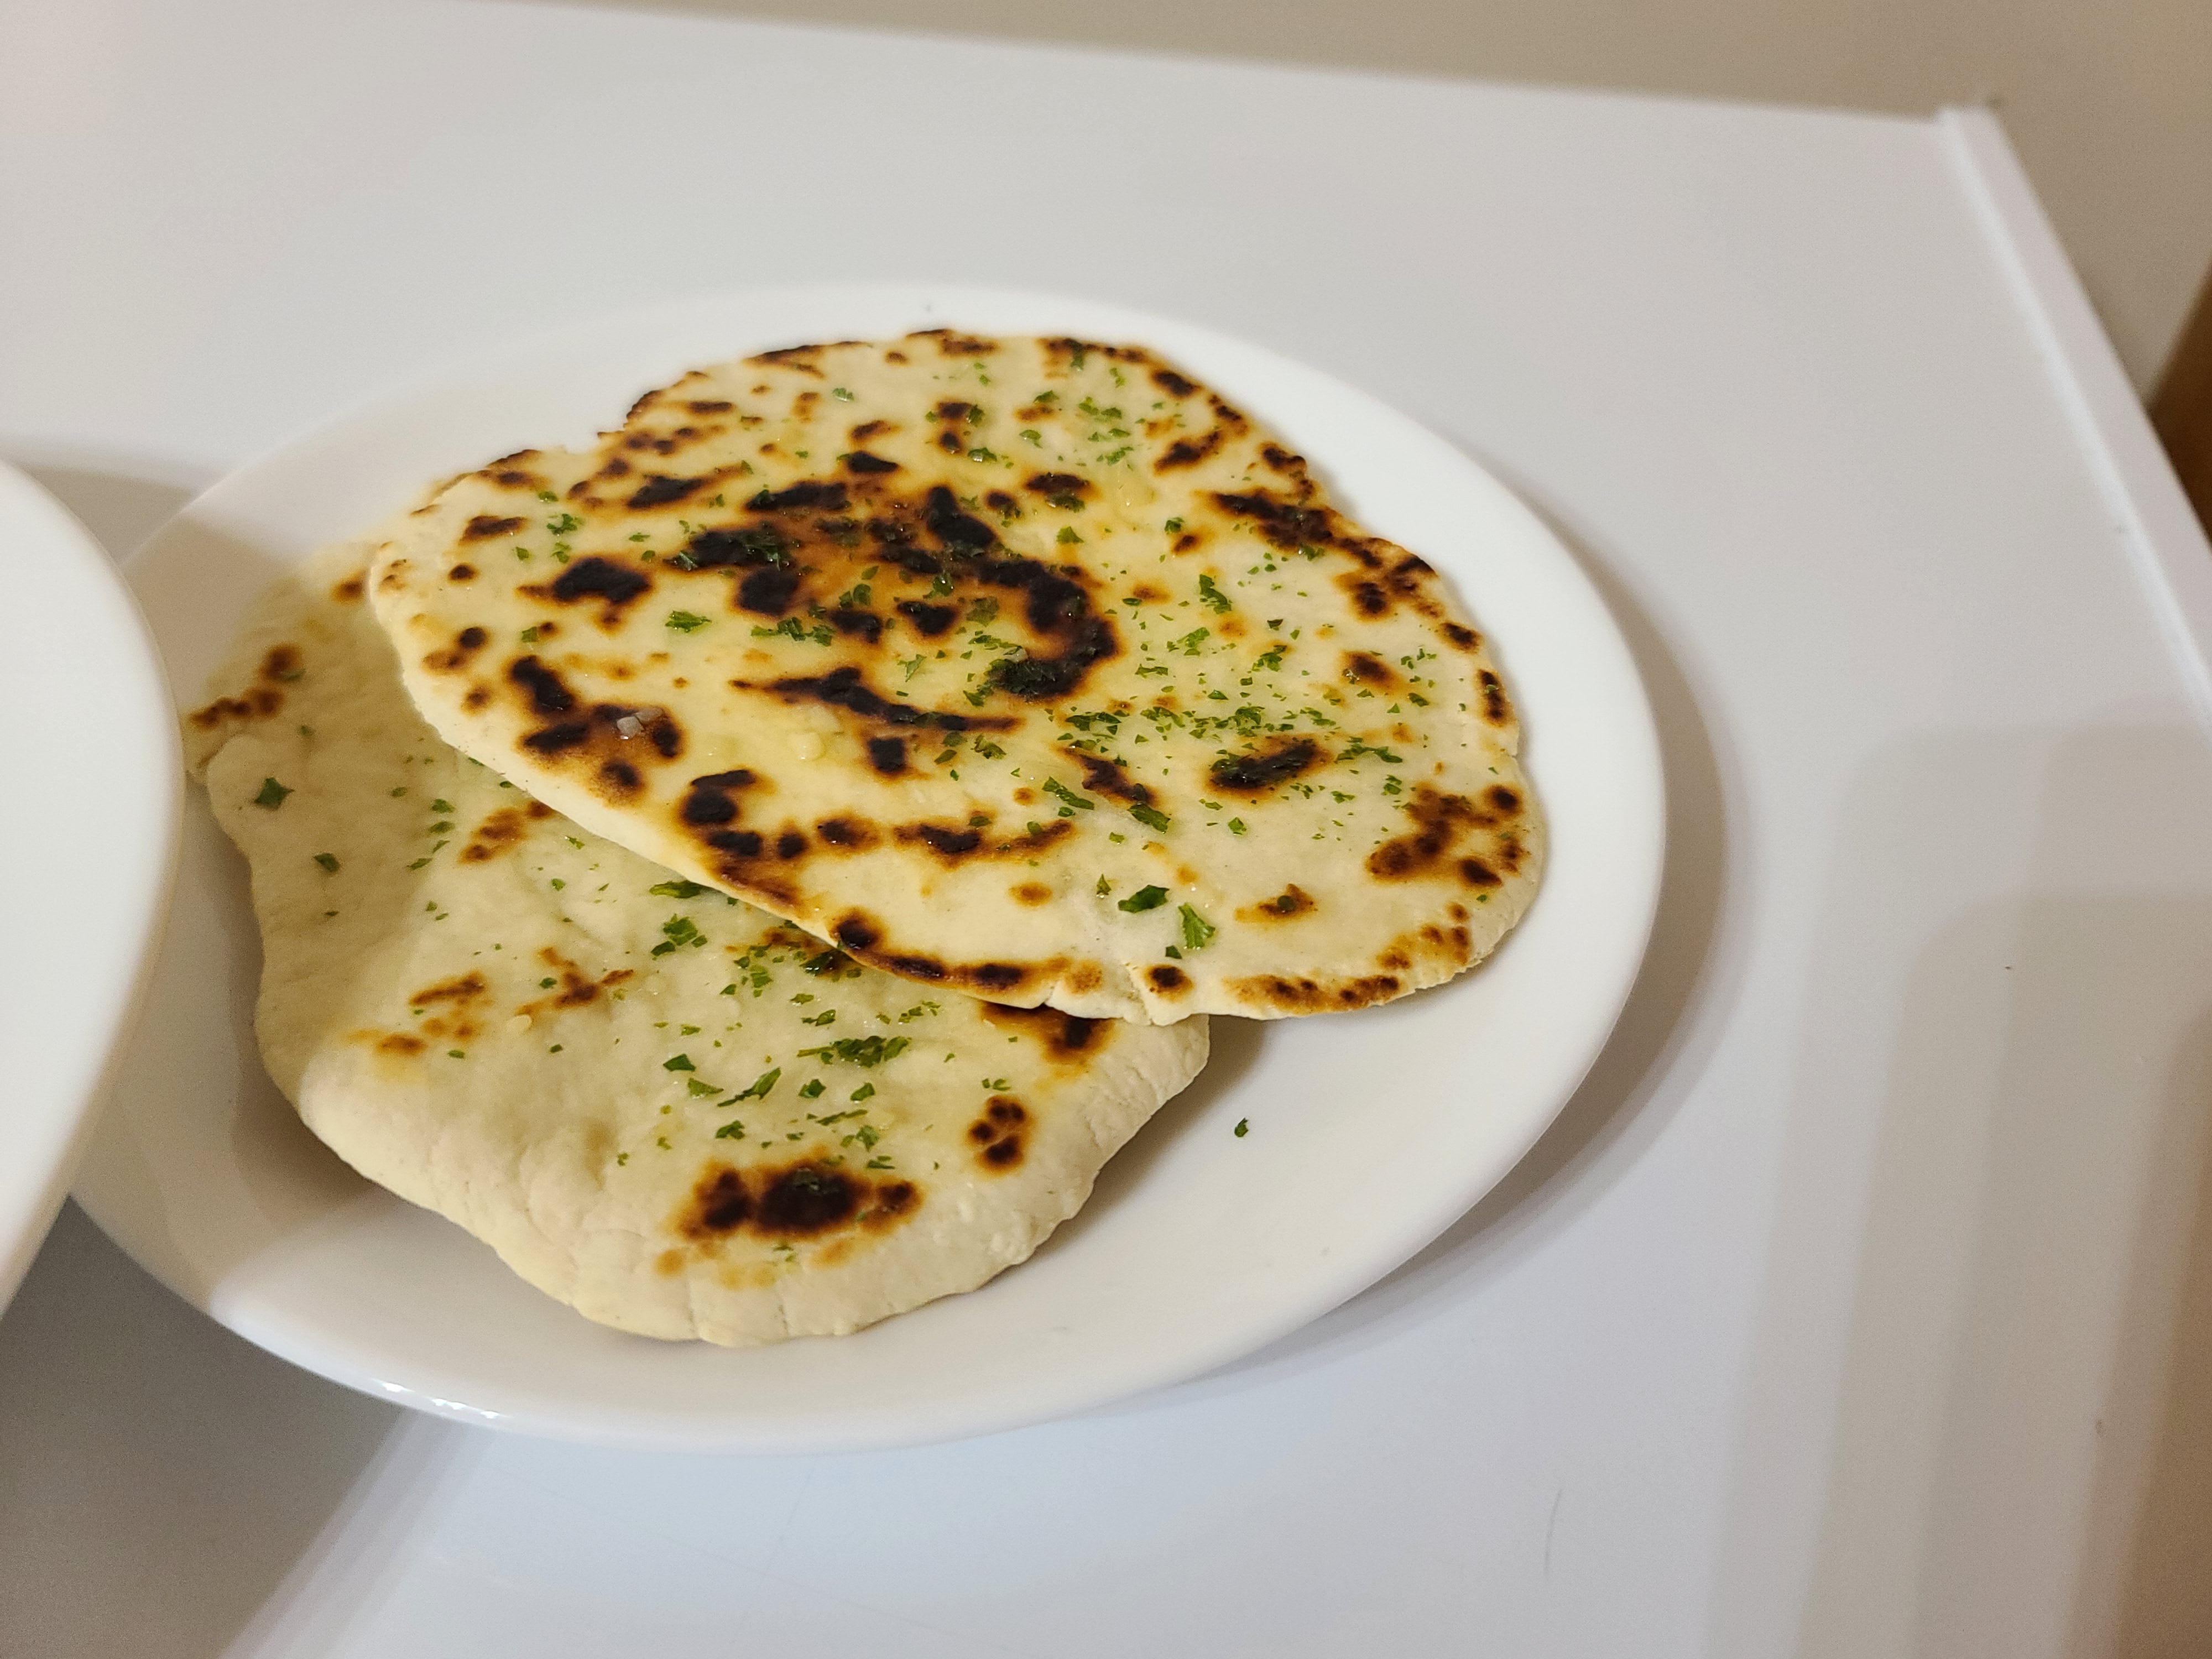
In a bowl, combine all dry ingredients and whisk together. Add the oil and milk (and minced garlic, if desired) and mix until it forms a ball. Place on a clean surface and knead for at least 5 minutes until very smooth and elastic, adding more flour or milk if needed (should be moist, but not loose). Let the dough rest for 10 minutes, then divide equally into 8 pieces.
Melt the butter in a small bowl (add garlic powder if you’d like) and have parsley ready in another small bowl. Heat a skillet over medium-high heat. Roll each piece of dough until very thin (less than 1/8″). If the skillet isn’t non-stick, melt some butter before each piece. Cook the each piece individually for about 90 seconds on each side. Immediately after removing, brush one side with butter and sprinkle with parsley.
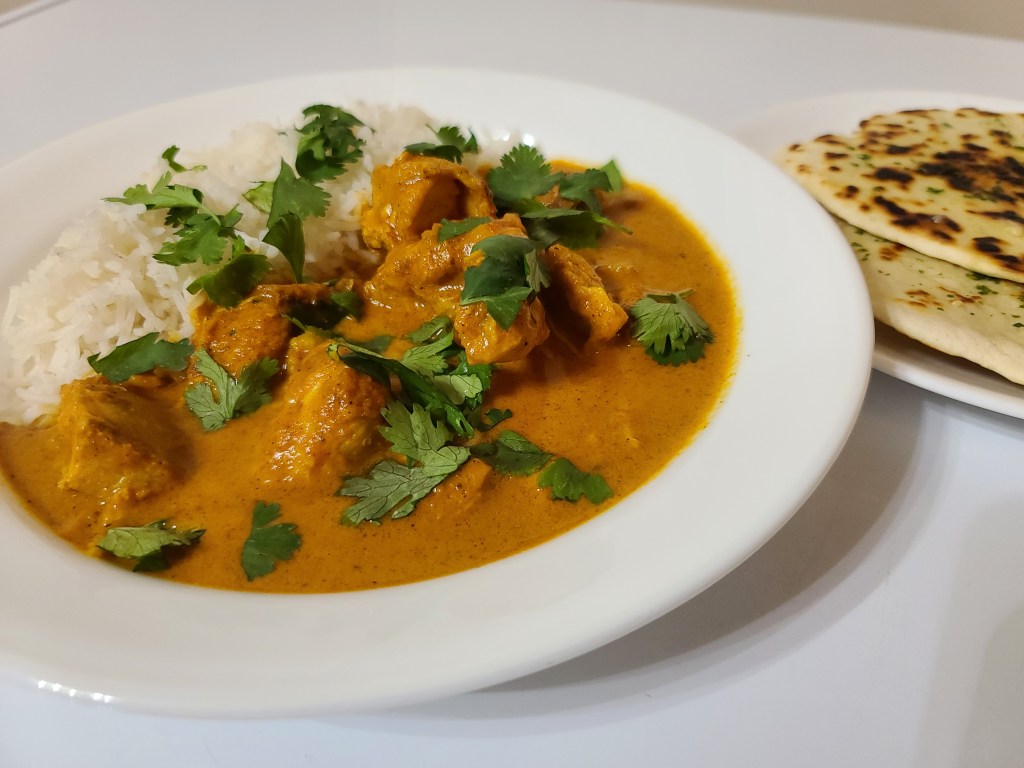
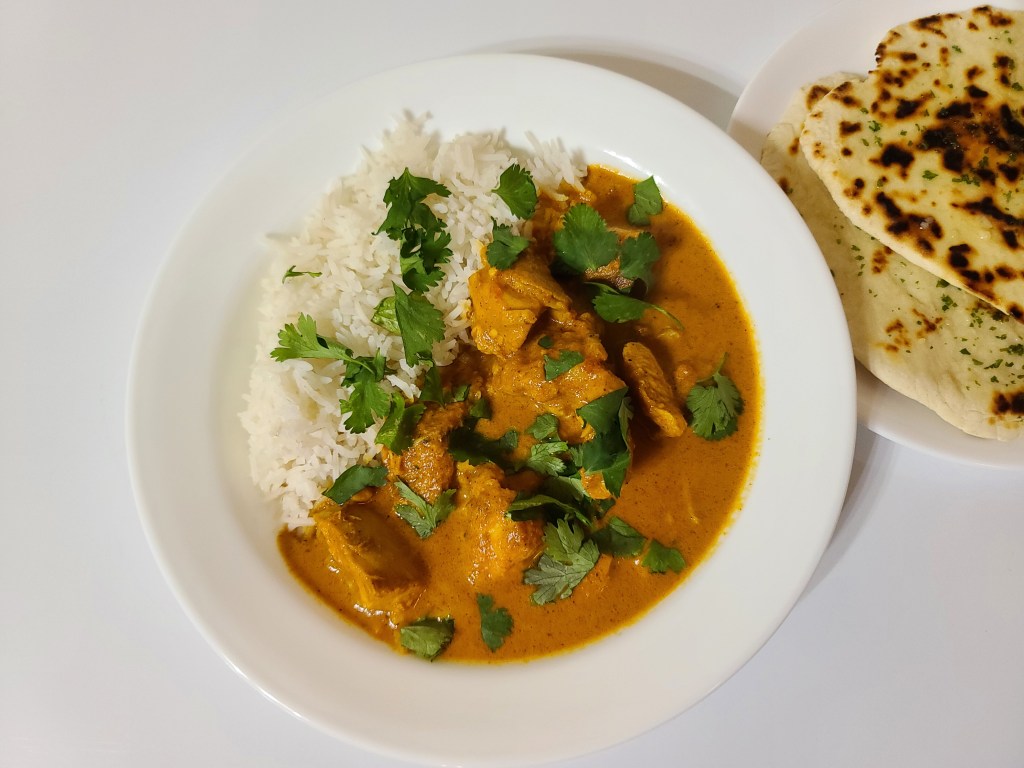
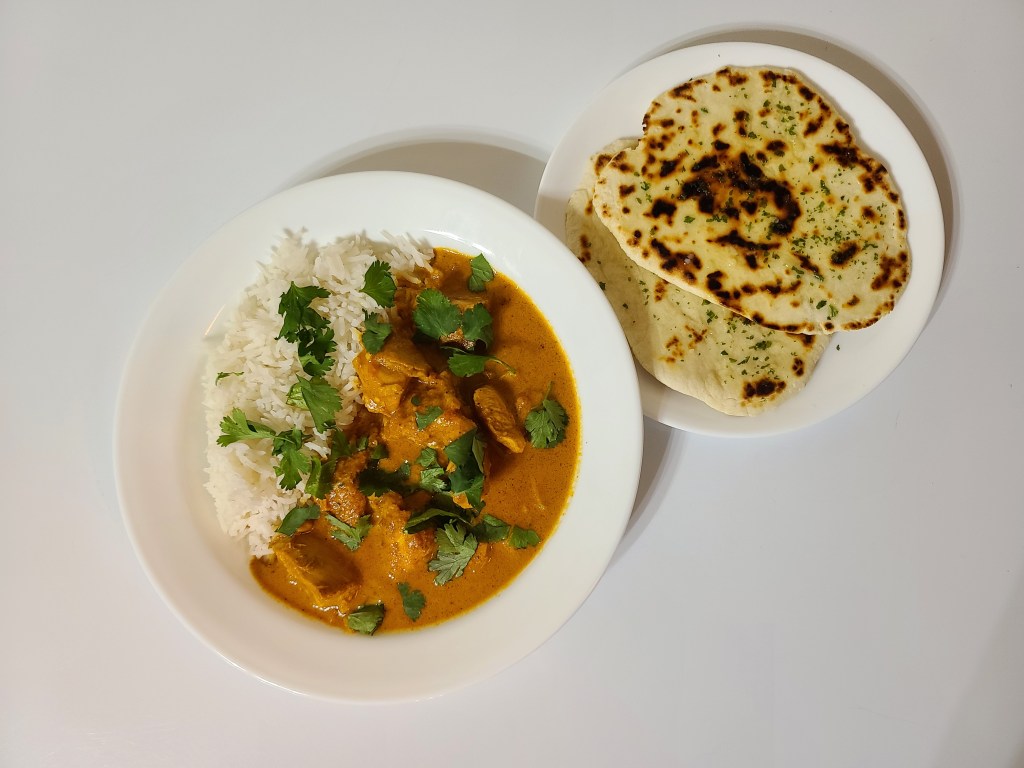
Place all ingredients except for the chicken, butter, and cream into a large pot. Mix the sauce well and turn on the stove to medium heat. Add the butter and the cream. Stir until butter is fully melted and incorporated. Add the chicken and cover with the sauce. Allow to simmer, stirring occasionally, until the chicken is fully cooked through, about 15-20 minutes.
There should be a lot of extra sauce. Half of it can be frozen for later (just add chicken thighs and simmer until cooked through).
INSTANT POT INSTRUCTIONS
Place all ingredients into an Instant Pot in the order listed, except for the chicken, butter, and cream. Mix the sauce well before placing the chicken into the sauce. Close the Instant Pot and set to pressure cook for 10 mins on high (if using frozen chicken, add 2 minutes). When it’s done, let it release pressure naturally for 10 minutes and then carefully release all remaining pressure manually.
Remove the chicken carefully, cut into bite-sized pieces, and set aside. Blend together all the ingredients (preferably using an immersion blender). Let the sauce cool a little and then add the cut up butter and cream. Stir until the butter has melted and everything is well-incorporated. Add the chicken back in and heat through (if your Instant Pot has a sauté function, use that on low).
Cook pasta according to package directions. While the pasta is cooking, heat oil in a large pan over medium heat. Add onion and sauté until translucent and fragrant. Add minced garlic, oregano, and basil, cooking for an additional minute. Add canned tomatoes, red pepper flakes, and sugar.
Increase heat to medium high until sauce begins to boil, stirring often. Reduce the heat to medium-low, cover, and let simmer for 20-25 minutes, stirring every 5 minutes. Add salt and pepper to taste. Add the pasta to the sauce and stir to coat evenly.
Sauce can be kept in a refrigerator for 1 week or frozen for later use.
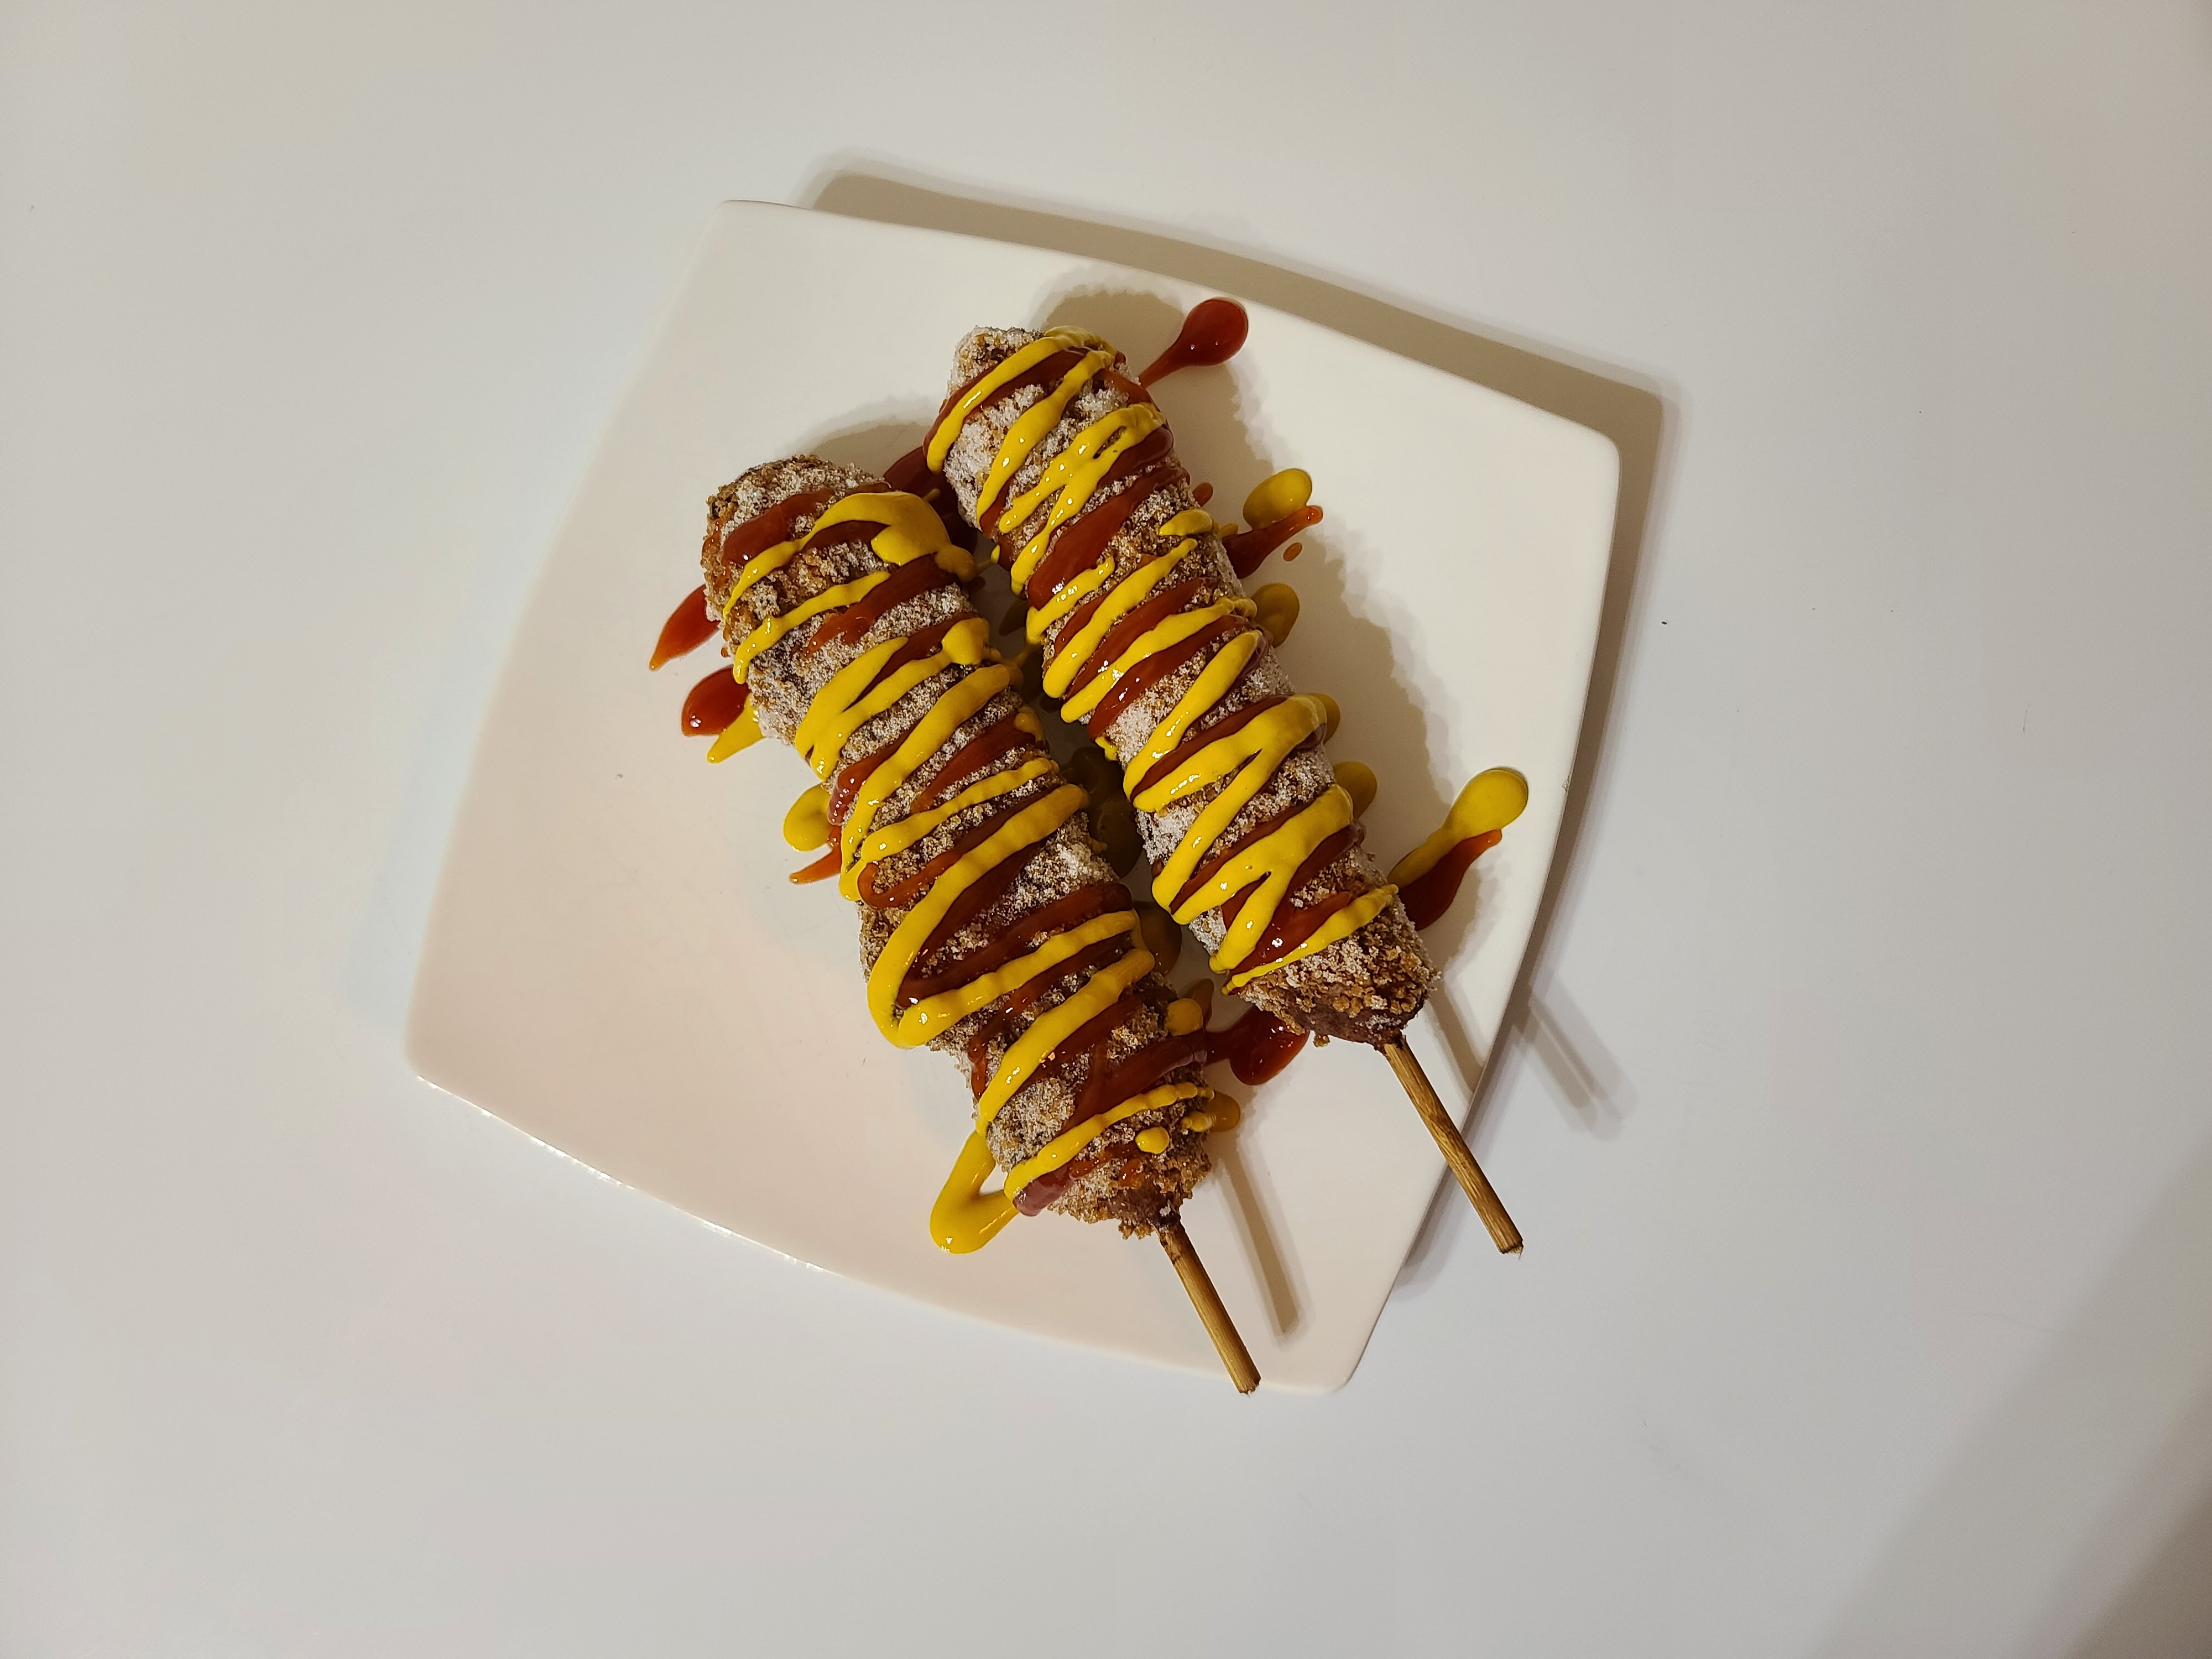
*Calling these “corndogs” is a bit of a misnomer. Unlike American-style corndogs, these only resemble the shape and look, but do not actually use any form of corn in the batter.
1 1/2 c flour
2 T sugar
3/4 t salt
1 packet instant dry yeast
1 egg
1 c warm water
1 block mozzarella
4-6 hotdogs
8-12 wooden skewers
1 c Panko breadcrumbs
1 c sugar
vegetable oil
ketchup
mustard
In a large bowl, add the flour, 2 tablespoons of sugar, salt, and yeast. Stir to combine. Add the egg and water and whisk until it creates a smooth, thick batter. Cover with plastic wrap and allow to proof until doubled in size (about 30 minutes).
While the batter rises, cut the mozzarella into blocks about 3/4″ x 3/4″ x 3″. Cut the hotdogs in half (so they are about the same size as the mozzarella pieces). Skewer a piece of hotdog (length-wise) followed by a piece of mozzarella. Set aside.
On a plate, pour your Panko breadcrumbs. On another plate, pour the cup of sugar. Set both aside. In a deep frying pan, pour the vegetable oil (it needs to be about 2 inches deep) and heat to about 300F.
Once the batter has proofed, dip each hotdog/mozzarella skewer into the batter until fully covered (use a spoon to help, if needed), then in the Panko breadcrumbs. Place in the hot oil and allow to fry until golden in color, turning over if necessary. Use tongs or a spider ladle to safely remove from the oil by the skewer handle and place on a plate with paper towels to drain. Roll in the plate of sugar and knock off any excess. Drizzle with ketchup and mustard and serve warm.
2 T gram flour (also called besan or chickpea flour)
4 T cold water
vegetable oil (for deep frying)
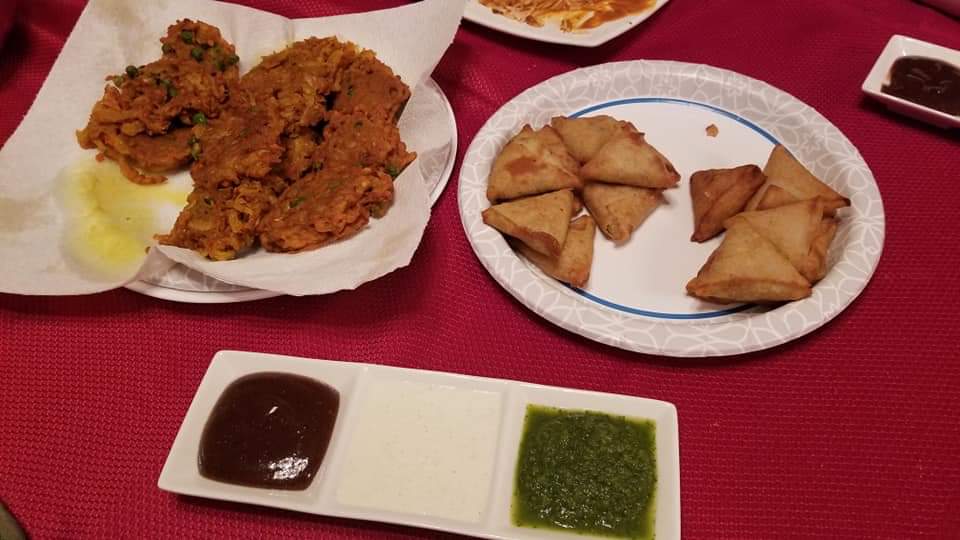
In a bowl, combine onion, carrot, potato, and peas. Add the garlic, salt, and all the spices. Add half the gram flour and then add the water gradually until you have a doughy, not too liquid, texture. Add more gram flour and water until the vegetables are all lightly coated in the mixture.
Pour oil into a non-stick saucepan or skillet until it is about 1 ½ inches deep. Heat the oil on medium-high heat until a small amount of the batter sizzles on contact. Using two spoons, scoop the pakora batter into balls and drop into the oil. Fry the pakoras in small batches of 4 or 5 and remove from the oil when golden.
1 t diced green chilies (canned or fresh – more if desired)
1/2 inch ginger, peeled and roughly chopped
1 t cumin
1 t lemon juice
1/2 t black salt*
3-4 T water
In a blender, add all of the ingredients. Add 3 to 4 tablespoons water, as needed, and blend to a smooth consistency. Add more salt, if needed, to taste.
The chutney can be stored in the refrigerator for 3-4 days.
*you can use table salt if black salt is unavailable.
Add the tamarind paste, water, and sugar to a medium saucepan. Bring to a simmer over medium heat, stirring until sugar is dissolved. Remove from heat and allow to cool for 20 minutes. Puree in a food processor or blender until smooth. Strain through a fine mesh sieve, reserving the liquid in a bowl below. Whisk all remaining ingredients into the tamarind liquid.
The chutney can be stored, refrigerated, for up to 3 months.
Peel the cucumber and slice in half lengthwise. Use a spoon to scoop out the seeds. Chop in a food processor until almost smooth. Transfer to a bowl, add a pinch of salt, and allow to sit while you prepare the rest of the sauce.
Peel the ginger and blend in the food processor until pureed. In a small bowl, combine the ginger, yogurt, coriander, cumin, and salt. Roughly chop the cilantro and add to the bowl. Stir to combine.
After the cucumber has been sitting for at least ten minutes, press it into some paper towels or a cheese cloth to extract as much moisture as possible. Add it to the sauce and stir to combine.
The raita should keep in the refrigerator for approximately 5 days.
In a large saucepan, add water and bullion cubes. Bring to a boil, stirring until the bullion cubes have completely dissolved. Reduce the heat to medium.
In a bowl, scramble the eggs. Stirring the bullion mixture in a slow circle, slowly pour the eggs into the saucepan. You may need to adjust your stirring speed as you go – too slow makes large chunks of egg and too fast makes tiny egg wisps.
In a small bowl or container, mix the cornstarch with a few tablespoons of water, stirring until fully combined to make a slurry (this will prevent lumps of cornstarch in the soup). Pour the cornstarch slurry into the saucepan and stir gently to incorporate. Add parsley and soy sauce and stir again. Serve with additional soy sauce, if desired.
**This recipe can easily be adjusted to modify quantity. As a general rule, one cup of water, one bullion cube, and one egg per person. Thicken with cornstarch and season with parsley and soy sauce as needed.
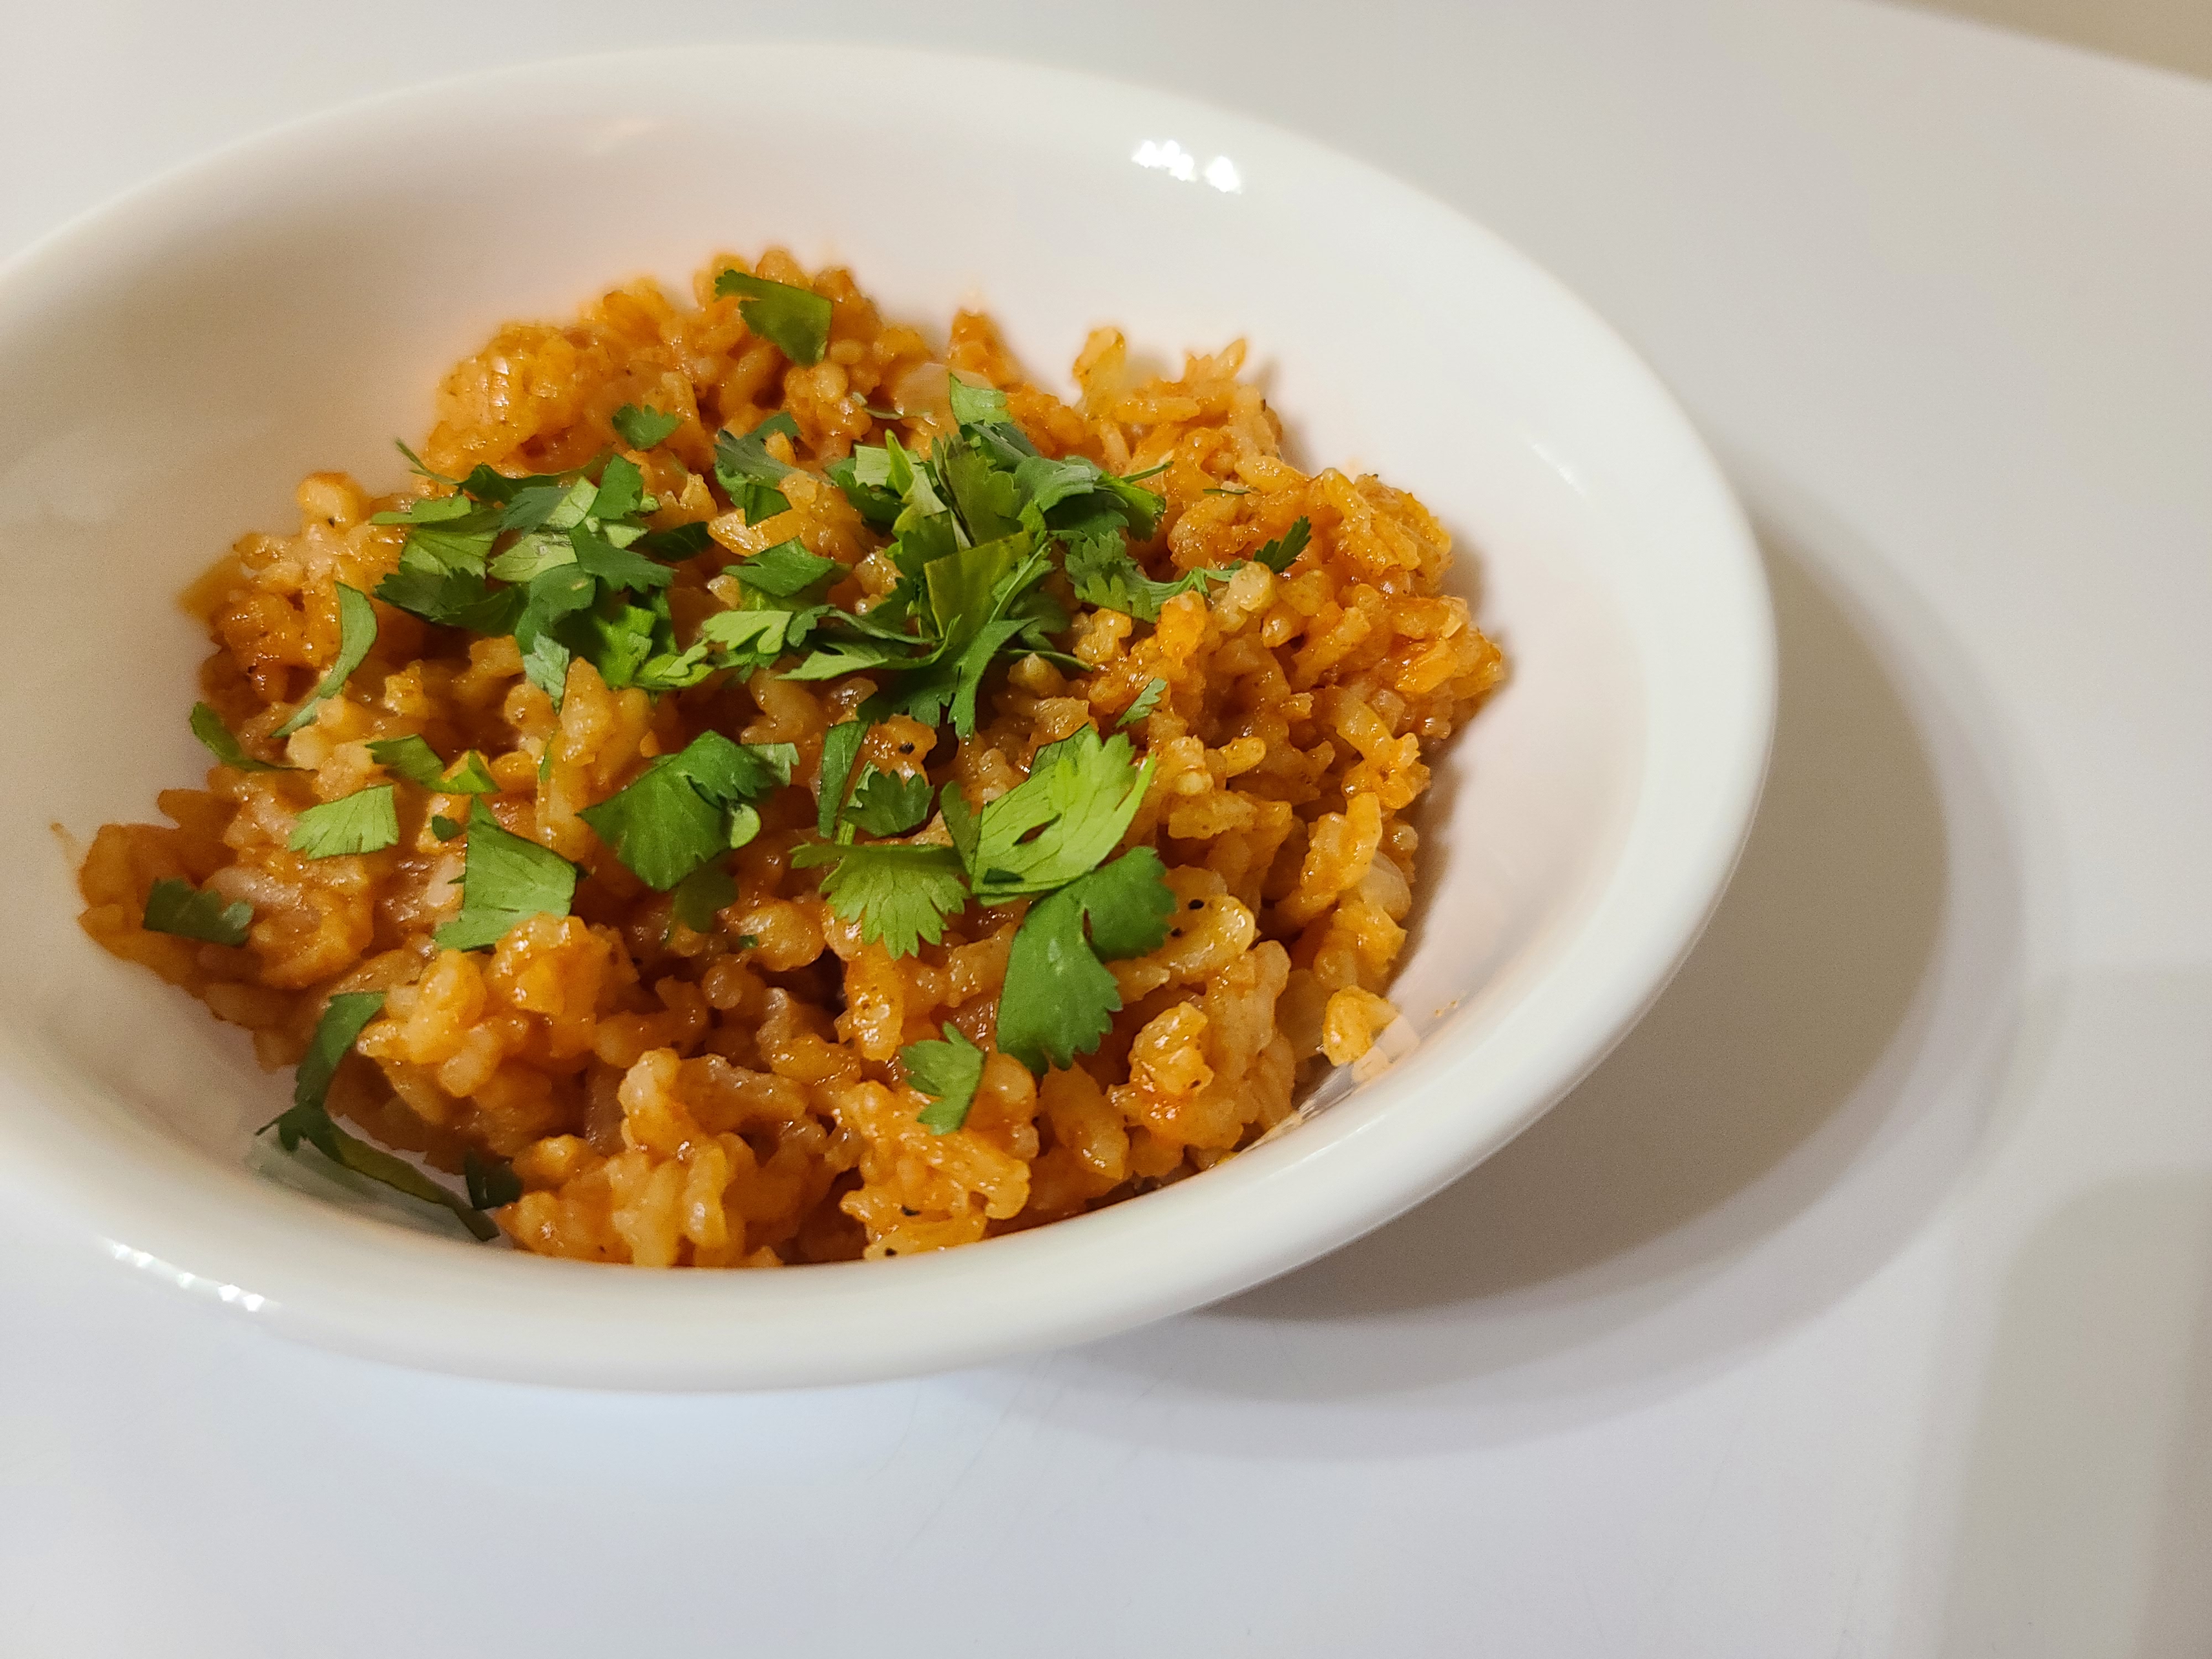
Heat oil in large saucepan over medium heat. Add rice and sauté, stirring frequently until golden brown (about 5-10 minutes). Add the cumin and onion. Continue cooking until the onion is translucent. Add garlic and cook for an additional minute.
Add the tomato sauce, chicken broth, salt, and pepper, stirring to combine. Bring to a boil, continuing to stir. Reduce the heat to low, cover, and simmer for 20 minutes. Leave the rice covered and remove from heat. Rest for 10 minutes. Fluff up the rice a fork. Sprinkle the cilantro over top and serve.
1 small-medium head of broccoli, stem removed and cut into small pieces
1 red bell pepper, sliced
6 c water
2 gala apples, peeled and diced
7.8oz Golden Curry packet (choose spicy level by preference)
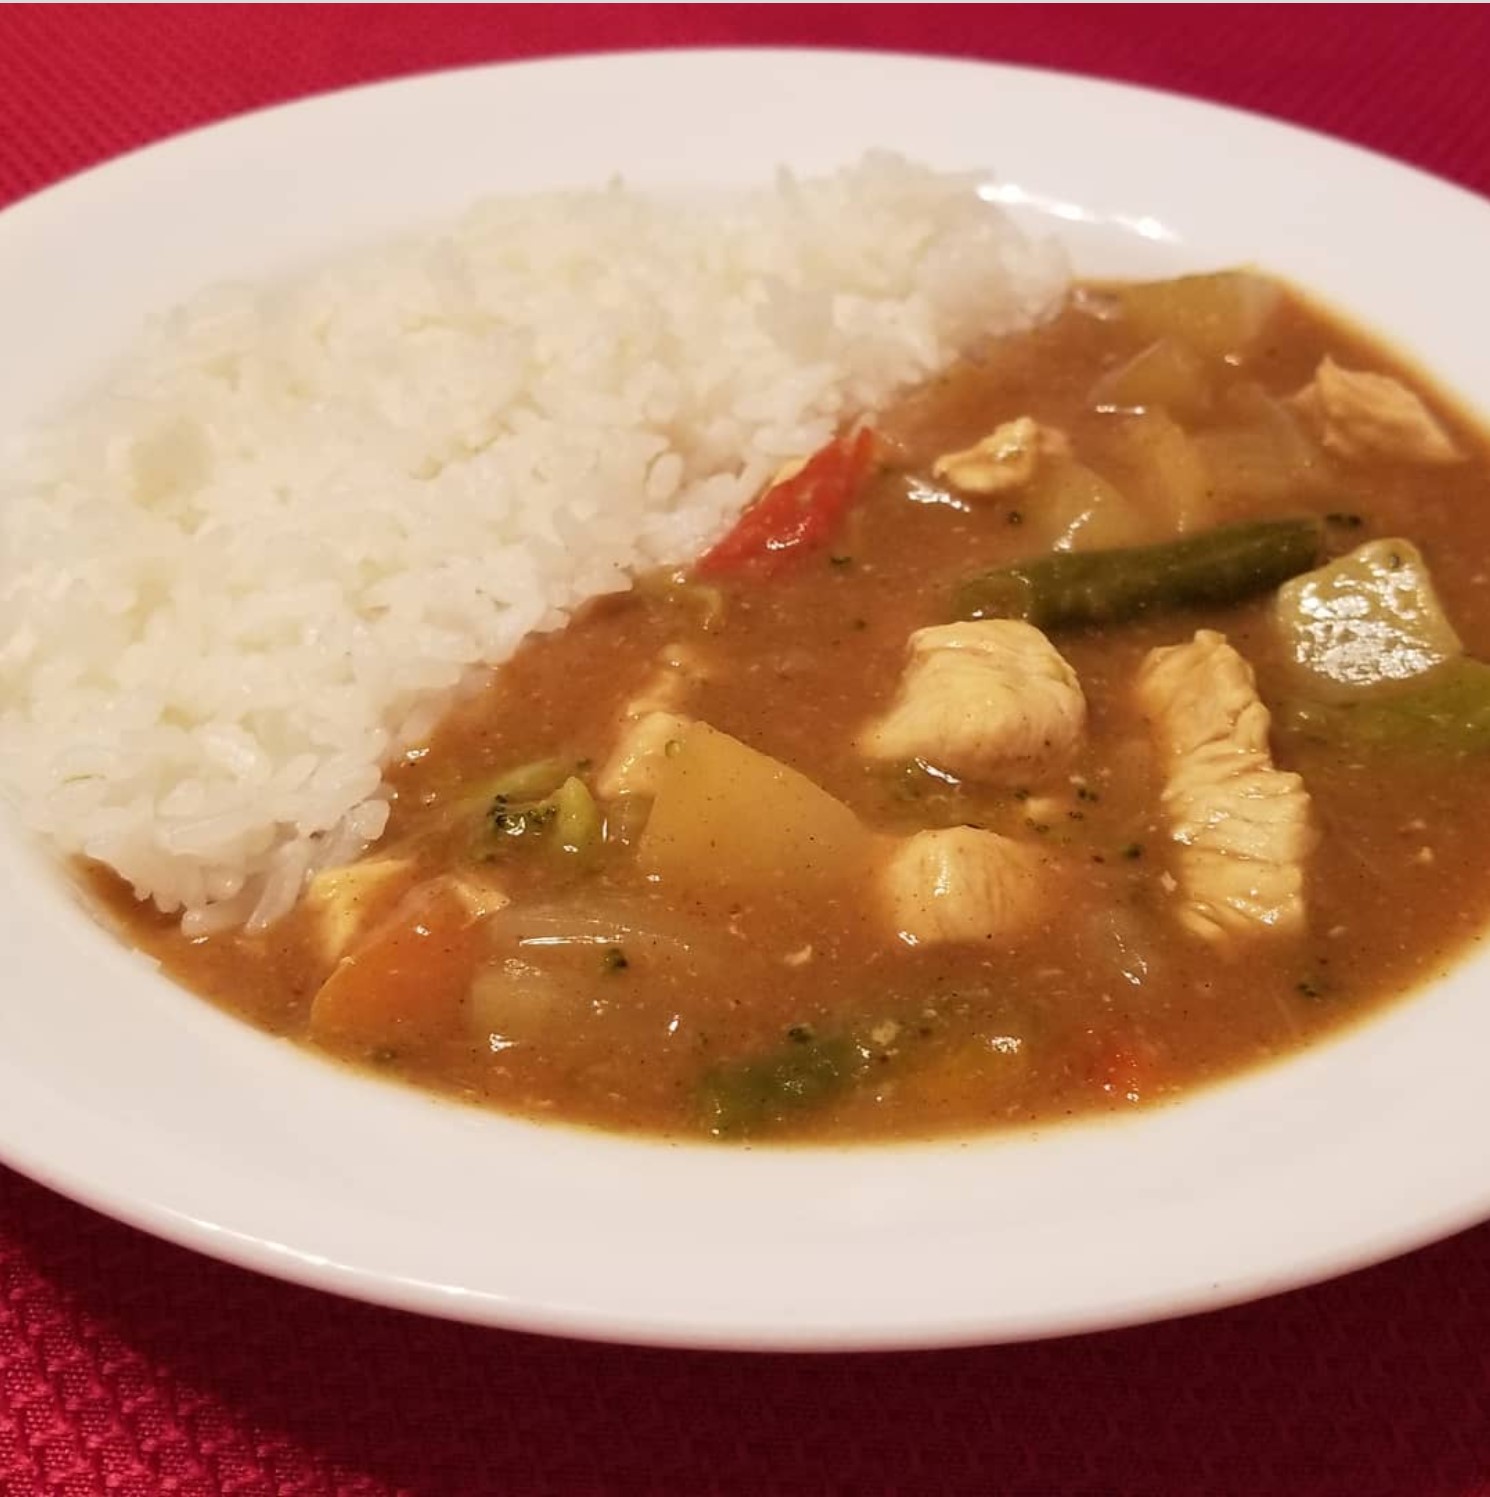
In a large pot, heat oil over medium heat. Add the onion, potatoes, and carrots and cook until onions are tender, about 10 minutes, stirring occasionally. Add chicken, broccoli, and bell pepper. Cook for an additional 10 minutes or until chicken is no longer pink, stirring regularly. Add apples and water. Bring to a boil, then reduce the heat to low. Cover and simmer for 15 minutes. Add the curry mix and stir constantly for 5 minutes or until curry mix is fully incorporated with no lumps. Serve warm over rice.
3/4 c grated coconut (use shredded if unavailable)
powdered sugar
Beat butter and sugar until creamy. Add egg yolks and mix. Add vanilla, apple juice and lemon zest. Mix well and set aside.
In a separate bowl, whisk together the flour, cornstarch, salt, baking soda, and baking powder. Add to the butter mixture and work together with your hands until all is combined and the dough is soft. Do not add any extra flour. If dough appears crumbly, add a few drops of milk. Cover and chill for 2 hours.
Preheat oven to 325F. Line baking sheets with parchment paper.
Work with half of the dough at a time (keep the other half refrigerated). On a floured work surface, roll out dough to a 1/4-inch thickness. Cut into 2-inch rounds and transfer to prepared baking sheets. Repeat rolling/cutting with 2nd half of chilled dough. Bake at 325F for 12-15 minutes or until done. The cookies should be dry but not brown.
When cookies are cool, match them up into pairs of like-sizes. Spread about a tablespoon of dulce de leche onto the flat side of one cookie in each pair. Place its partner on top (flat side down) and gently press so that the dulce de leche comes to the edges. Roll edges in coconut and place on a cooling rack to set. When ready to serve, sift a light layer of powdered sugar over the tops of the cookies.
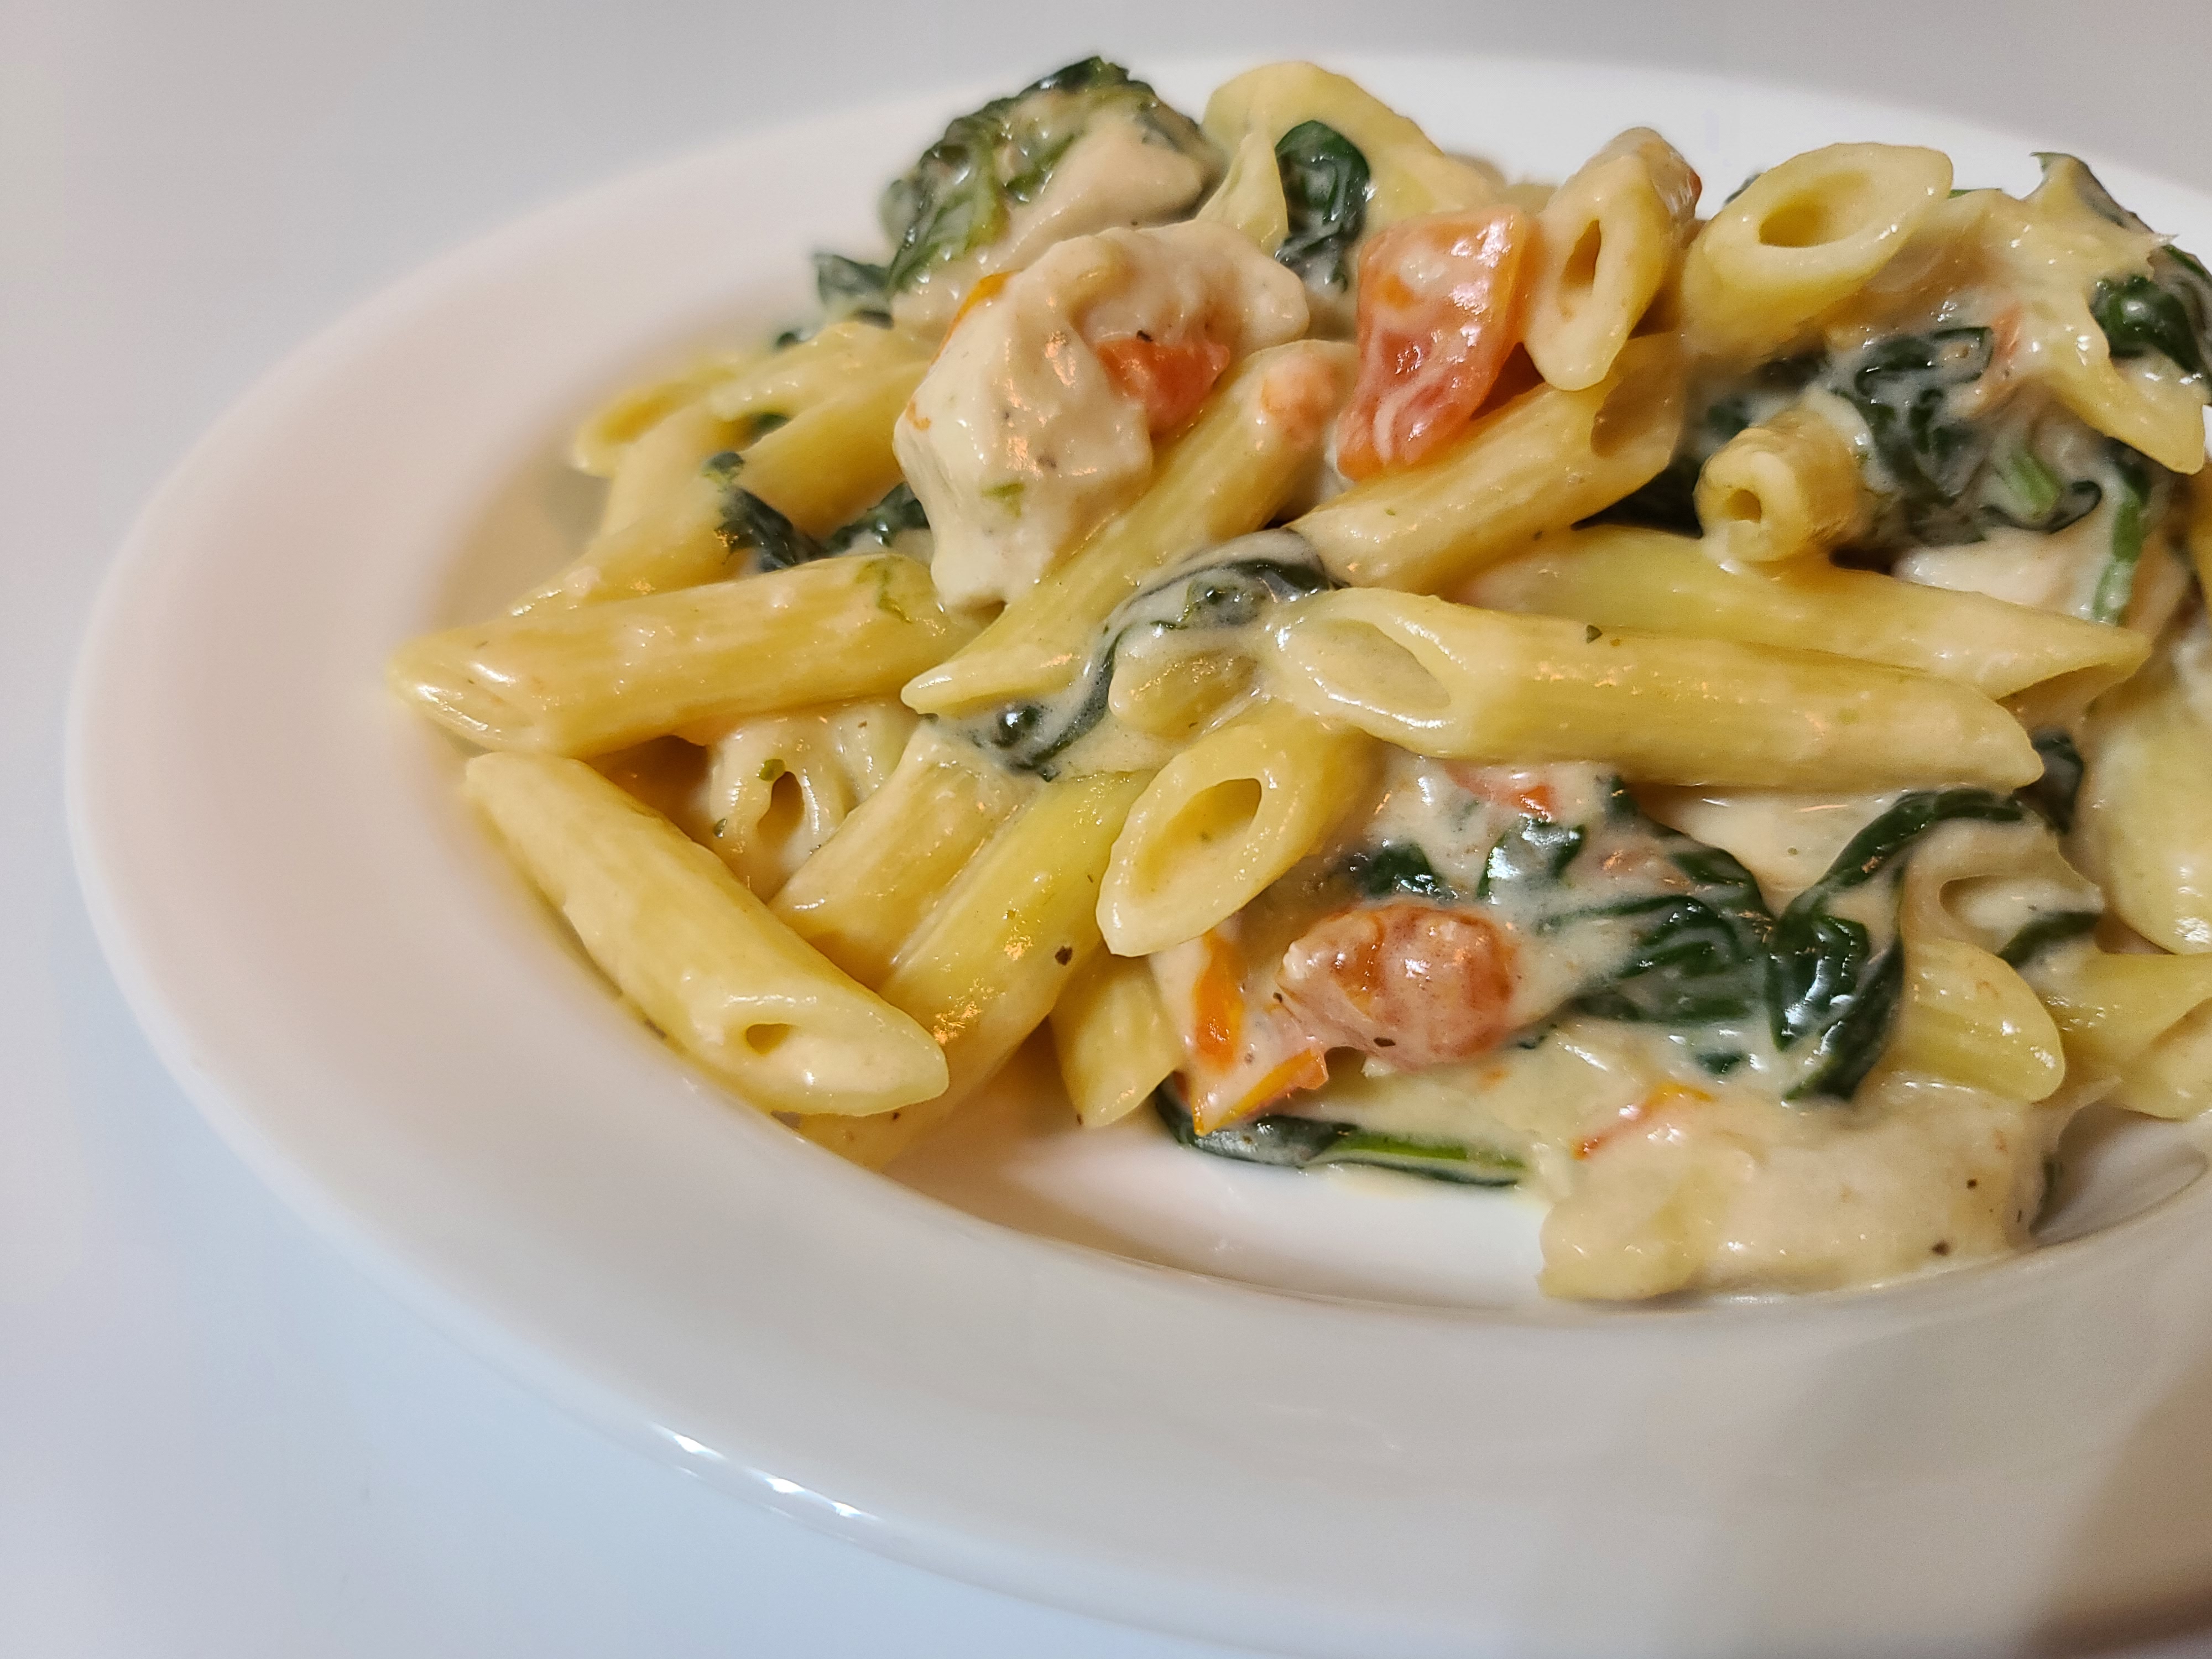
Cook penne pasta according to package directions, until al dente. Strain pasta and set aside.
In another pot, cook the strips of chicken over medium heat, seasoning with salt, pepper, onion powder, and garlic powder, until cooked through and golden brown. Add the olive oil and spinach to the pan, stirring often and allowing the leaves to wilt.
Add remaining ingredients and continue to cook, stirring regularly, until everything is warm and mozzarella is melted.
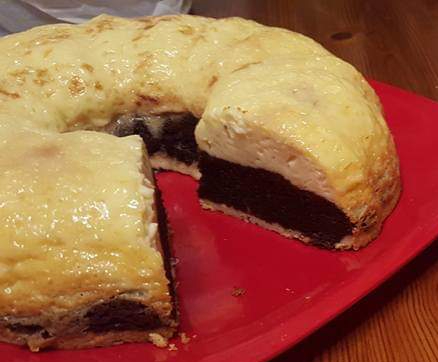
For the brownie layer, melt the chocolate with butter in the microwave in 10-15 second increments, stirring between each until smooth. In a bowl, beat 3 eggs with sugar, and add to the chocolate/butter mixture. Gradually add the sifted flour, baking powder, and cocoa powder, mixing thoroughly. Pour into the Bundt pan (don’t worry about the order – the brownie will float to the top as it cooks).
In a separate bowl, beat the milk, remaining 4 eggs, cream cheese, and condensed milk. Pour this mixture into the Bundt pan on top of the brownie layer, and cover with aluminum foil.
Place on a middle rack in the oven. On the rack below, place a pan or dish with water (this will help the brownie and flan cook evenly. Bake at 350F for 90 minutes.
Remove from oven and allow to cool. Place in the fridge for at least 3 hours. Flip pan upside down onto a plate to unmold and serve cold.
Heat the chicken broth in a pan. Fill ramen bowls with hot water to keep them warm (discard water when ready to serve). Fill another pot with salted water and bring to a boil.
Ladle the broth into the bowls, whisk in 1 1/2 tablespoons soy sauce and 1 tablespoon chicken fat into each. Cook ramen noodles according to package directions in the boiling water. Strain noodles from water and add to the bowls of broth.
Top bowls with the chashu pork, spring onions, soy sauce eggs, wood ear mushrooms, and nori.
1 c mirin (I prefer to use a non-alcoholic variation—buy it on Amazon)
3 spring onions, whole
4-inch piece ginger root, sliced
3 cloves garlic, crushed
2 t salt
2lb 12oz pork belly
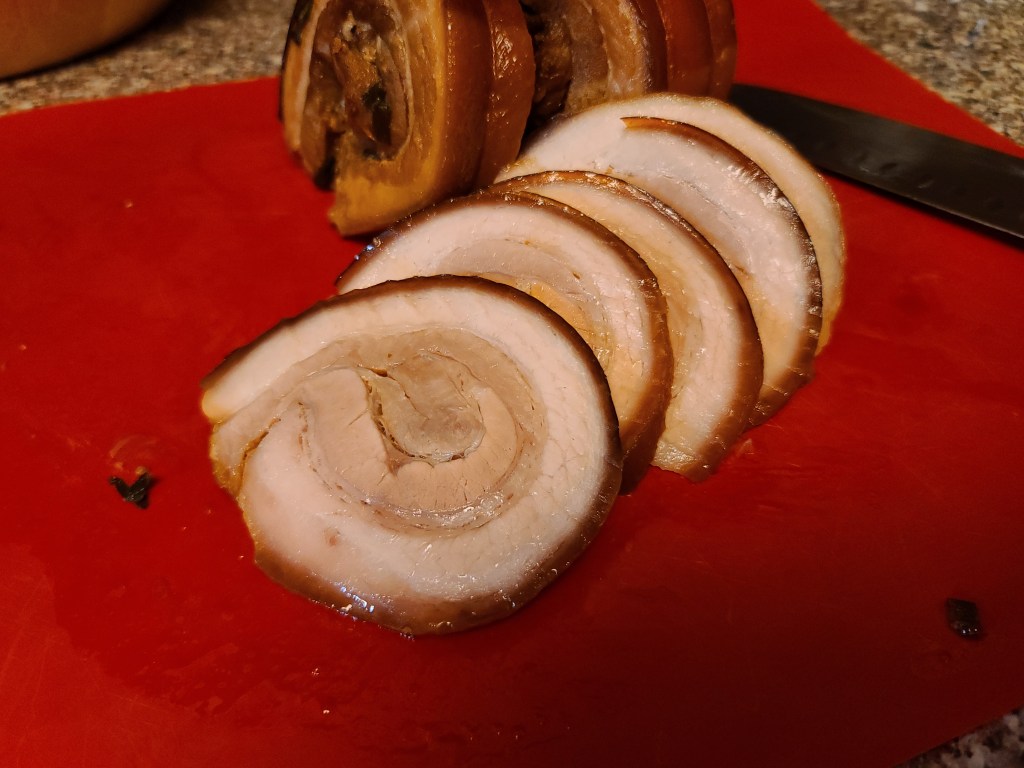
If any hair remains on the pork belly, burn it off with a blowtorch or lighter. Cut off some of the rind, leaving a quarter of it along the length of one edge. Roll the meat so that the rind is on the outside as a protective layer. Tie the roll with butcher’s twine.
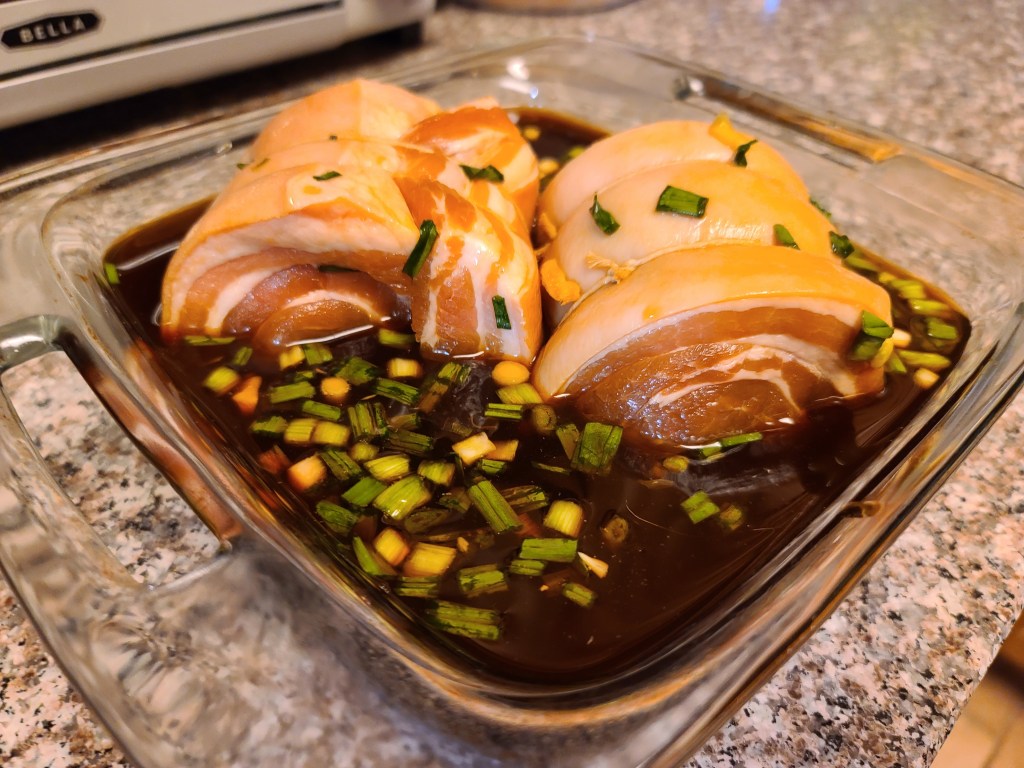
Oven method: Preheat the oven to 300F. In a deep, oven-proof dish, add all ingredients except pork belly and mix thoroughly. Add pork belly roll to the liquid and cover with a lid or aluminum foil. Place in the oven on the bottom rack. Lower the temperature to 250F and roast for 4 hours, turning 3 times so that all sides lie face-down in the marinade once.
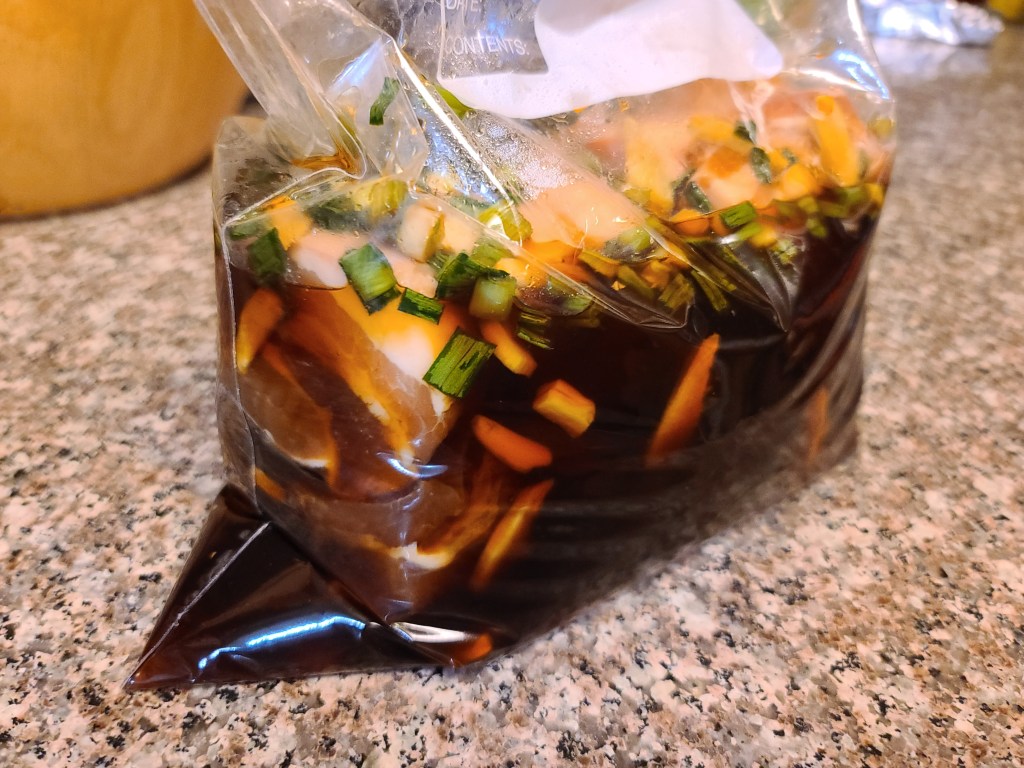
Sous Vide method: In a gallon freezer Ziploc bag, add all ingredients except pork belly and mix thoroughly (you may need to cut the green onions in a few pieces). Add pork belly roll to the liquid and seal the bag, using the water-displacement method to push out any air. Place the bag into the sous vide with a temperature of 170F for 6-8 hours.
Remove from oven/sous vide and leave to cool in the marinade. Refrigerate, covered/sealed, overnight.
Before serving, cut meat into thin slices. Heat in a 400F oven for a maximum of 5 minutes.
3 1/4 T mirin (I prefer to use a non-alcoholic variation—buy it on Amazon)
1 T ginger root, coarsely chopped
In a large saucepan, bring water to a boil. Add the eggs and continue to boil for 6 minutes (eggs will be soft boiled). Immediately transfer the eggs to a bowl of ice water.
In a clean saucepan, add the soy sauce, water, mirin, and ginger. Bring to a boil and then reduce to a simmer, cooking for about 5 minutes. Remove from heat and allow to cool completely. Pour into a jar.
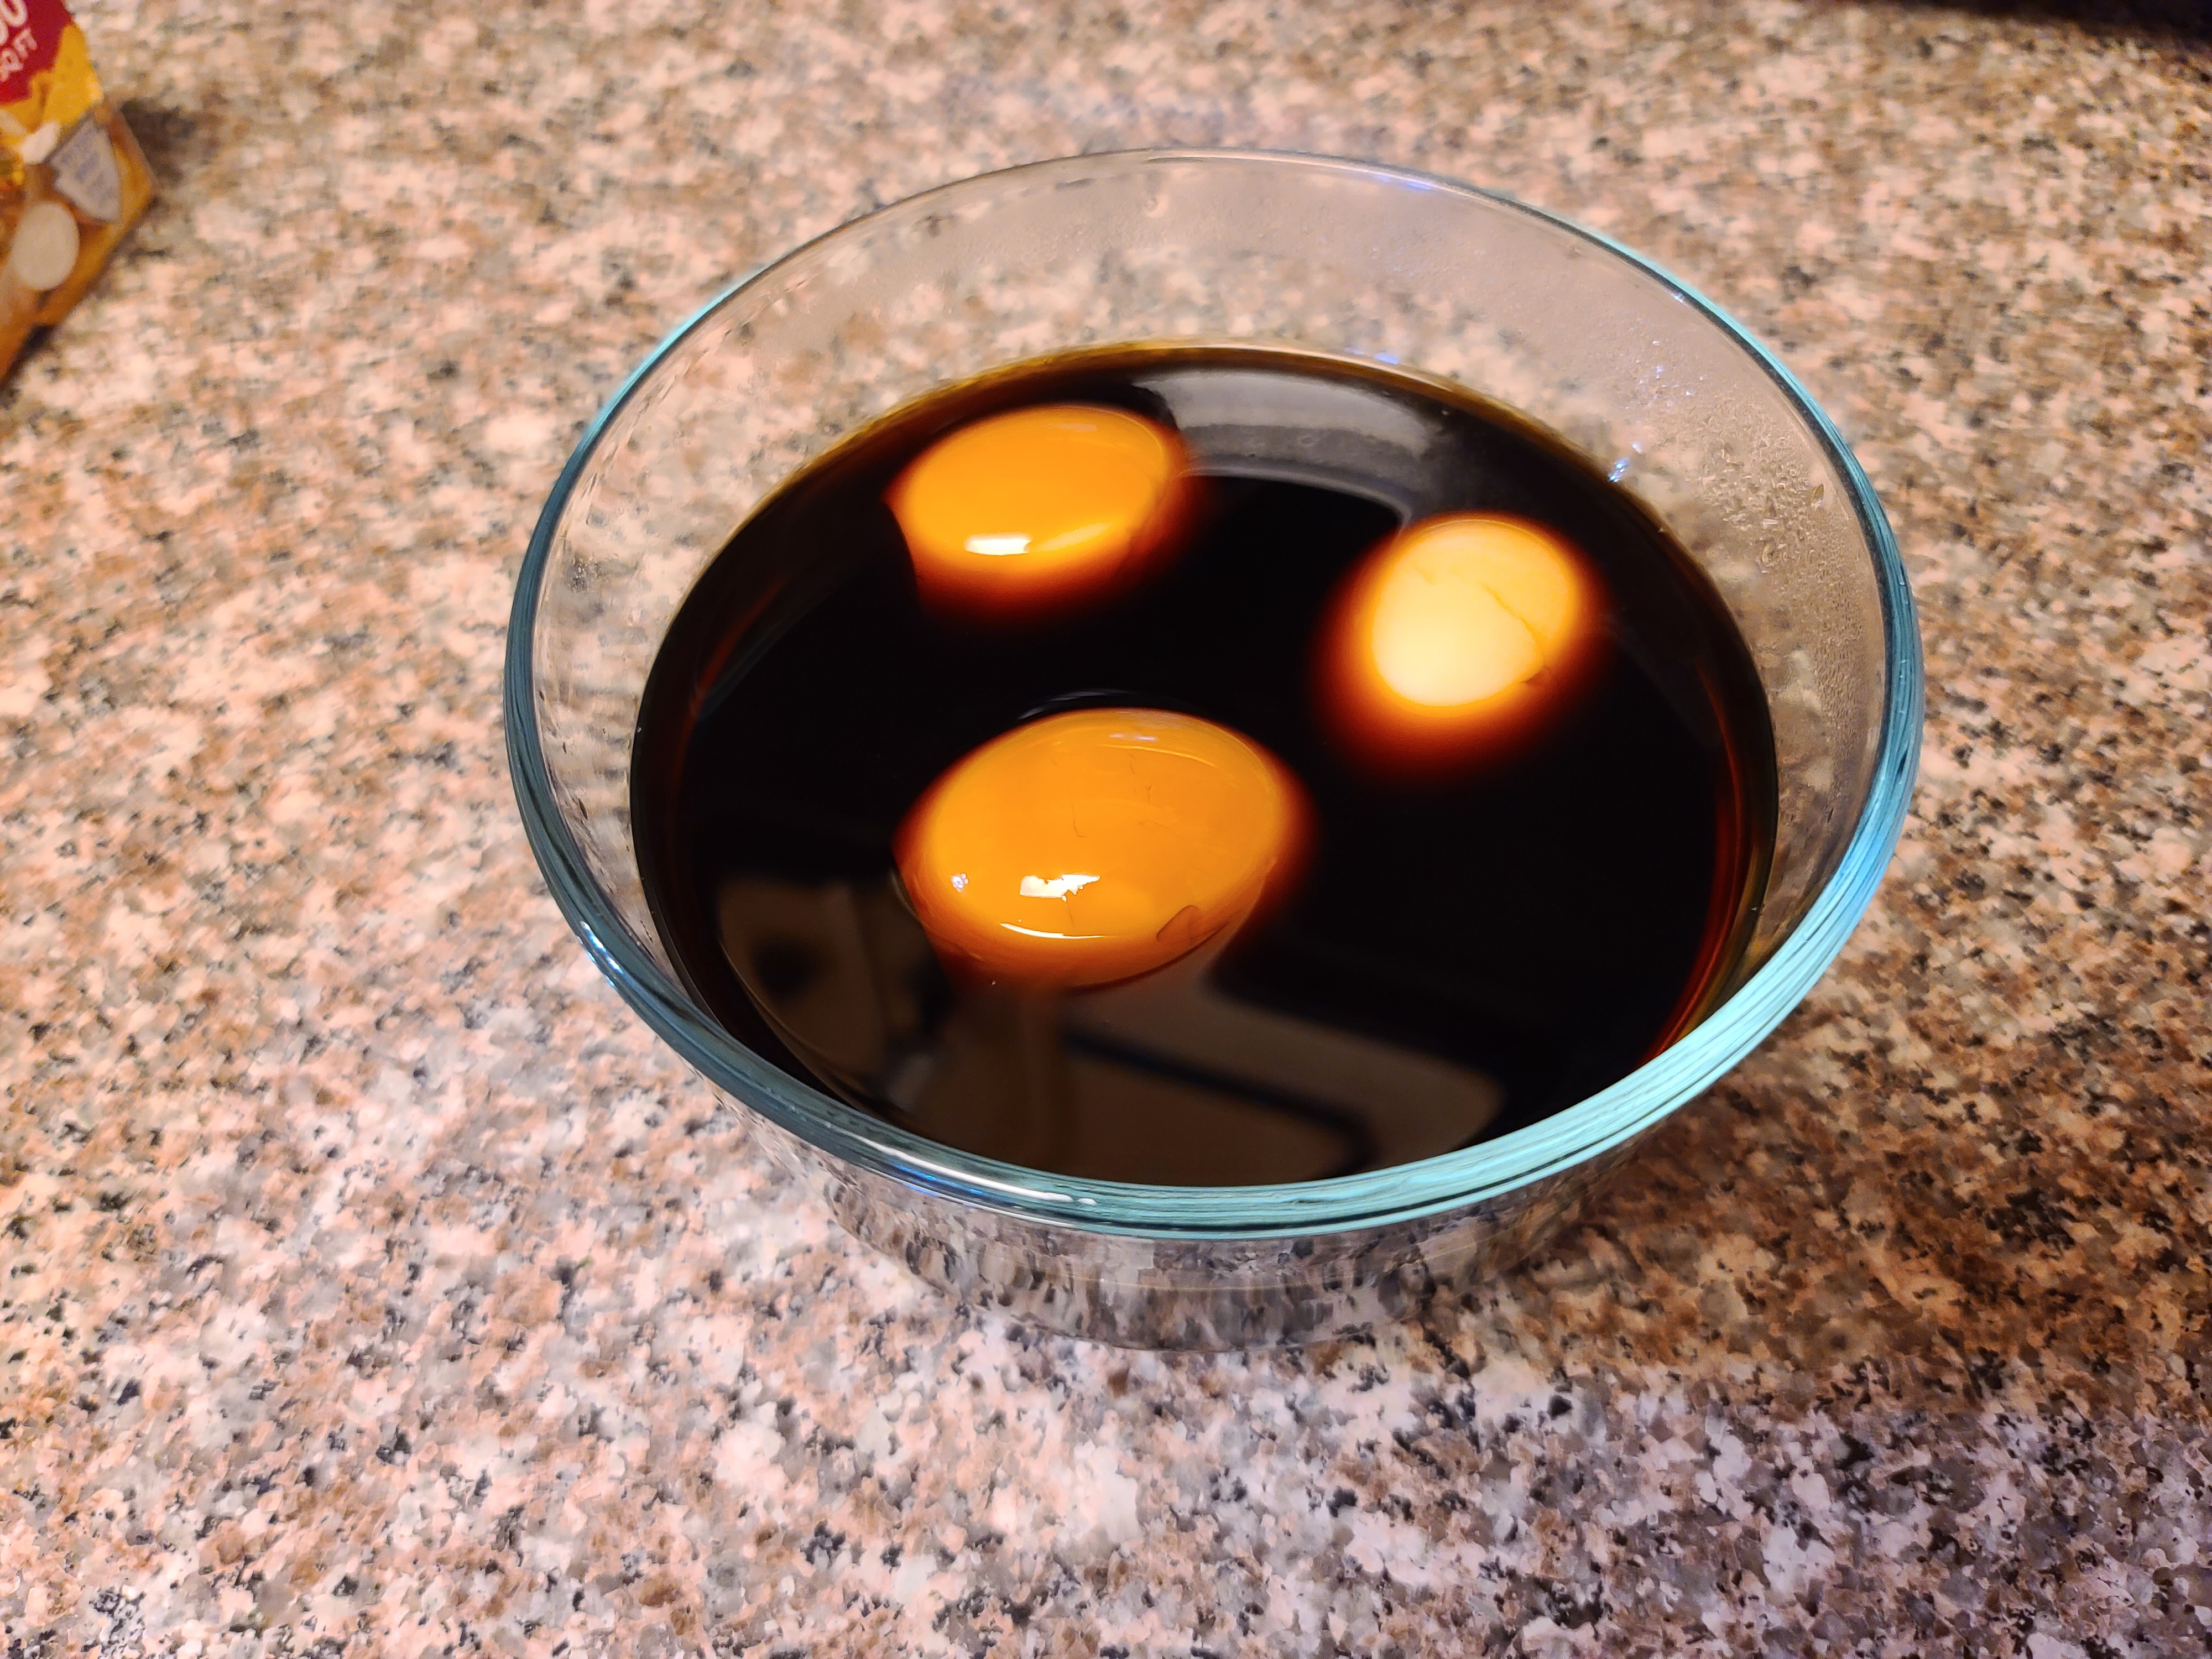
Peel the eggs and add to the marinade. Store in the fridge for 3-24 hours before serving.
Soak rice in water for 20-30 minutes and then rinse in a strainer.
In a large saucepan, bring rice, water, and 1/4 teaspoon of salt to a boil. Reduce heat to low and simmer, covered, for 45 minutes (rice will be cooked but still wet). Stir in sugar, 1/4 teaspoon of salt, and 1 1/2 cups coconut milk and bring to a boil. Reduce heat to low and simmer, uncovered, stirring occasionally, until mixture is thick and rice is tender but still slightly chewy, about 30 minutes.
Remove from heat and cool to warm or room temperature, stirring occasionally, at least 30 minutes. Just before serving, stir pudding and divide among 8 bowls. Drizzle remaining coconut milk over pudding.
In a large soup pot, add the vegetable oil and bring to medium heat. Stir in the garlic, ginger, cardamom, coriander, turmeric, and garam masala, blending well. Add in the onion and continue to cook until just tender. Add the butter and sprinkle in flour, stirring regularly to make a roux.
Add the chicken stock, spinach, and tomatoes. Stir to mix thoroughly and bring to a boil. Lower heat and simmer for 10 minutes. Add the sugar, salt and the milk. Bring back up to medium heat and cook for an additional 2-3 minutes, stirring well.
Ladle into bowls and drizzle heavy cream over the top. Serve with a bit of black pepper. Can garnish with cilantro, if desired.
Add the cucumber and garlic to a food processor or blender. Blend until almost smooth (can be a little chunky) and pour into a medium bowl. Use paper towels to press out as much moisture as possible. Mix with the dill, yogurt, and lemon juice. Add salt and pepper to taste. Best if left to sit in the fridge for a day before eating.
Heat olive oil in a large saucepan over medium-high heat. Add onion and sauté for 5 minutes. Add garlic and crushed red pepper flakes and sauté for an additional 1-2 minutes, stirring frequently.
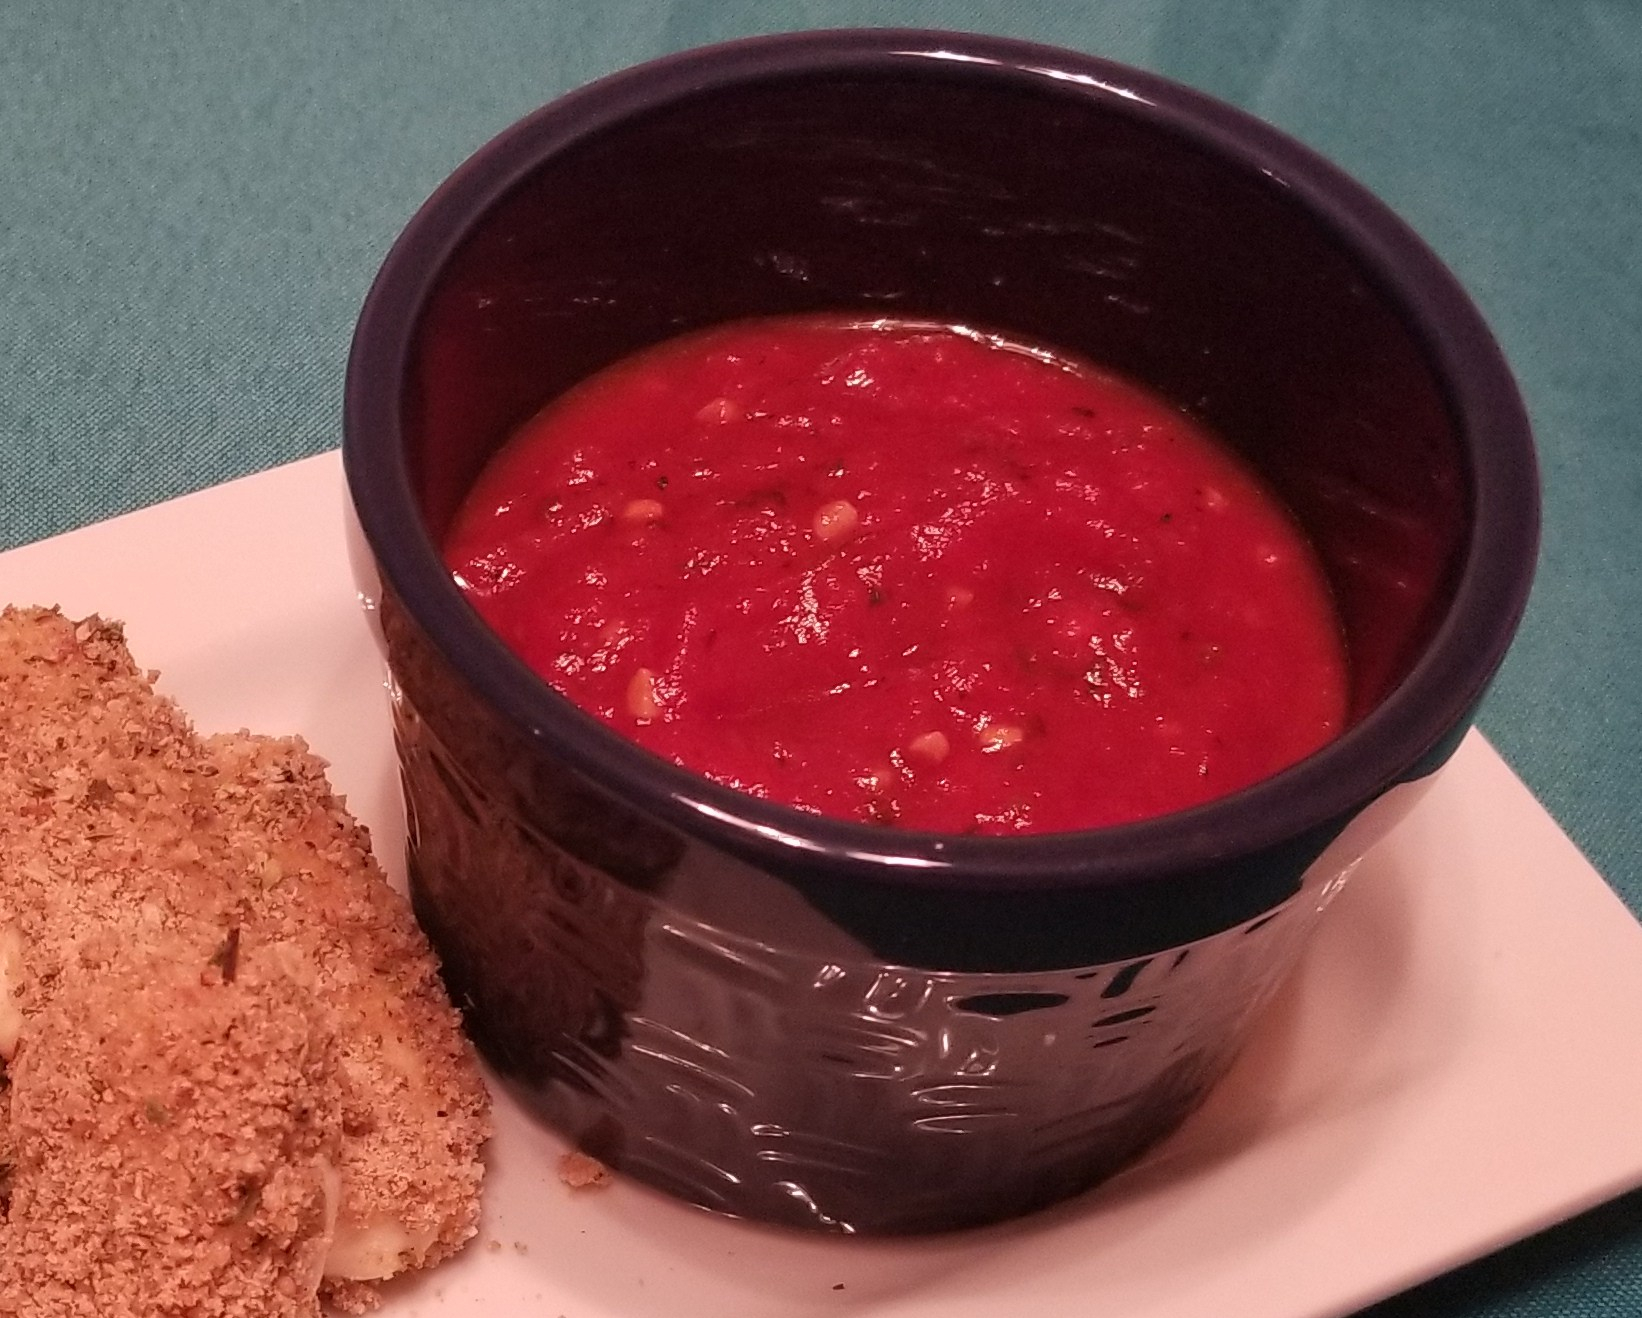
Add the tomatoes, oregano, salt and black pepper, and stir to combine. Allow to cook for 3-5 minutes. Stir in the fresh basil sprigs. Bring the sauce to a simmer. Reduce the heat to medium-low, cover, and continue to simmer for 20-30 minutes, stirring occasionally.
Remove and discard the basil. Taste and season the sauce with salt and pepper, as needed. Serve the sauce warm and enjoy!
Combine all ingredients except the cornstarch in a saucepan over medium heat. In a small bowl, combine the cornstarch with 1/4 c of water to create a slurry. Add to the sauce mixture and stir until the sauce thickens.
In a saucepan, mix all ingredients except the corn flour and water and bring to a boil. In a separate bowl, whisk together the corn flour and water. Pour into the sauce and stir to combine. Allow to return to a boil, stirring regularly, so that the sauce thickens. Remove from heat and allow to cool. Store in the refrigerator.
In a large bowl, combine the cabbage, green onion, ginger, and salt. In a separate bowl, whisk together the water, flour, and eggs. Mix the batter with the cabbage mixture.
Heat half the vegetable oil in a small frying pan (approx. 6-7 inches in diameter) on medium-high heat. Pour half the batter into the pan and flatten into a flat pancake using a spatula. Lower the heat to medium and cover, cooking for 5 minutes. Cover the top of the pancake with half of the bacon and cook for another 5 minutes. Using a large spatula, flip the pancake and cook for another 5 minutes.
Flip the pancake onto a plate so the bacon is on top. Drizzle with half the okonomiyaki sauce and mayonnaise. Top with half the nori and bonito flakes. Prepare the second pancake following the same instructions.
Cut the thickness of each chicken breast in half, so each half is approximately 1/2 inch thick. Cut the halves again width-wise (should be about 3″ wide).
In a shallow bowl, combine flour, salt, and pepper. In a separate shallow bowl, beat the eggs. In a third shallow bowl, place the Panko breadcrumbs.
Coat the chicken with the flour mixture and shake off any excess. Dredge each chicken piece in the beaten egg. Coat the chicken with Panko and remove any excess.
Heat oil (about 1-2 inches deep) in the cast iron skillet or a heavy-bottomed Dutch oven. The oil should be 350F.
Put 2-3 pieces of chicken in the oil at a time. Deep fry chicken until both sides are golden brown, about 5-6 minutes. Transfer to a paper towel-lined tray to remove excess oil. Make sure to keep the oil clean by removing separated pieces of breadcrumbs throughout deep-frying.
Trimming any excess fat/skin, cut the chicken thighs into 1 ½ to 2-inch chunks and put them in a large bowl or gallon ziploc bag.
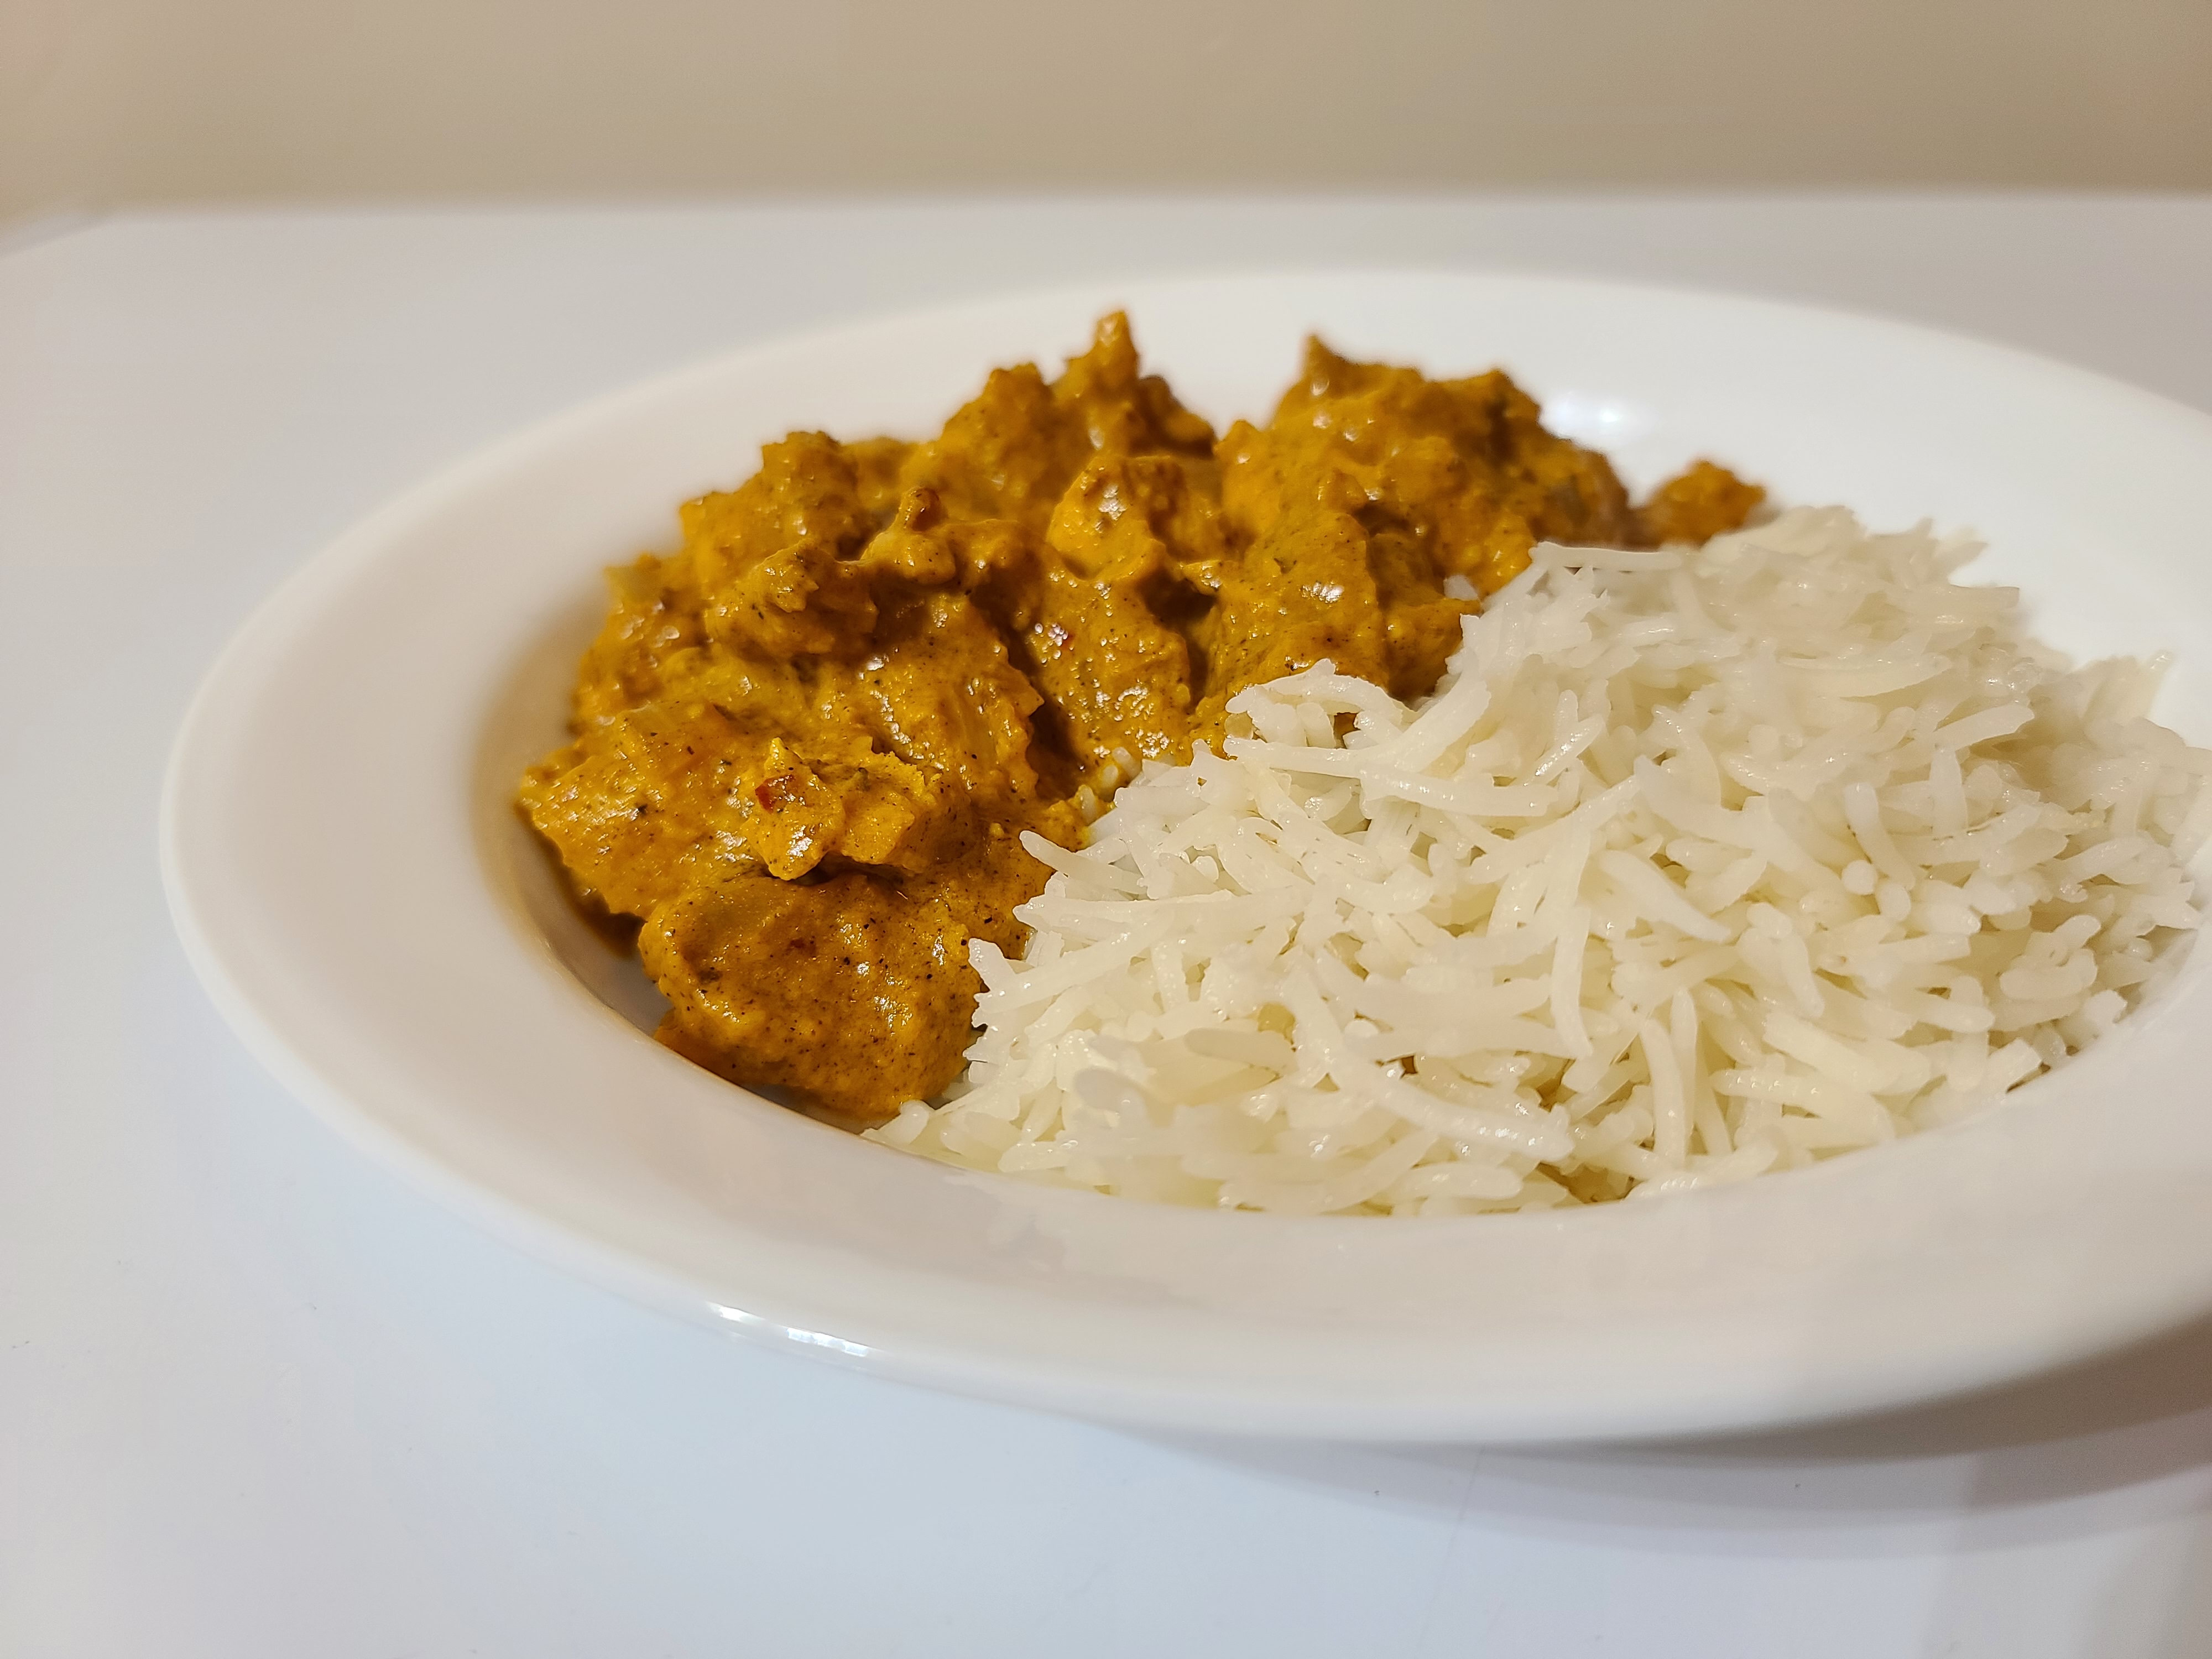
To a food processor, add tomato paste, ginger, garlic, garam masala, crushed red pepper, paprika, cardamom, salt, turmeric, almonds/cashews, and yogurt. Blend on high speed until completely smooth. Add the mixture to the bowl/bag with the chicken along with the yogurt and mix well until chicken is well-coated. Cover bowl/seal bag and refrigerate for at least 1-2 hours.
Add the vegetable oil and butter to a large skillet on medium high heat. Add the onions and cook for 5-7 minutes, or until caramelized and fragrant. Add in the chicken and cook for 12-15 minutes or until the chicken is cooked through. Add the heavy cream and mix well, cooking for an additional 3-4 minutes.
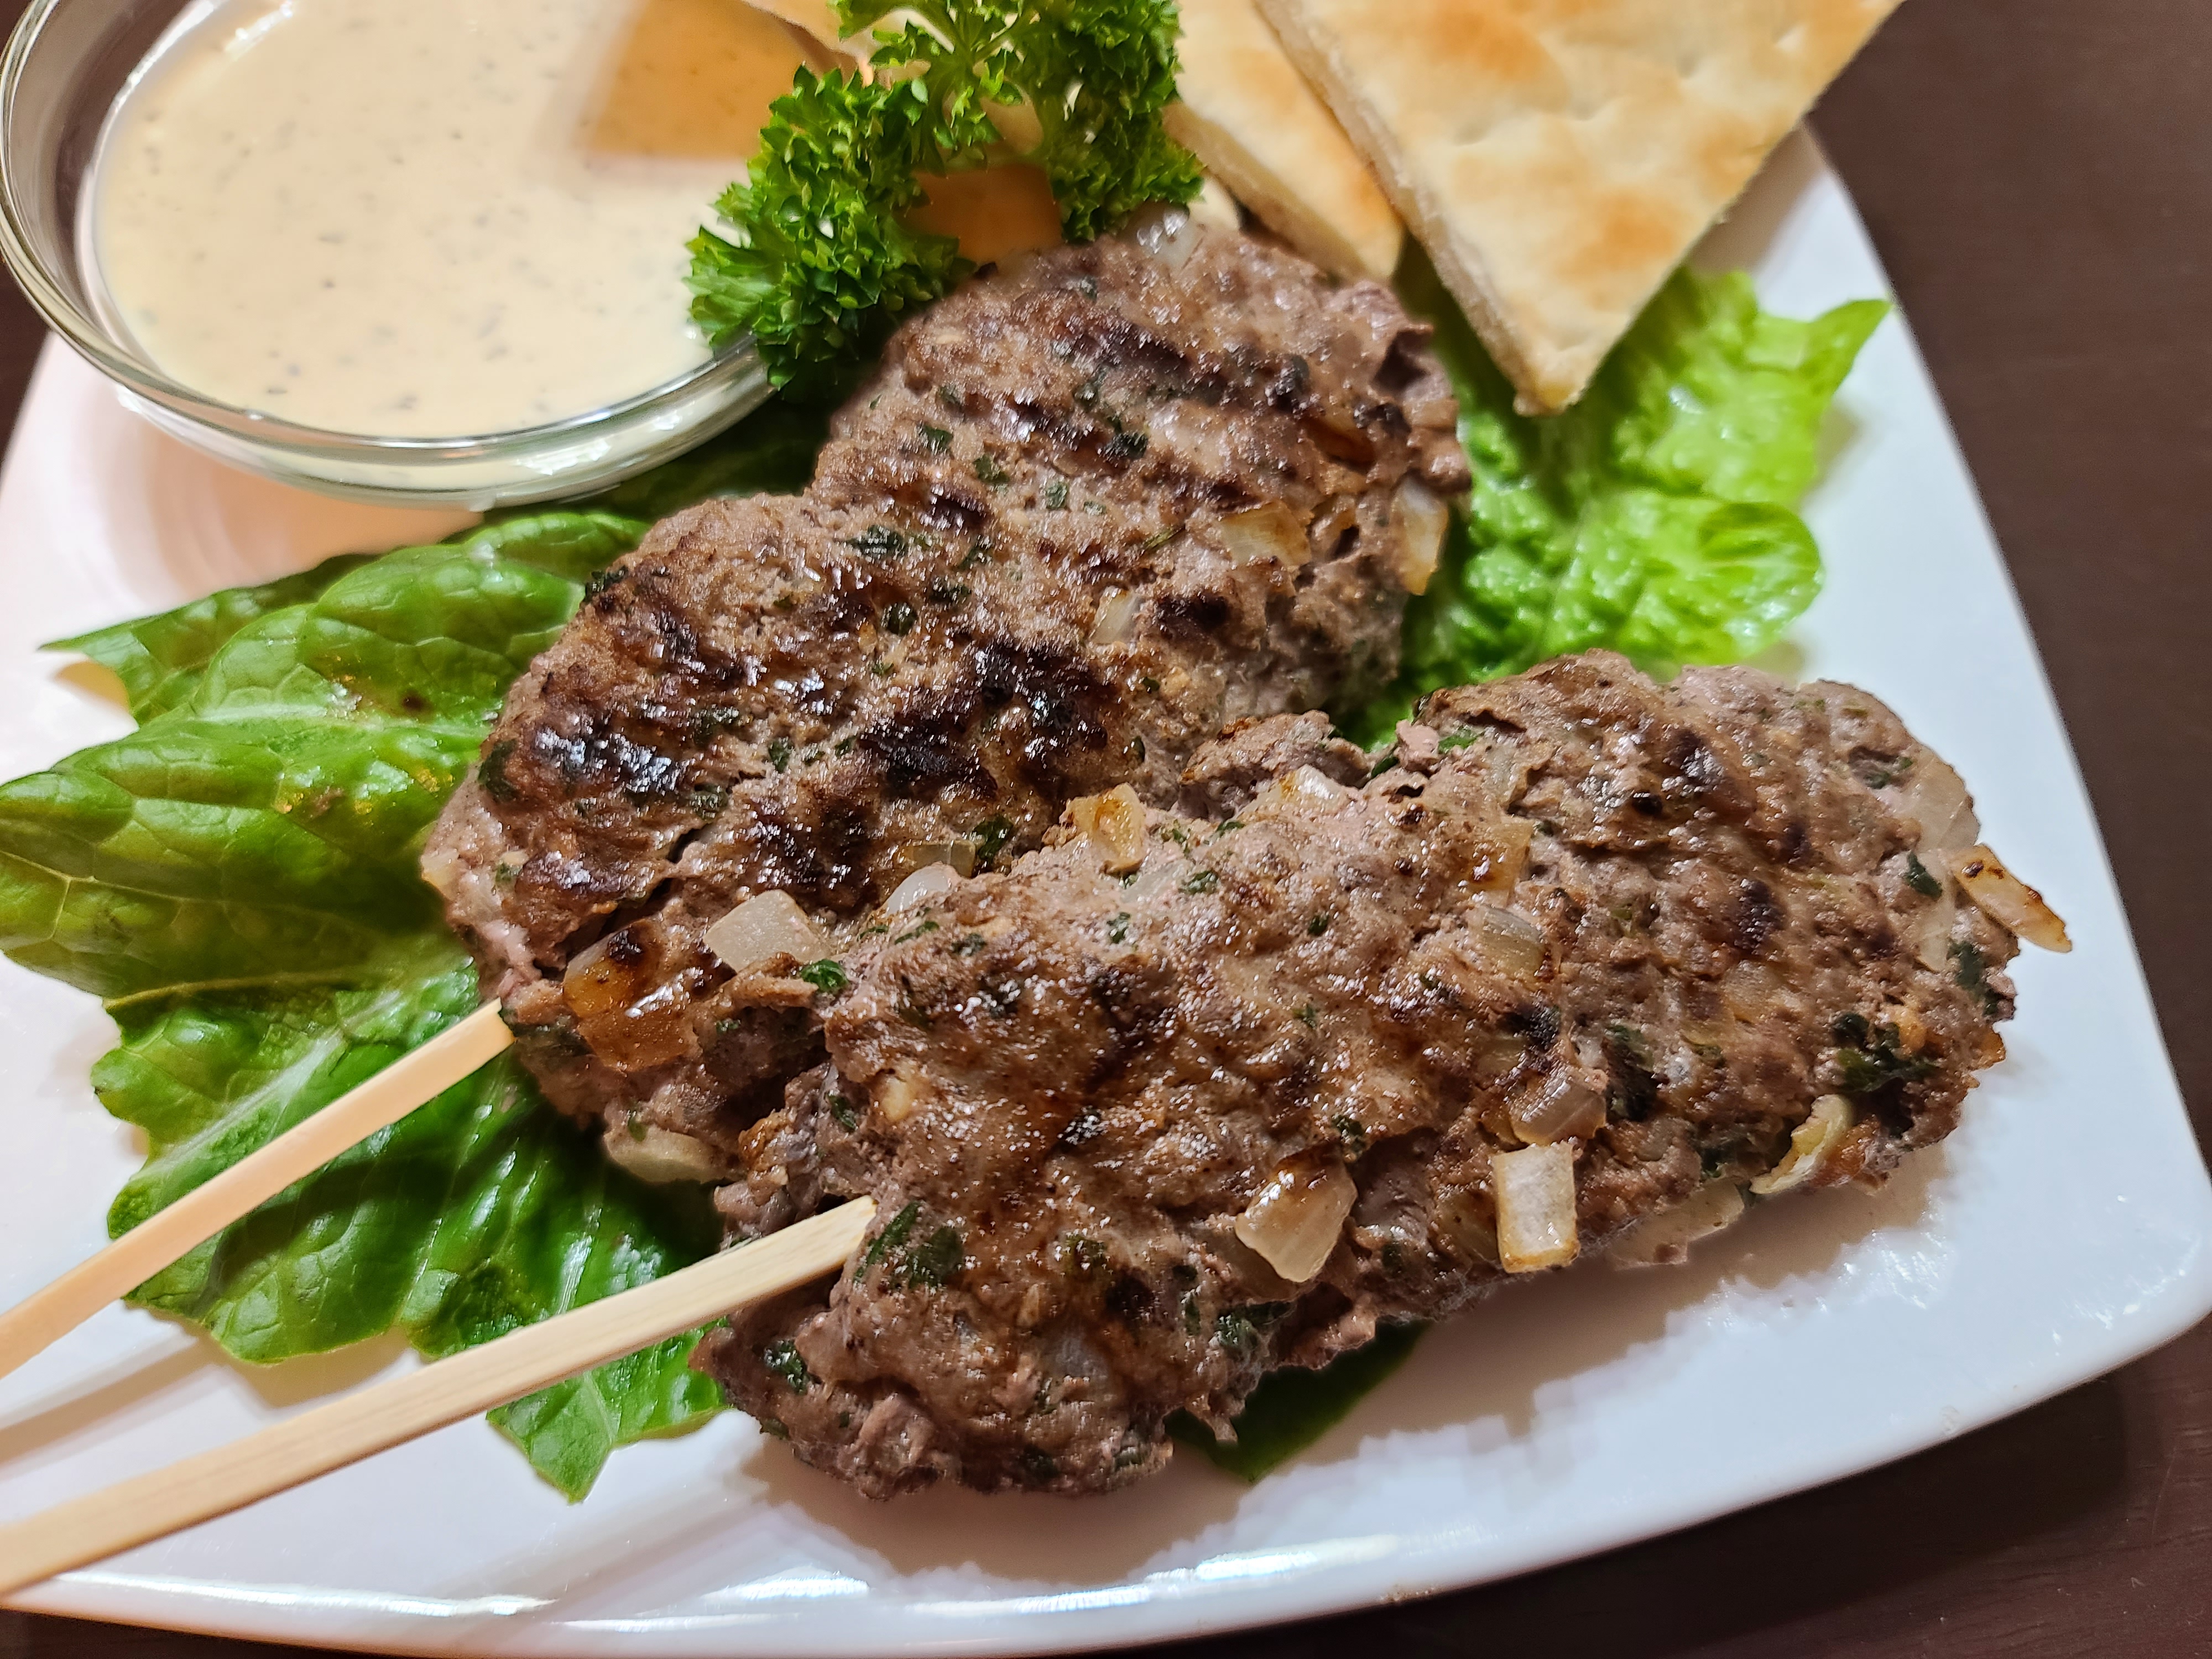
In a large bowl, mix all the dry ingredients together. In a blender, finely chop the onion, garlic, parsley, and cilantro. Add the herb mixture from the blender and the ground beef to the bowl of spices. Knead with your hands until thoroughly combined.
Make small logs out of the meat mixture and place them on skewers. Cook kebabs until well-done (preferably on a grill). Great served with tzatziki sauce and pita bread.
For a faster cook, double the batch and spread onto a jelly roll pan. Bake in the oven at 350F for 20-30 minutes. Drain any grease and cut into rectangles about 3″x1.5″.
Rub with olive oil over the entire surface of the roast. Season generously with salt, pepper, and garlic powder. In a large pan on high heat, sear on all sides.
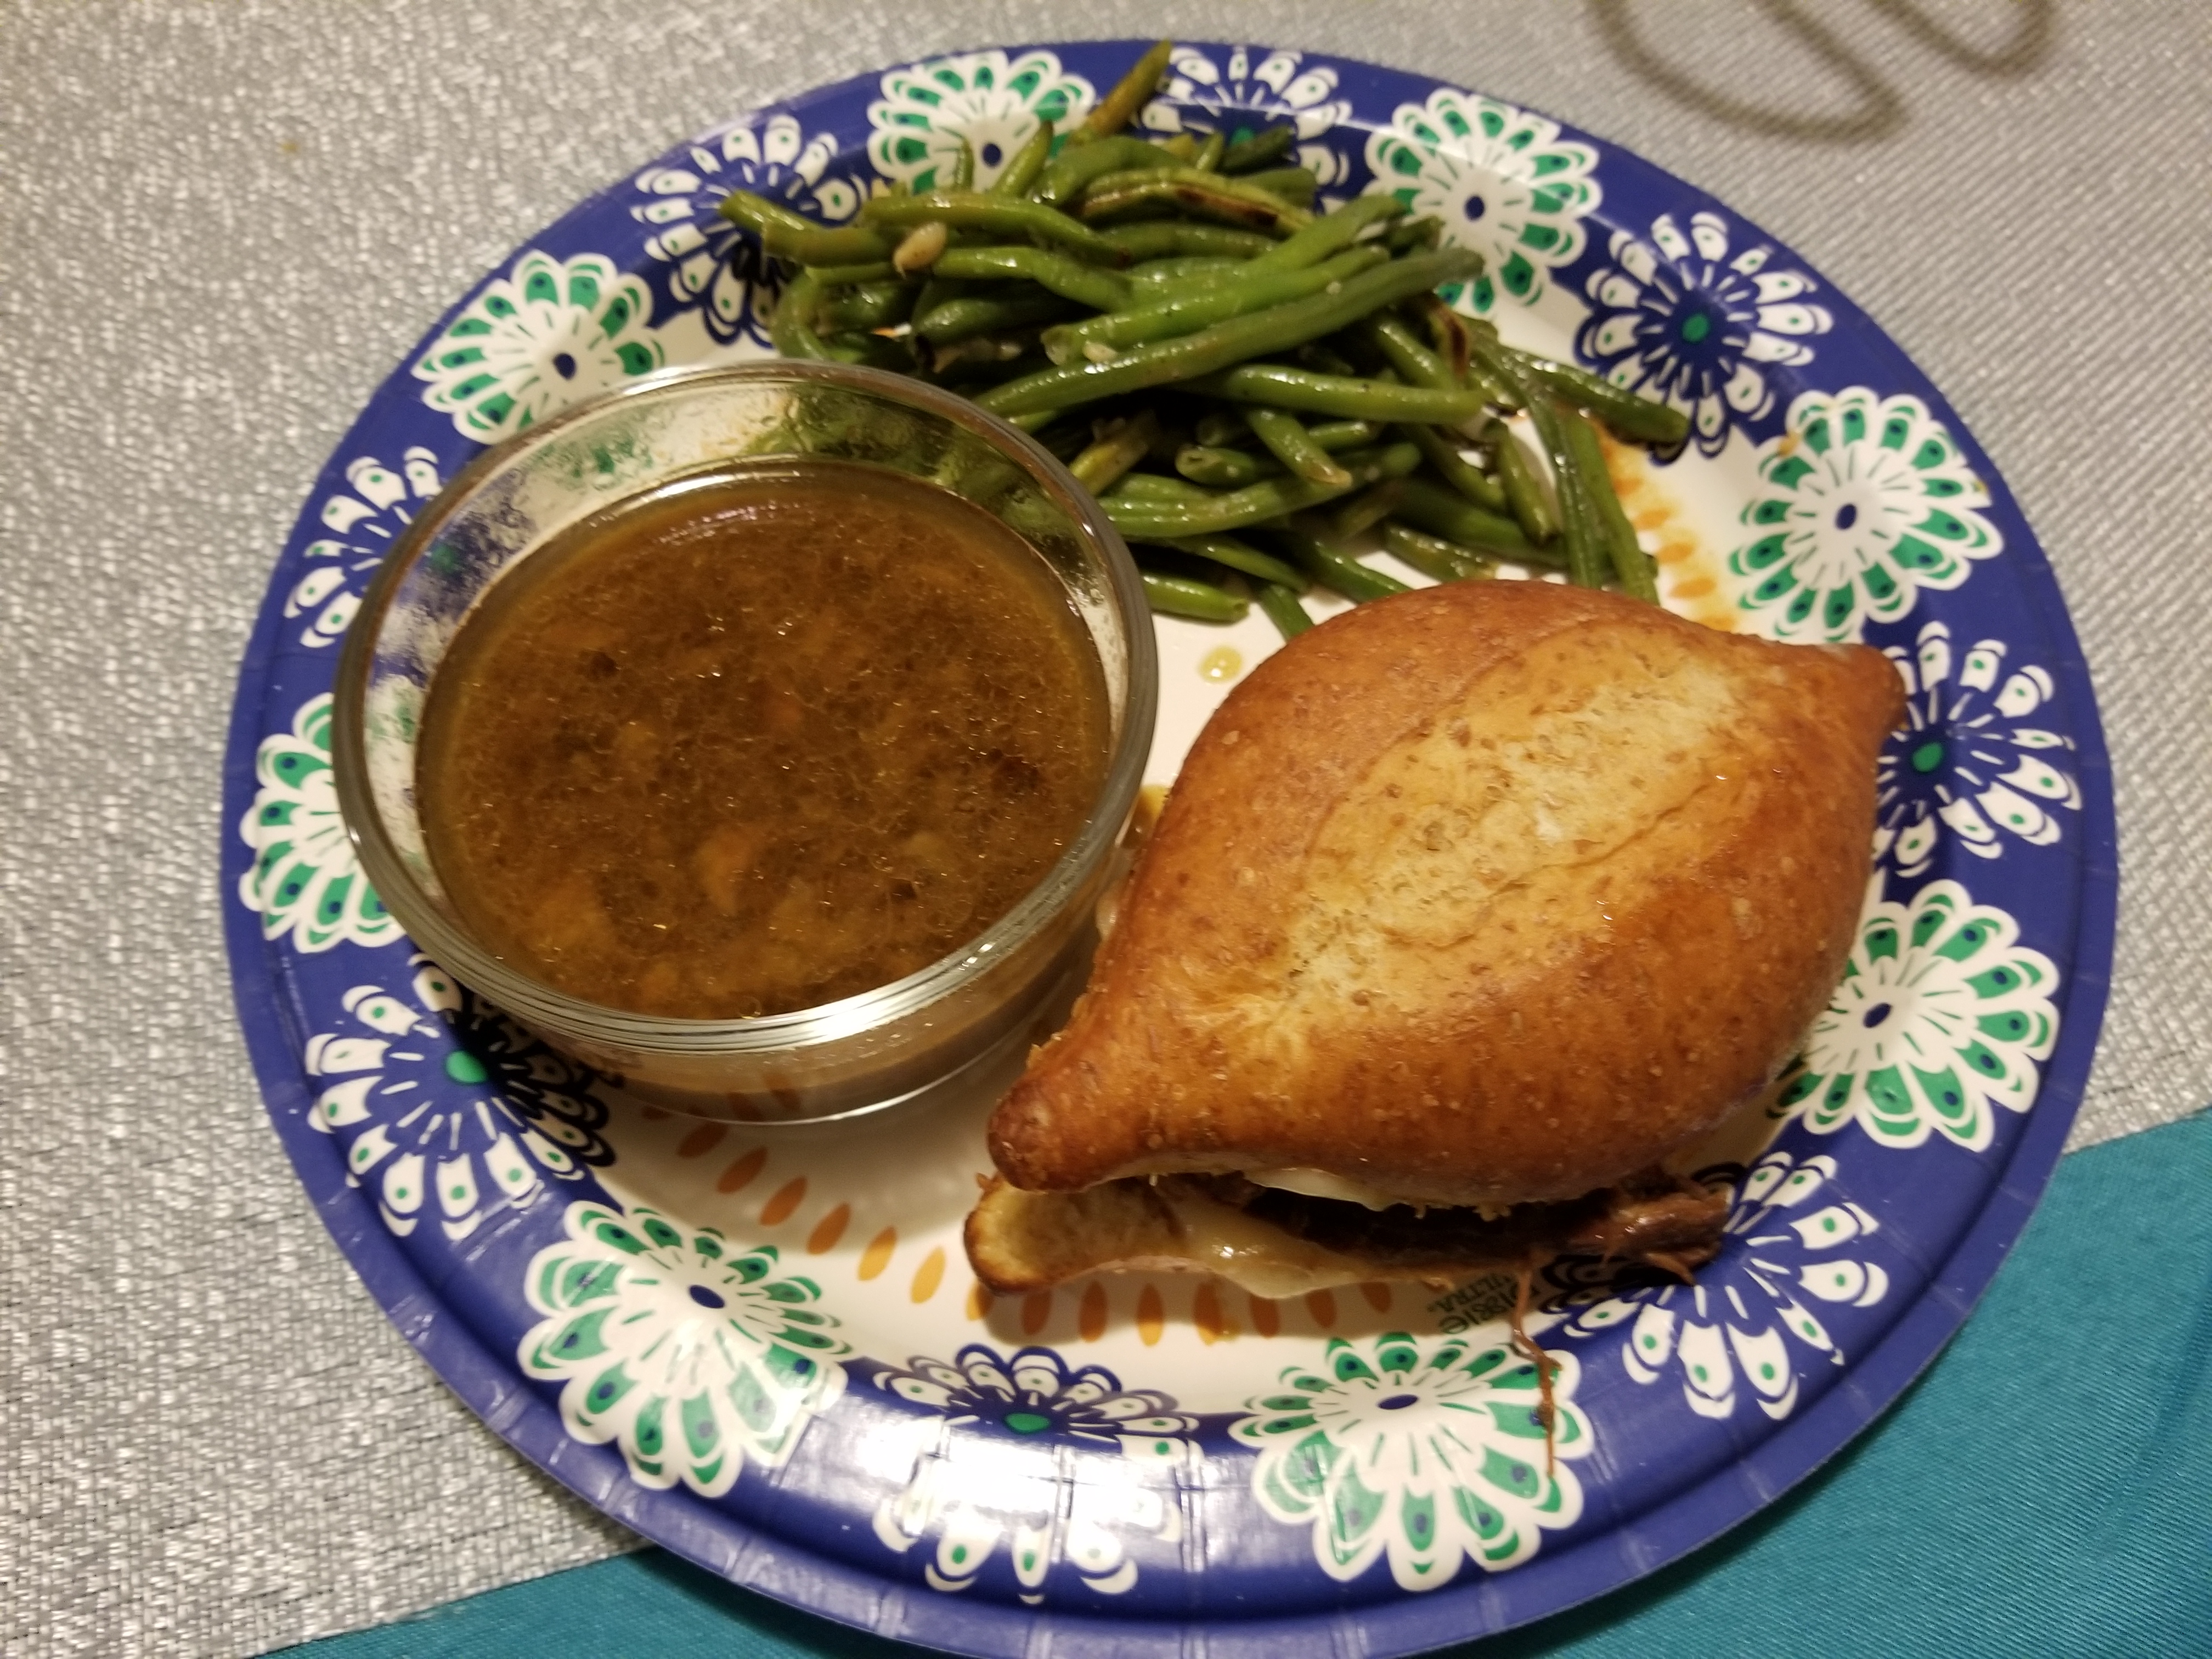
In a crock pot, add the au jus mix, the onion soup mix, and half of the beef broth. Stir to combine. Place the roast in the crock pot. Cook on low until tender (about 8 hours – if you’re short on time, you can cook it on high for about 6 hours).
Once the meat is fully cooked, pull it apart with a couple forks, removing any bones or excess fat. Add the rest of the beef broth to the crock pot and allow to cook for an additional 30 minutes.
Serve the roast in rolls (recommended that you use a harder roll and toast the inside faces) and dip in the au jus “sauce” from the crock pot. For even better french dip sandwiches, add swiss cheese and sauteed onions.
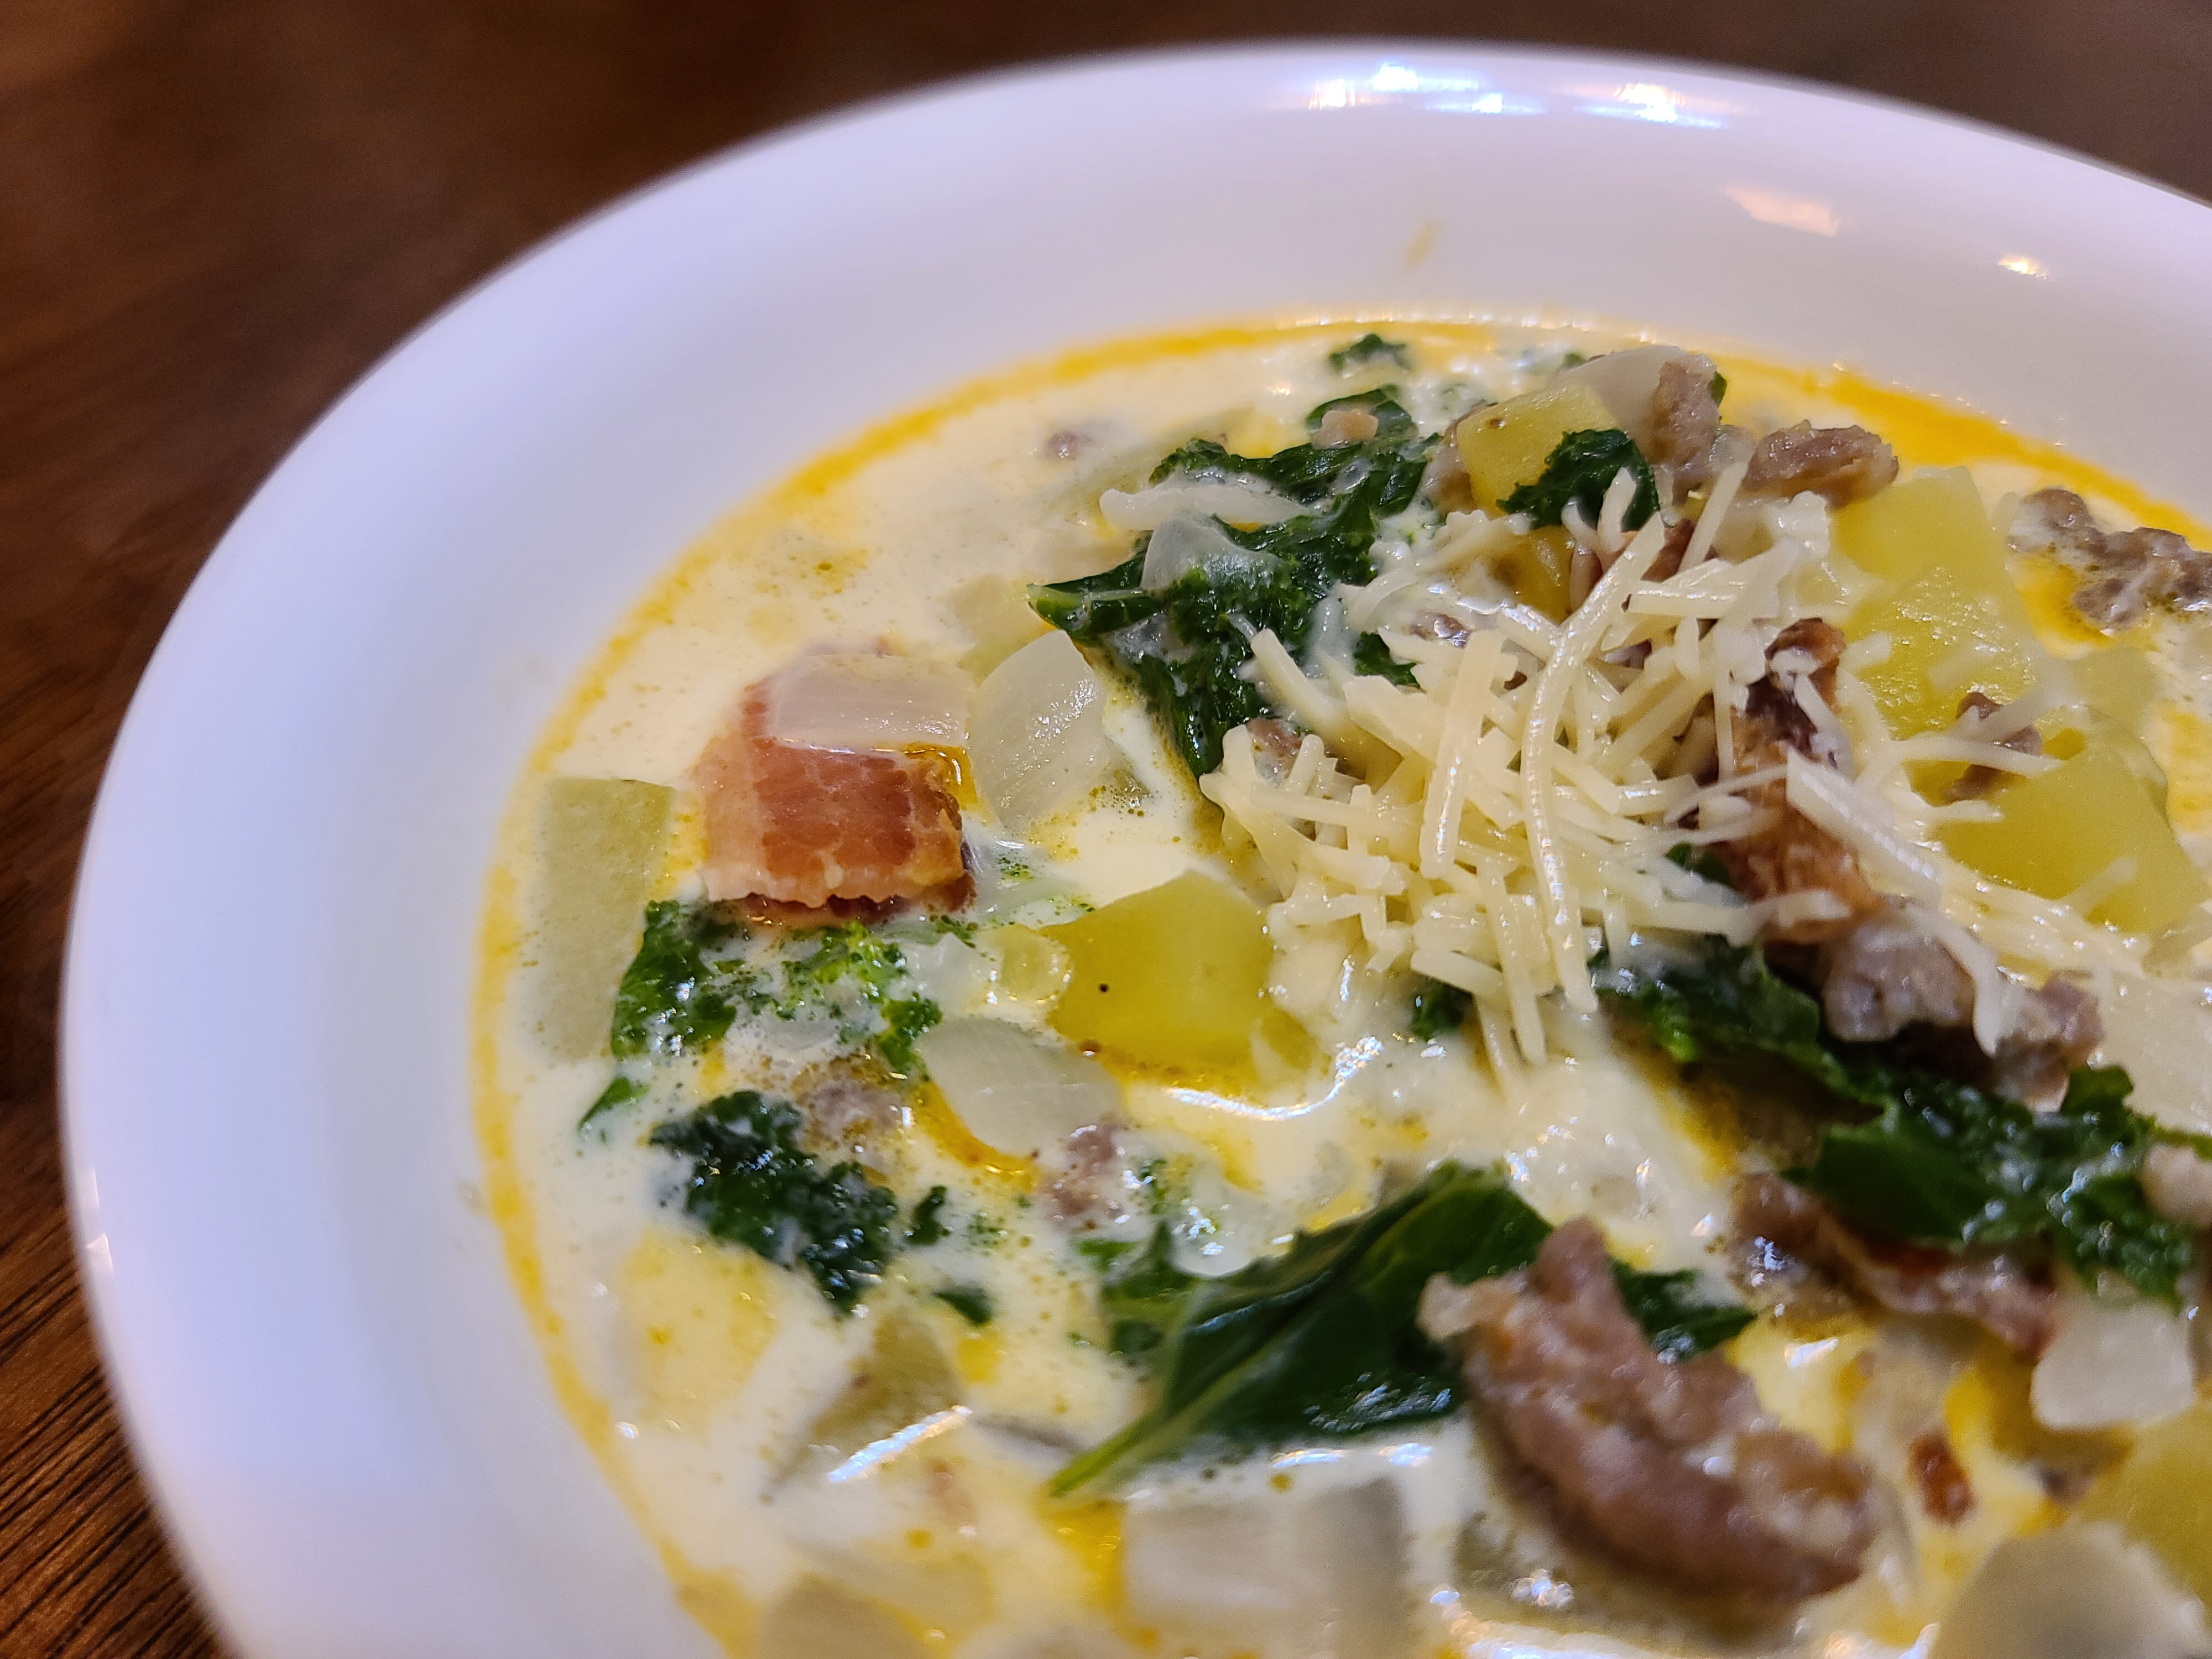
In a large pot, brown and crumble sausage along with onions. During the last couple minutes of cooking, add the minced garlic. Drain any excess grease. Return sausage mixture back to the pot and add the chicken stock and potatoes. Cover pot and allow potatoes to simmer for about 15-20 minutes, until tender.
Once potatoes are tender, add heavy cream, salt, pepper, kale and bacon. Stir to combine. Bring mixture back up to a simmer and allow the kale to soften and wilt. Add more salt and pepper to taste, if needed. Garnish with parmesan cheese and serve.
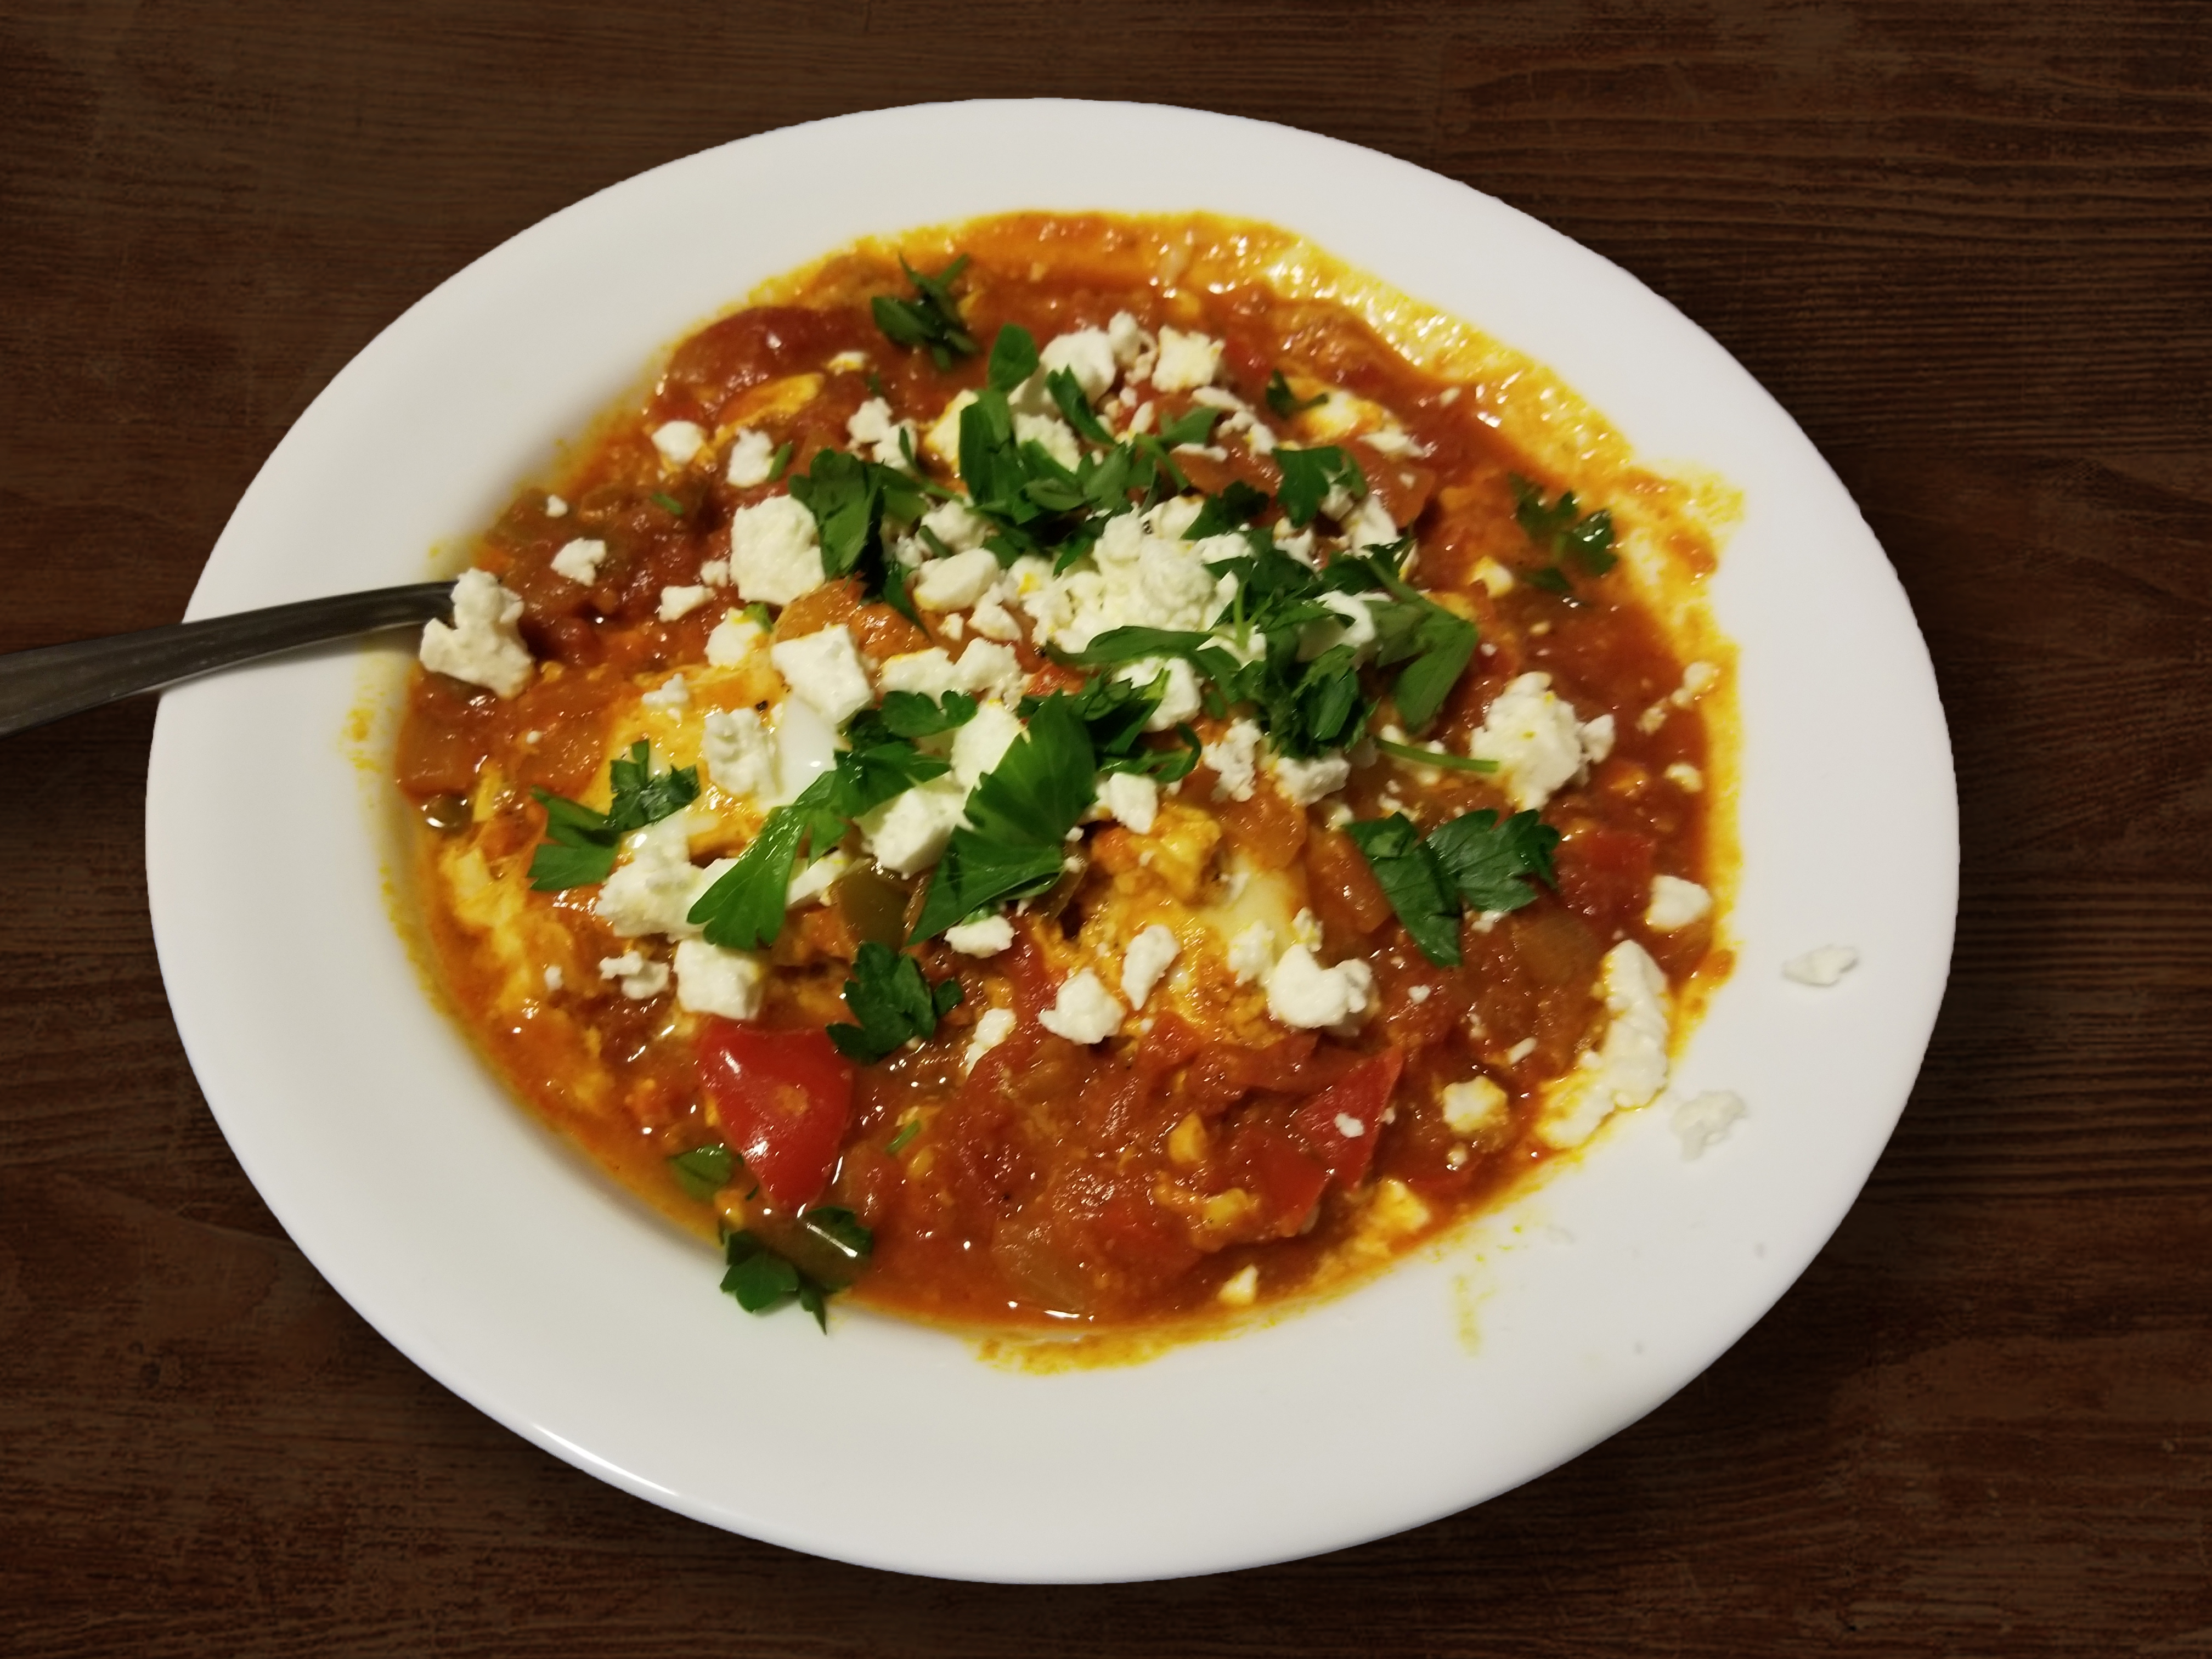
Heat olive oil in a large pan on medium heat. Add the chopped bell pepper and onion, and cook until the onion becomes translucent. Add garlic, paprika, cumin, and chili powder and cook an additional minute. Pour the can of tomatoes with their juice into the pan and break down the tomatoes using a large spoon. Season with salt and pepper to taste. Bring the sauce to a simmer.
Use a large spoon to make small wells in the sauce and crack the eggs into each well. Cover the pan and cook until the eggs are done to your liking. Serve over rice and garnish with chopped cilantro and/or parsley and feta cheese/goat’s cheese if desired.
*Works great for a quick weeknight meal if you make extra sauce and freeze it (prior to adding any eggs). Just thaw, add eggs, and serve with rice and garnishes!
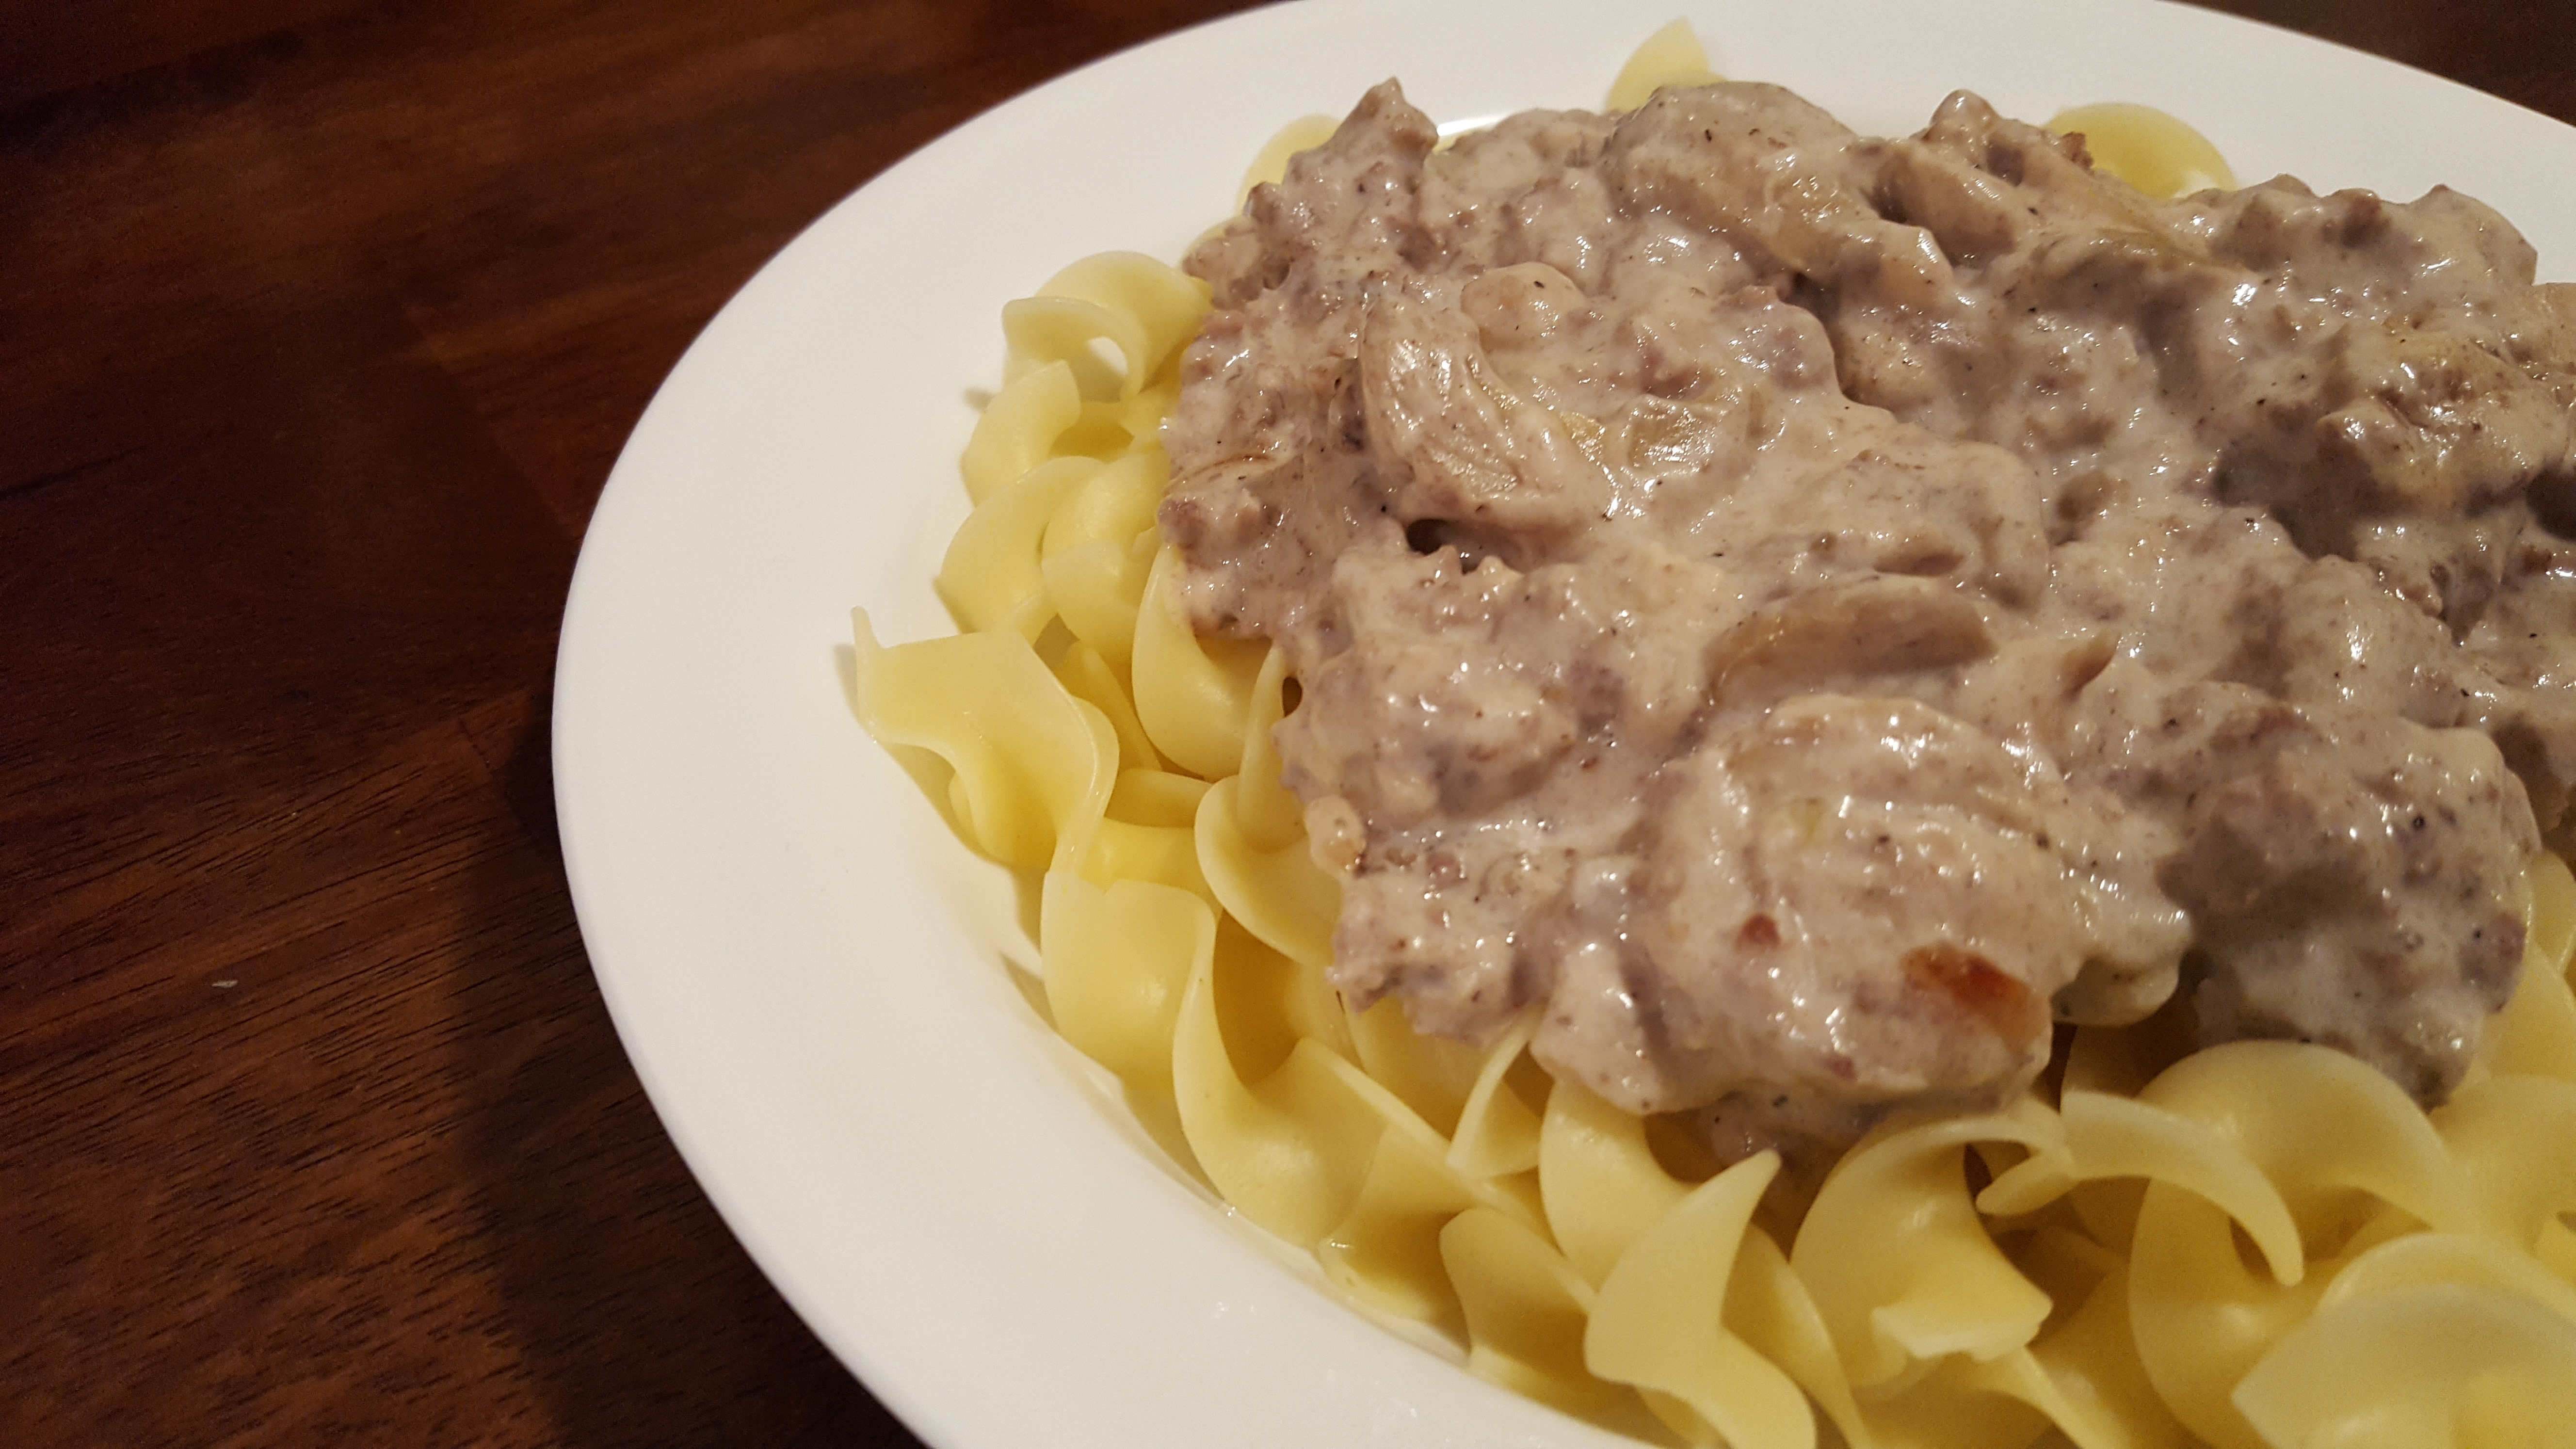
In a large pan, brown hamburger with onion, salt, pepper, and garlic powder over medium heat. Drain grease, if necessary. Add mushrooms.
Add beef broth, retaining about 1/4 cup still in the can. Add the cornstarch to the beef broth in the can and stir until fully incorporated. Add cornstarch mixture to the pan and bring to a boil. Reduce to a simmer and allow to cook, stirring occasionally, until thickened.
Add cream of mushroom soup and sour cream. Stir to combine. Cook for 5-10 minutes, until everything is heated thoroughly. Serve over egg noodles, rice, or potatoes.
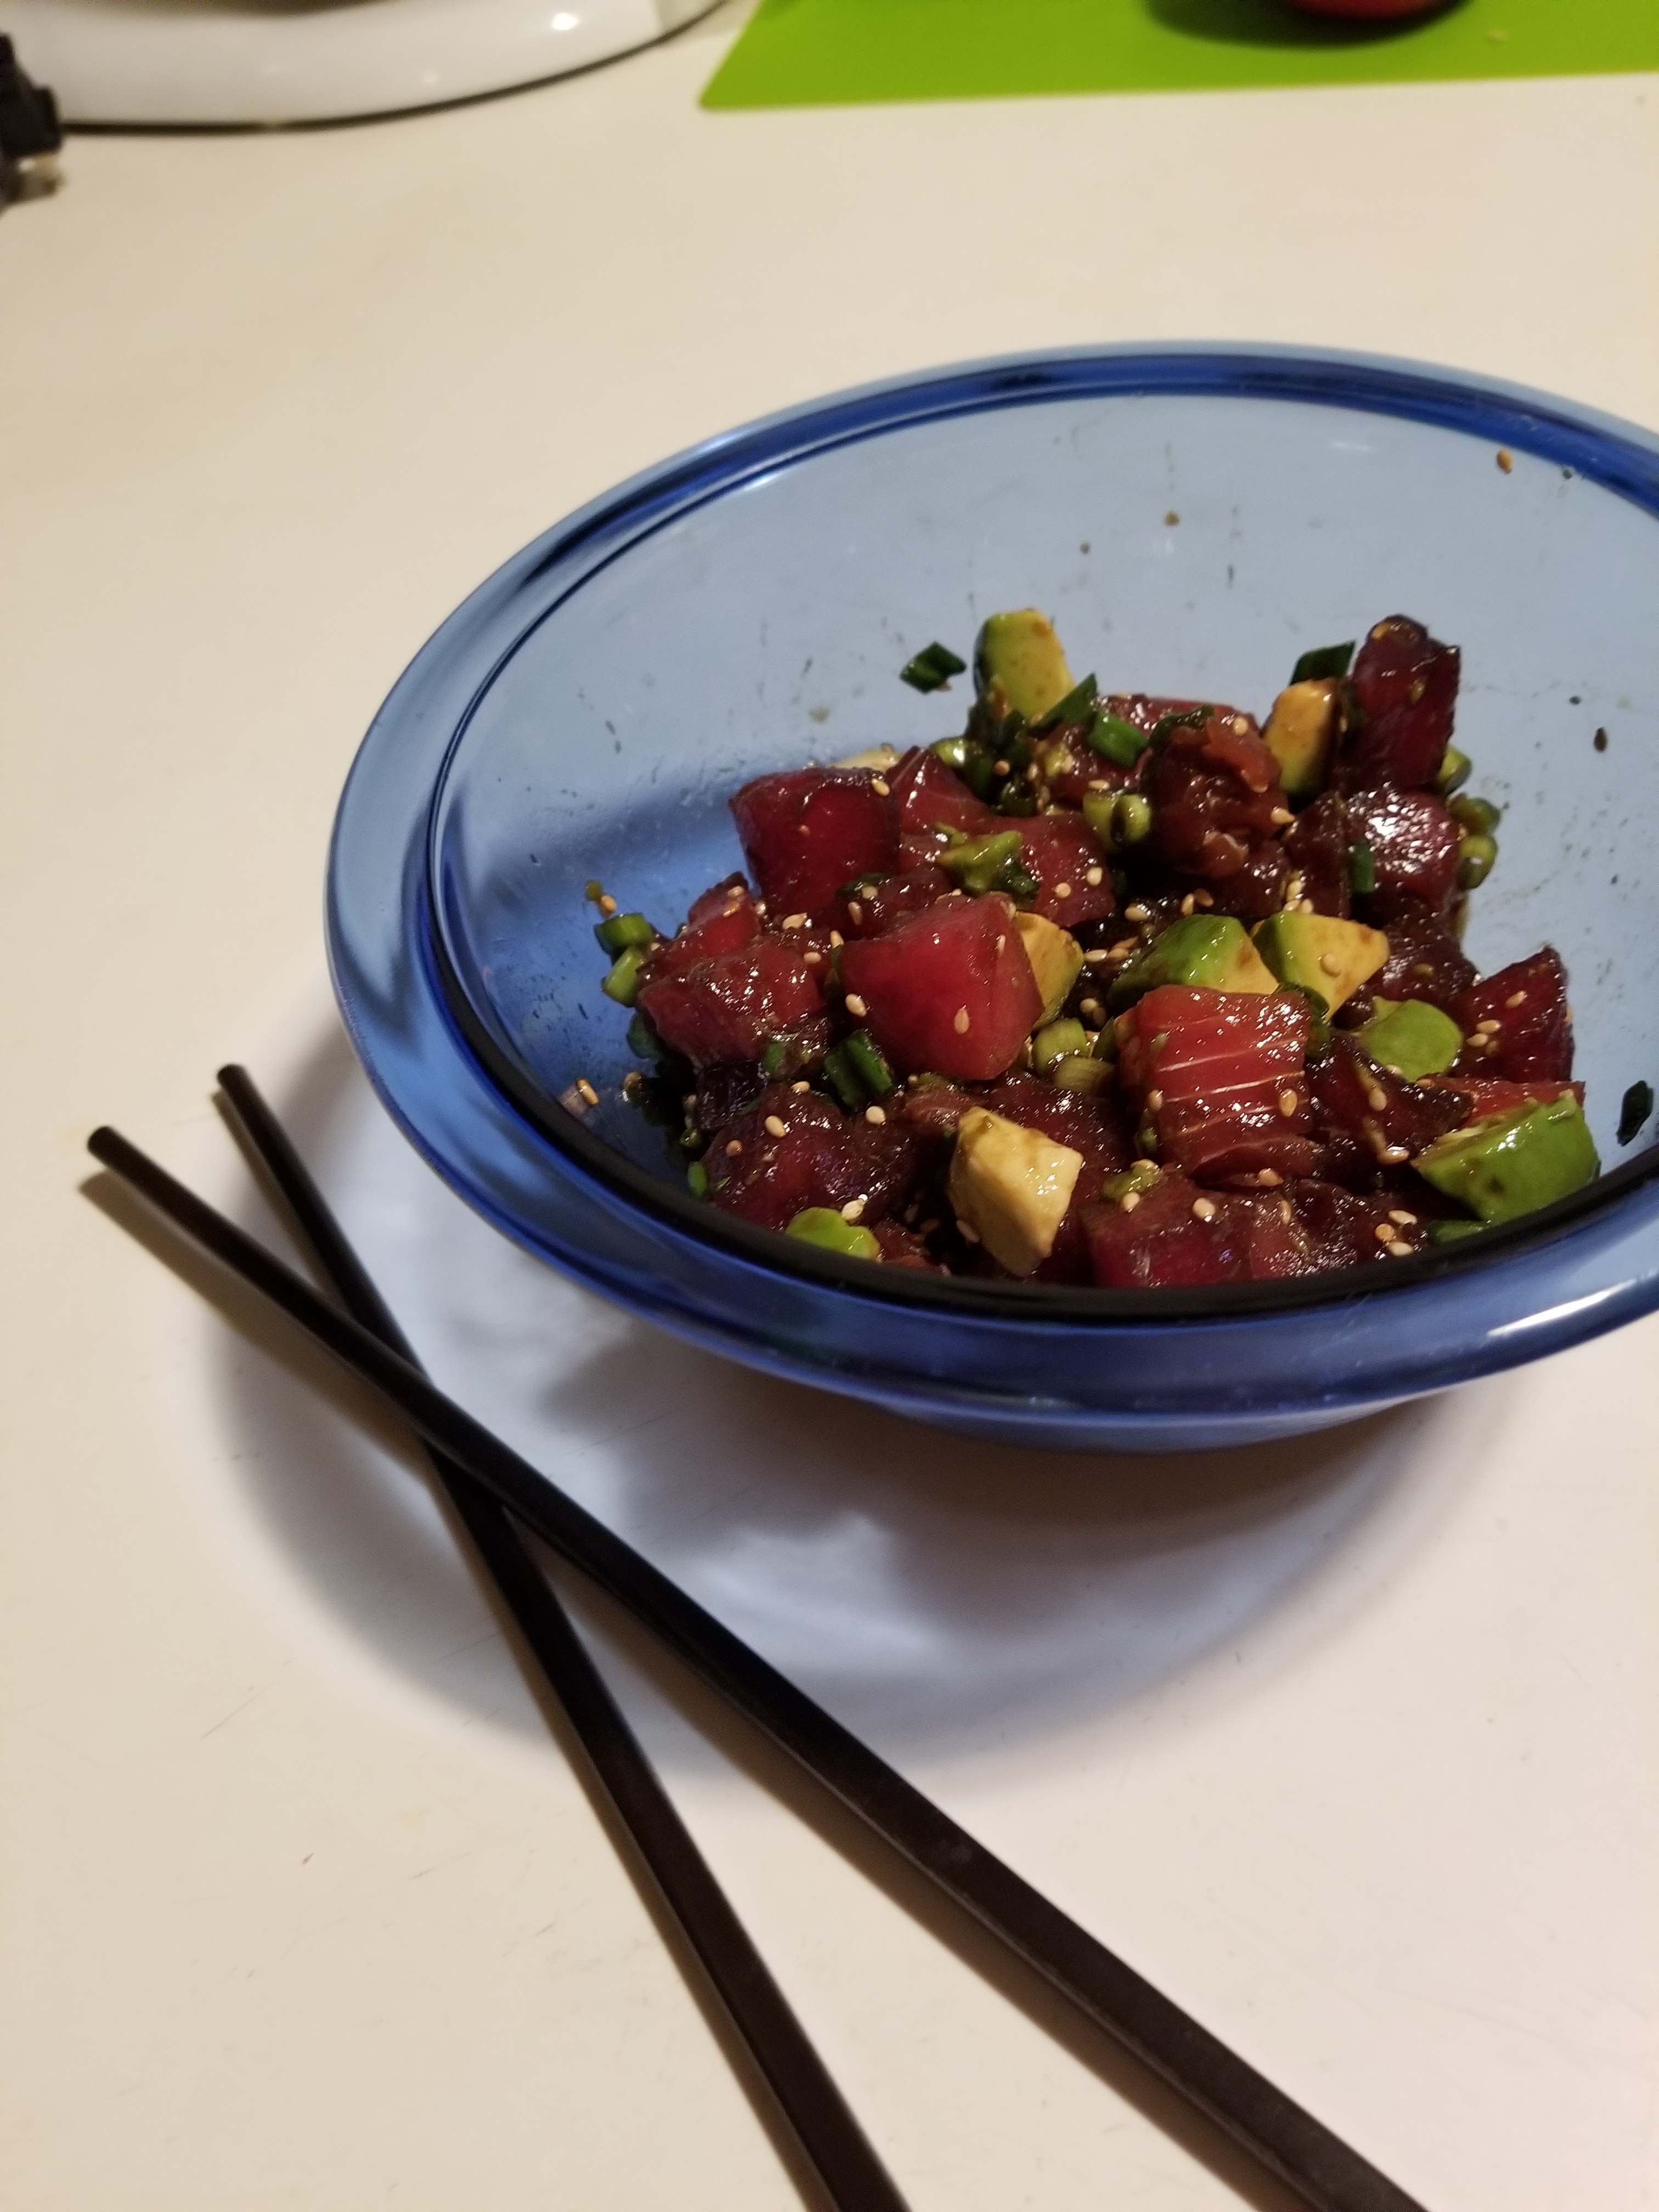
*You can often find this frozen at Asian markets. Do not substitute for raw tuna that isn’t sushi-grade (i.e. from your grocery’s meat counter) as it could contain parasites and is not suitable for eating raw.
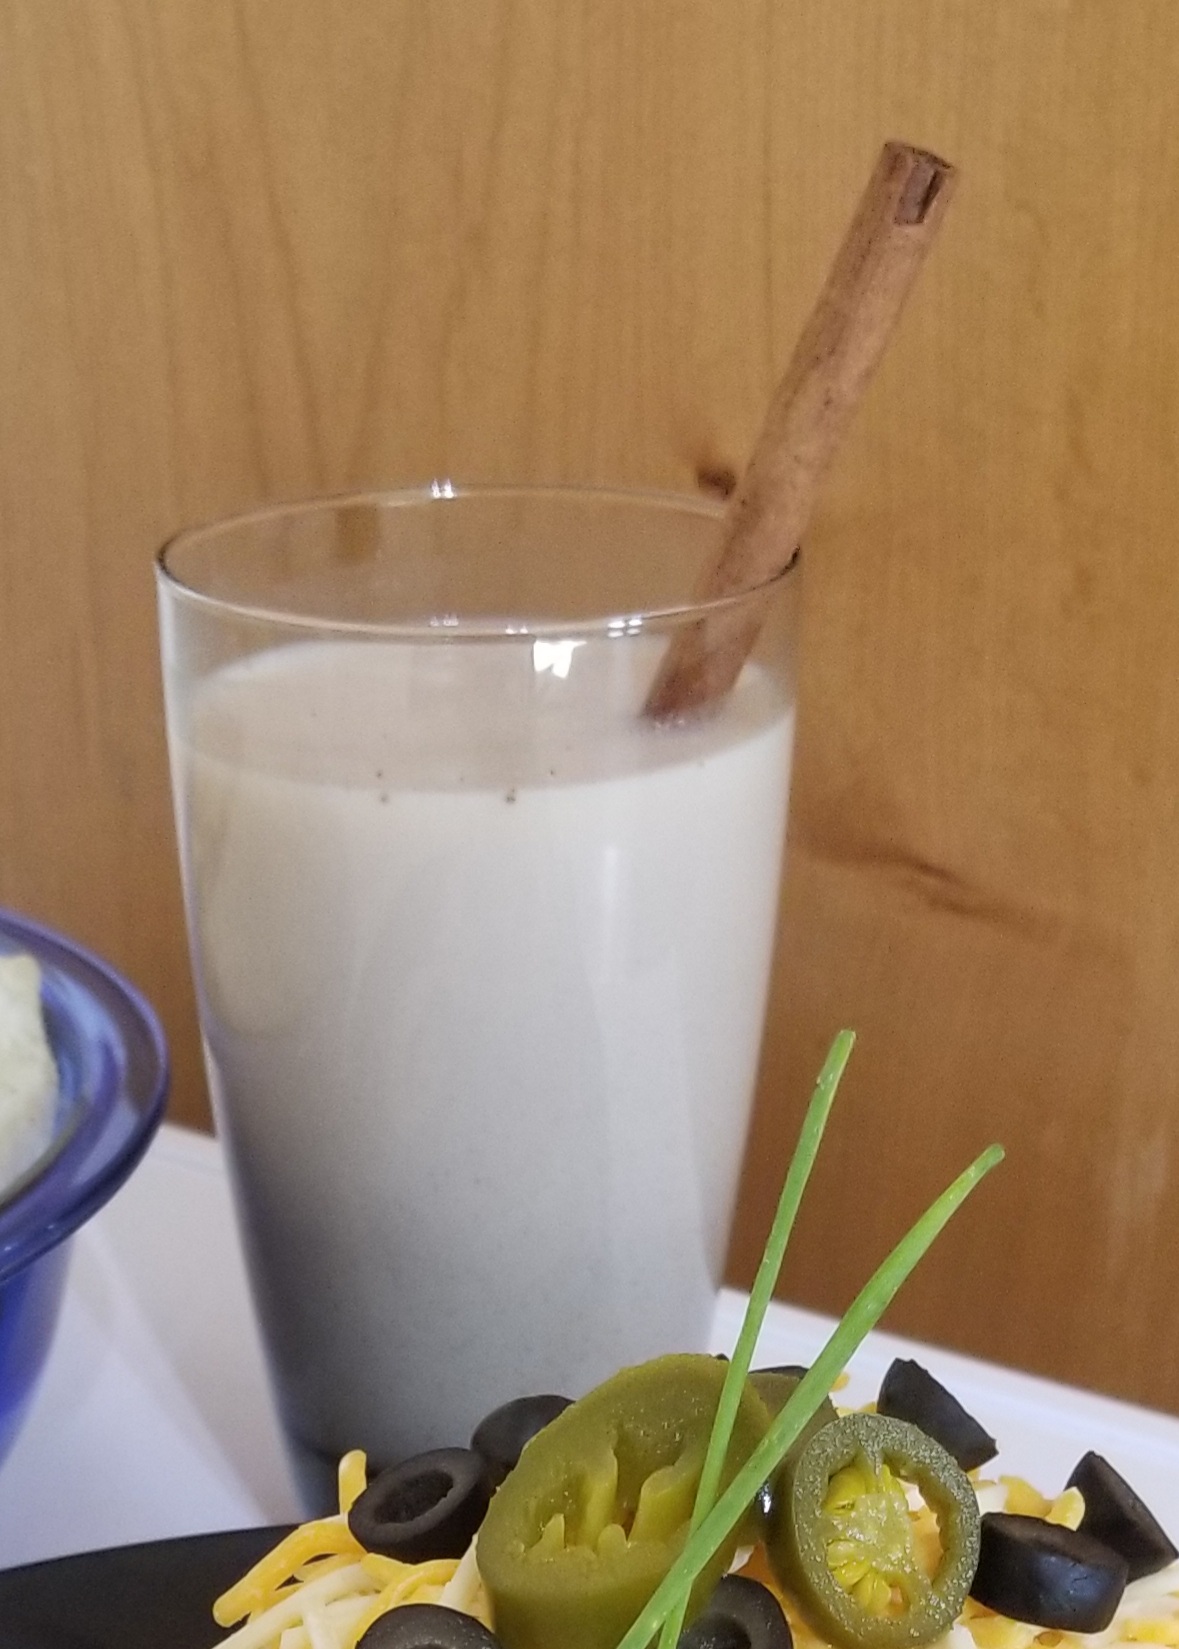
Add rice, cinnamon sticks, and water to a high speed blender. Blend about 30 seconds on high speed or until roughly chopped. Allow to sit for at least 3 hours, or overnight.
Strain through a fine mesh sieve, keeping the liquids. Return to blender and add sugar and vanilla. Blend an additional 30 seconds. Chill at least one hour and serve. For additional creaminess, add 1 cup milk.
Pulse butter, garlic, parsley, salt and pepper together in a food
processor. Place escargot in a casserole dish, top with finely minced shallot and then butter mixture.
Bake in a 400F oven for about 15 minutes. Serve with toasted garlic bread to sop up butter.
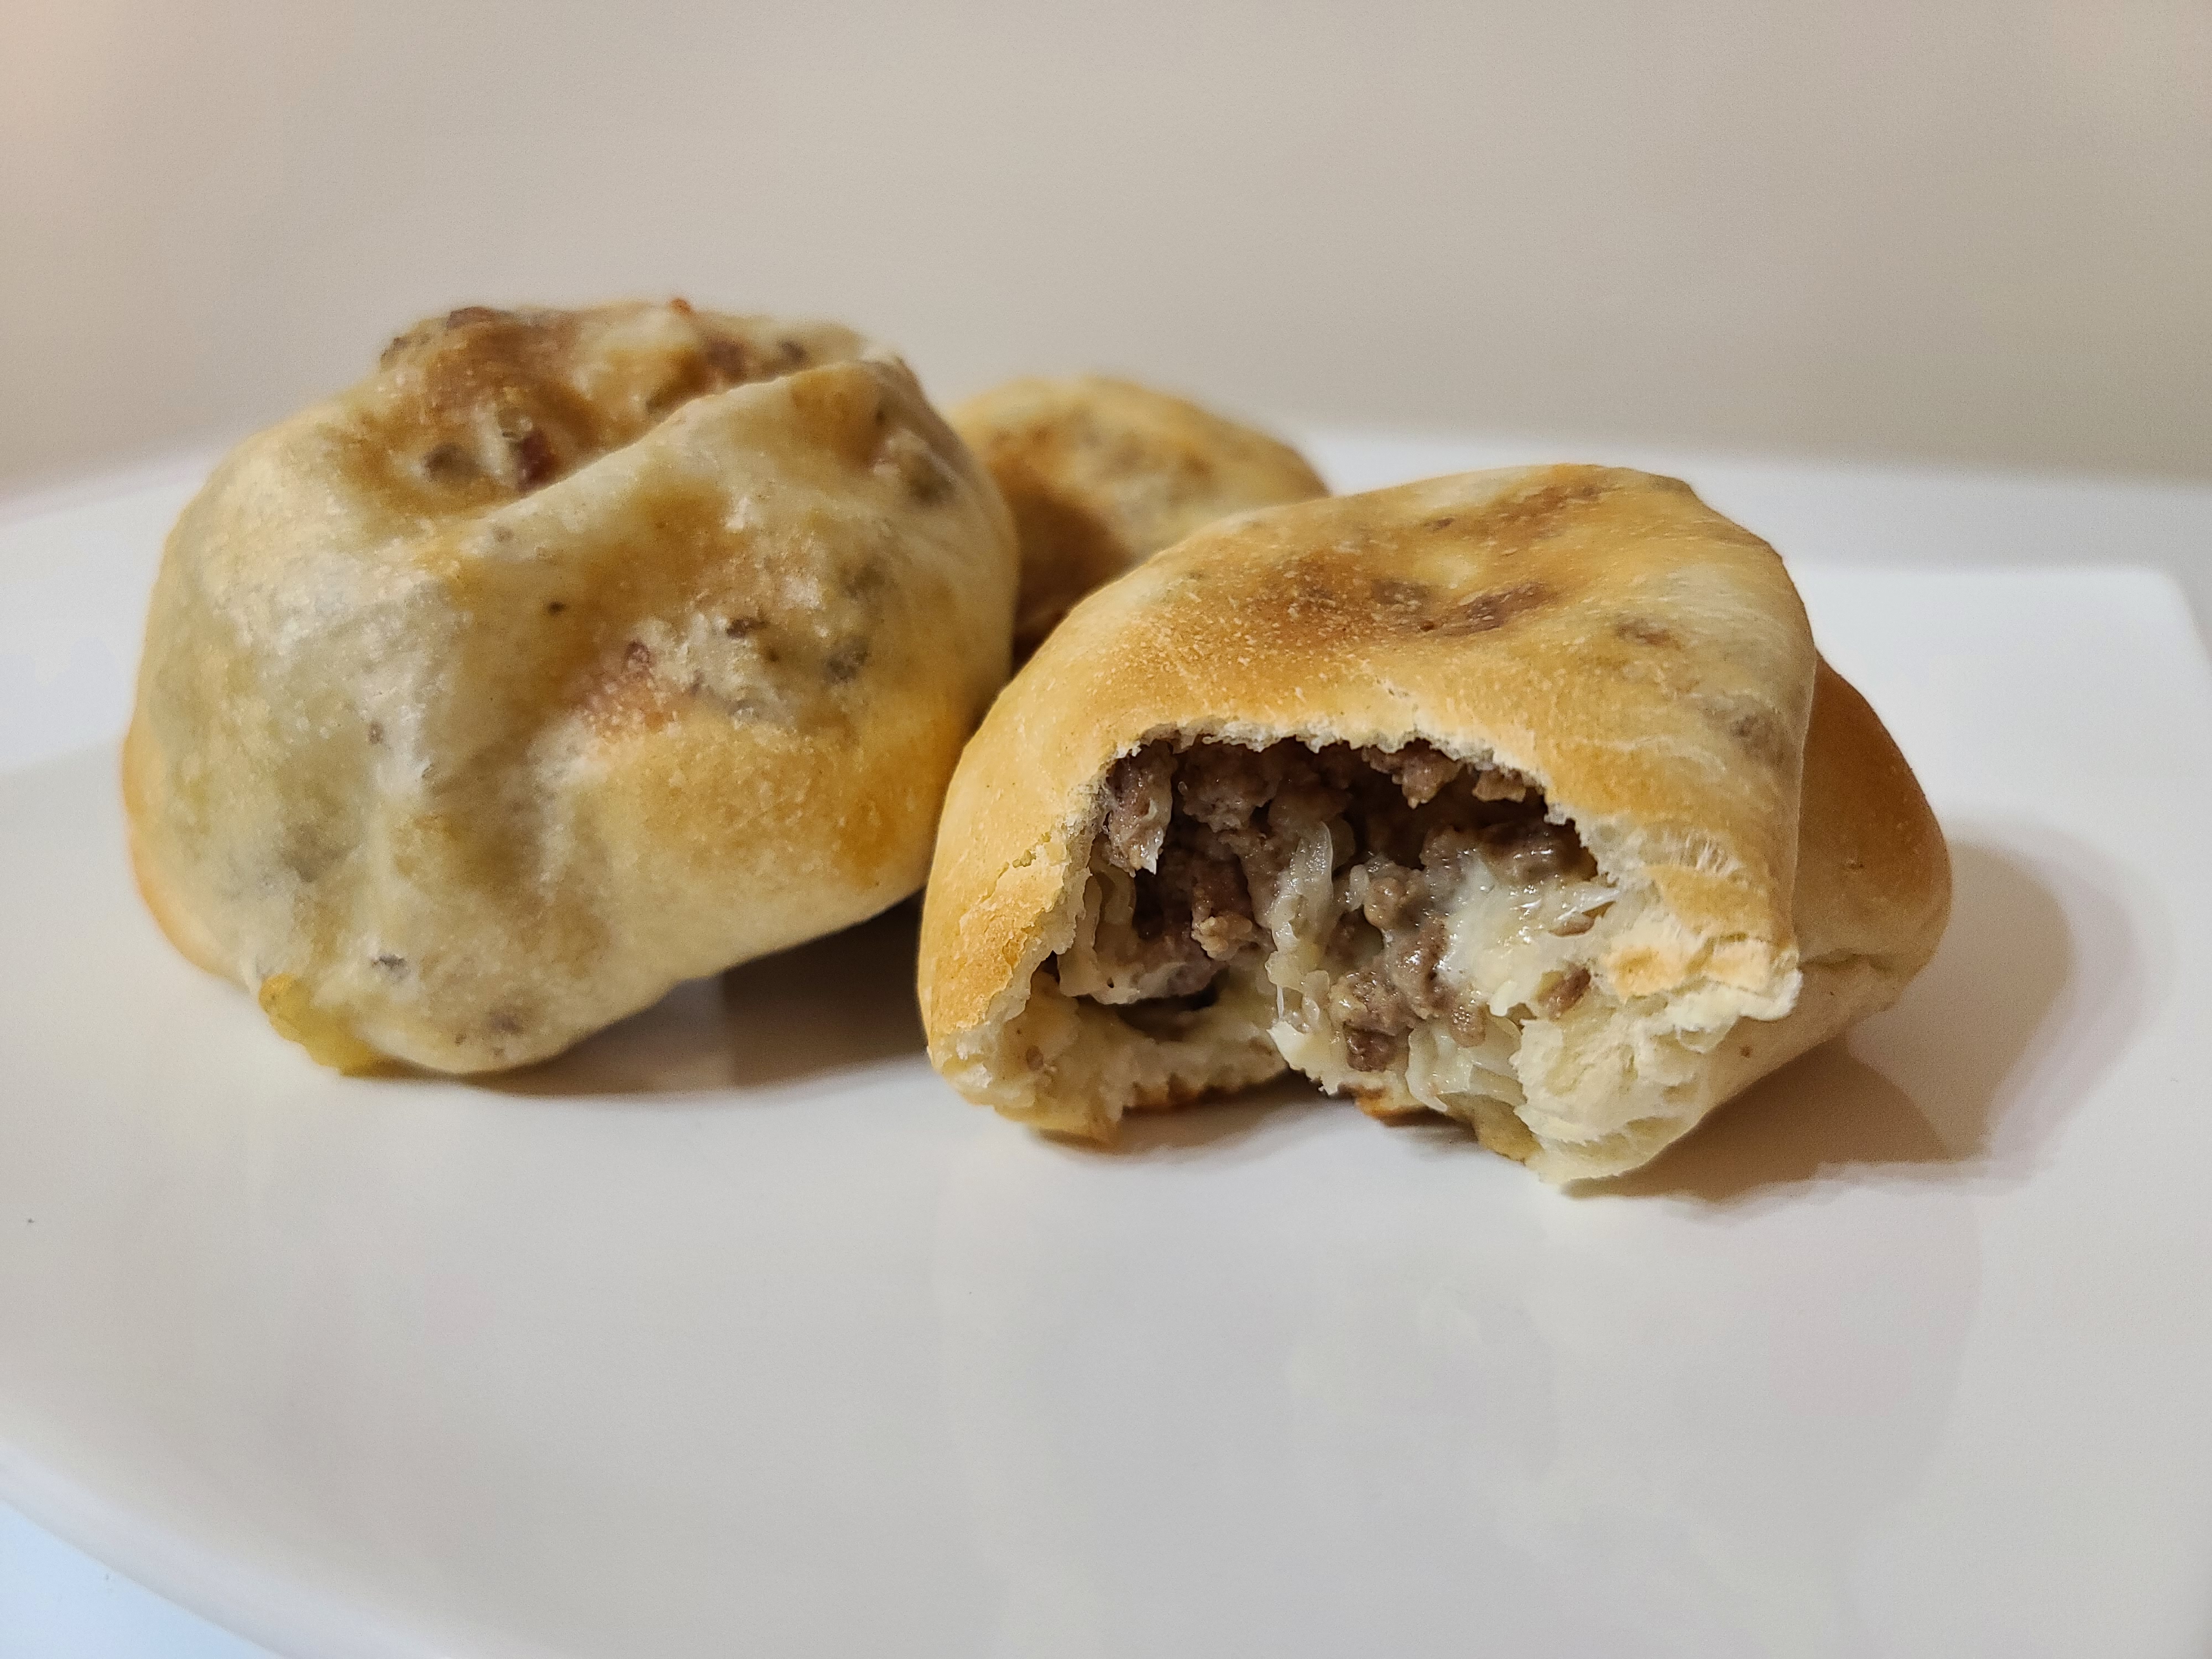
Thaw and Rise the Rhodes Rolls according to package instructions (I always forget to do this several hours before and end up using the Speed Thaw Method).
Preheat oven to 350F. Brown ground beef in a large pan, seasoning well with salt and pepper. Drain well and transfer to a large bowl. Add sauerkraut and mozzarella cheese and mix thoroughly.
Flatten each roll into a 4-6 inch circle. Divide filling among the 18 circles (about 1/3 cup). Pull edges around filling and pinch to close. Place on a large sprayed baking sheet, pinched side down. Bake at 350F for 30-35 minutes.
1 lb boneless, skinless chicken breast (cut into bite size pieces)
2 cloves garlic (finely chopped)
1 small onion (finely chopped)
1 1/2 c mixed vegetables such as carrots, cabbage and green beans, scallions (chopped bite size)
2 c low sodium chicken stock
2 T dark soy sauce
2 T soy sauce
1 T oyster sauce
1 t sugar
8 oz pack bihon noodles, vermicelli noodles or rice noodles
salt
pepper
lemon wedges or kumquats (optional)
In a wok or a large pan over medium heat, add oil and chicken and cook until tender. Transfer to a plate and set aside. Add garlic and onion to the pan and cook for 2 minutes. Add the cooked chicken and season with a little salt and pepper. Stir in the vegetables and cook for another 3-4 minutes or until a little tender.
Add the chicken stock, soy sauces, oyster sauce, and sugar, and bring to a boil. Add rice noodles and stir until all the noodles are coated with the sauce. Keep stirring and cooking until the noodles are tender (3-4 minutes).
Add more stock (or water) if the dish is dry before the noodles are tender.
Season with salt and pepper and more soy sauce if necessary. Serve immediately.
For an extra kick, serve with lemon wedges or kumquats, and squeeze juice over the pancit.
2 jalapeno peppers, roughly chopped (remove seeds for medium heat)
2 cloves garlic, smashed
1 t cumin powder
1 t salt
1 t black pepper
1/2 t granulated sugar
1 extra jalapeno with the seeds (optional – for hot salsa)
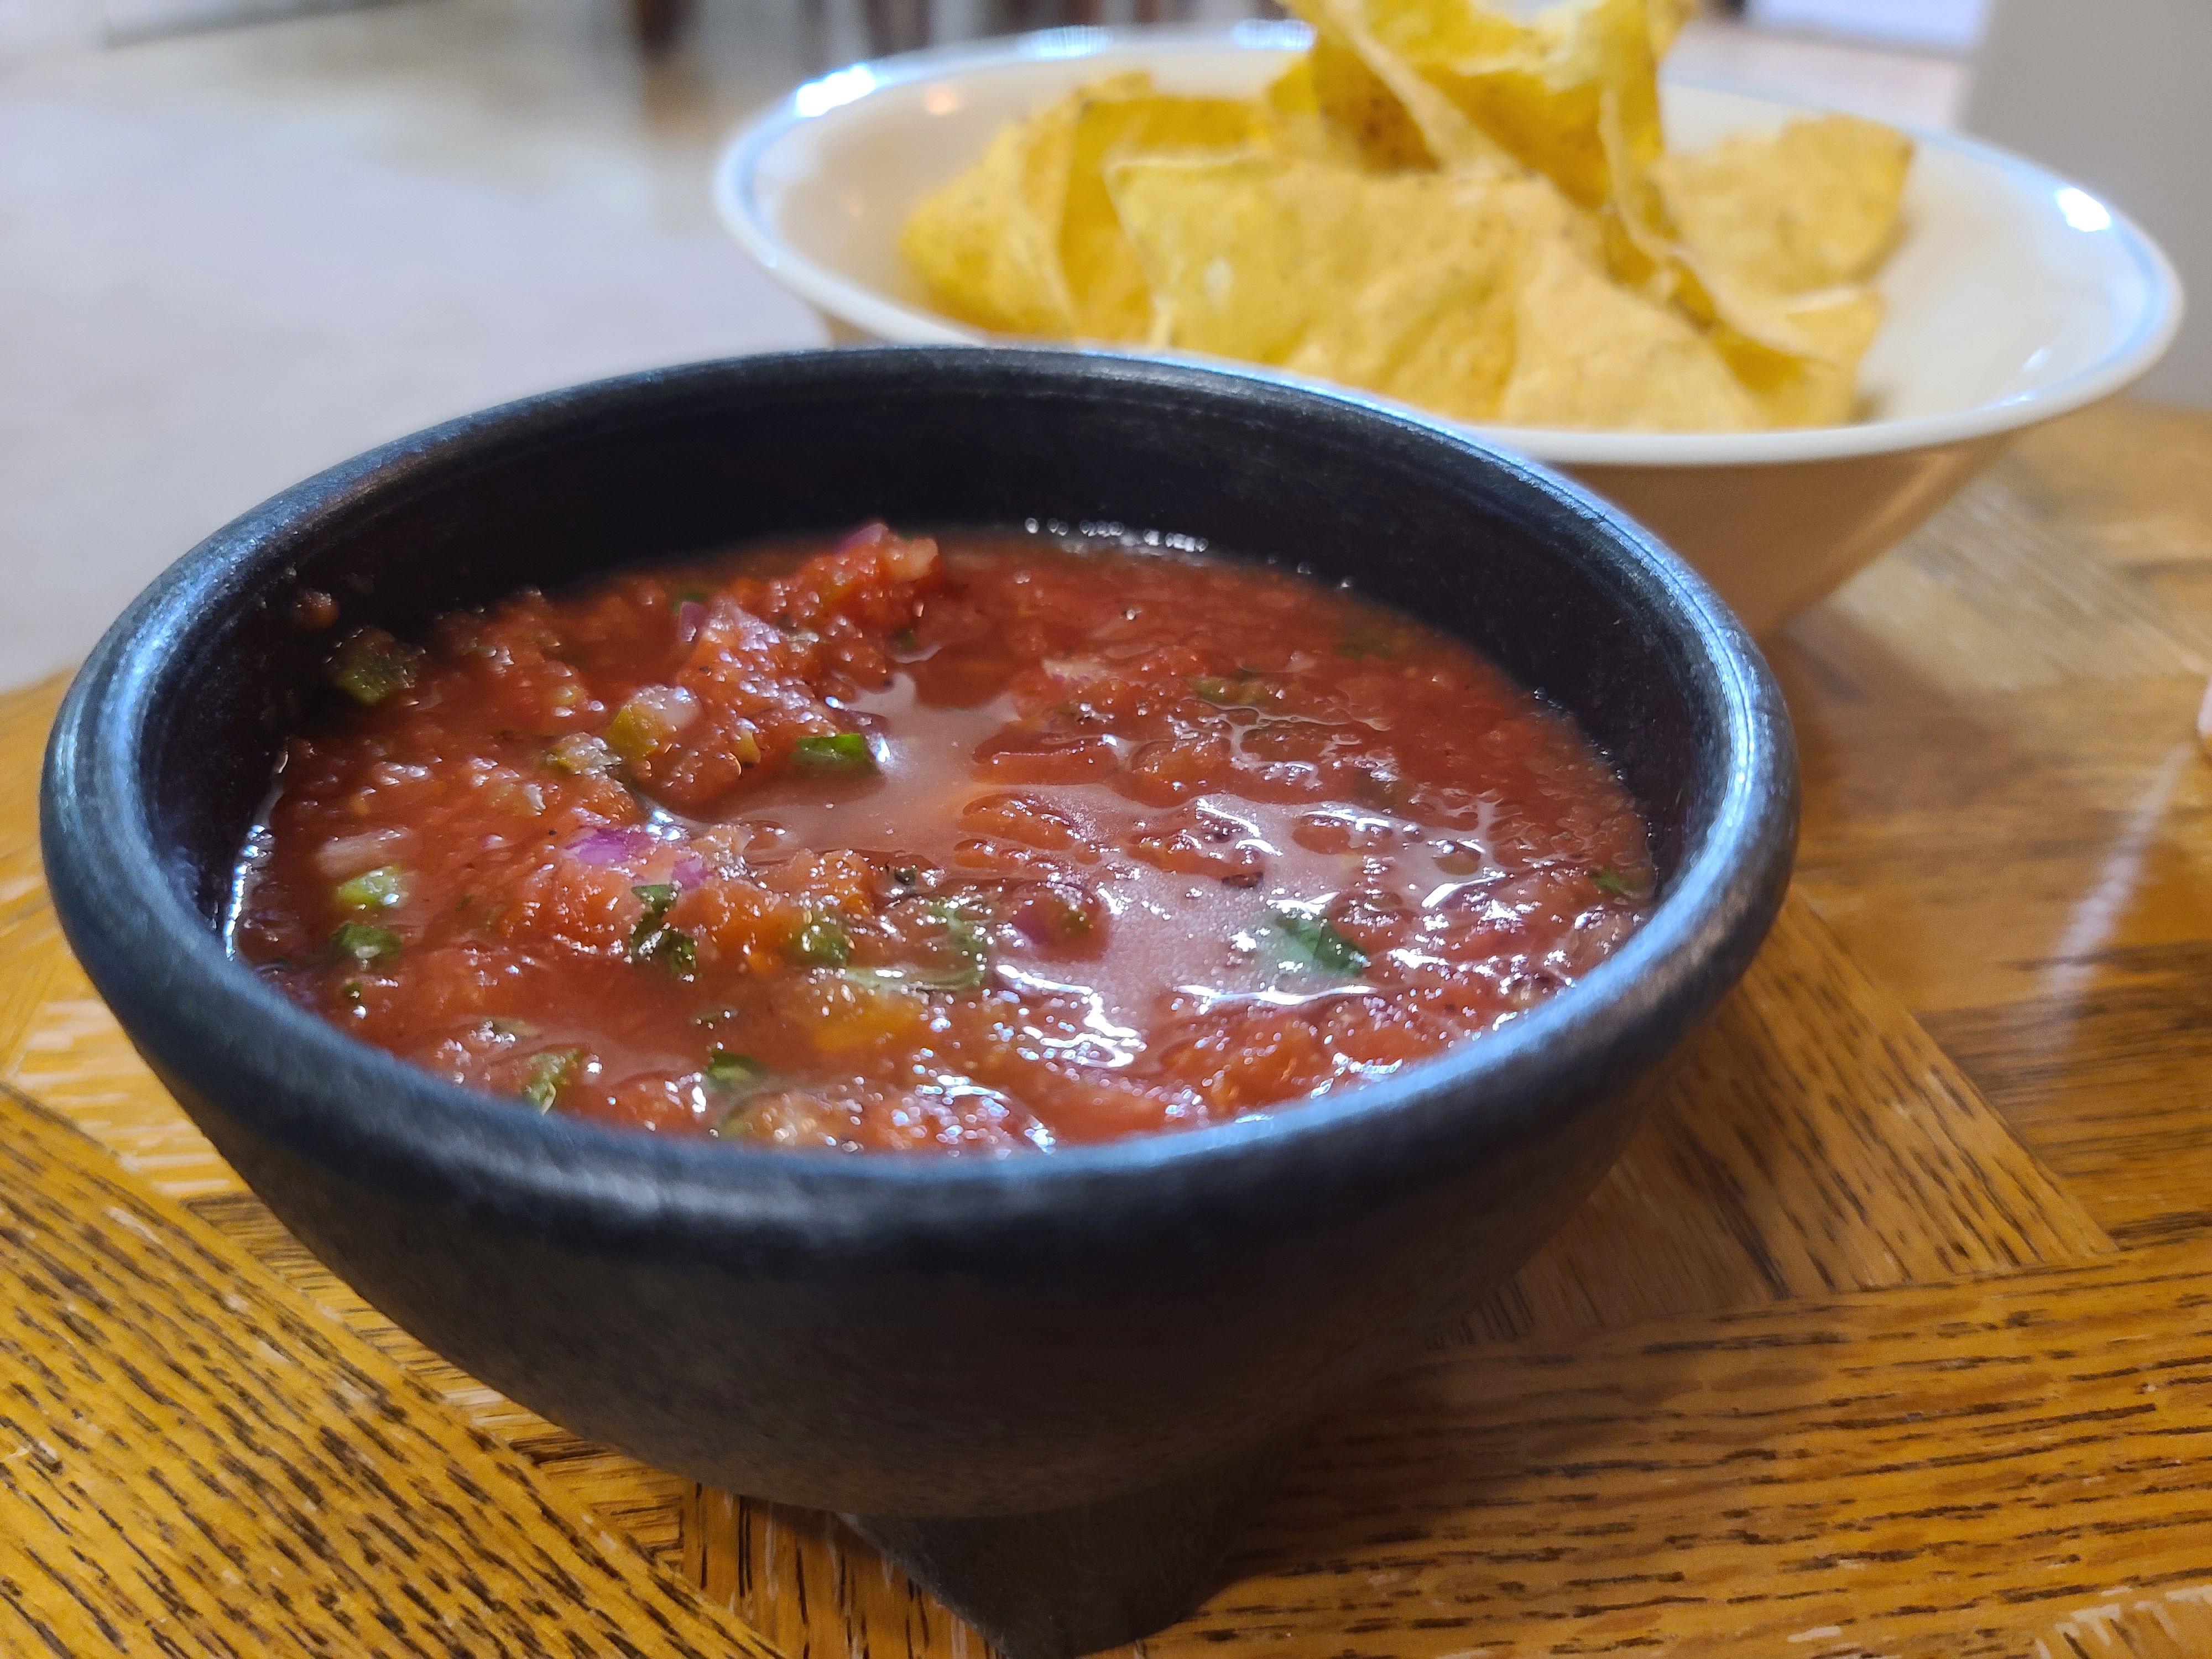
In food processor or blender, pulse tomatoes and juice. Take half out and pour into large bowl. Add the rest of the ingredients and pulse until the salsa reaches the desired texture. Pour into the large bowl and mix all together.
Best if left in the fridge for a day before eating (especially if you want more heat).
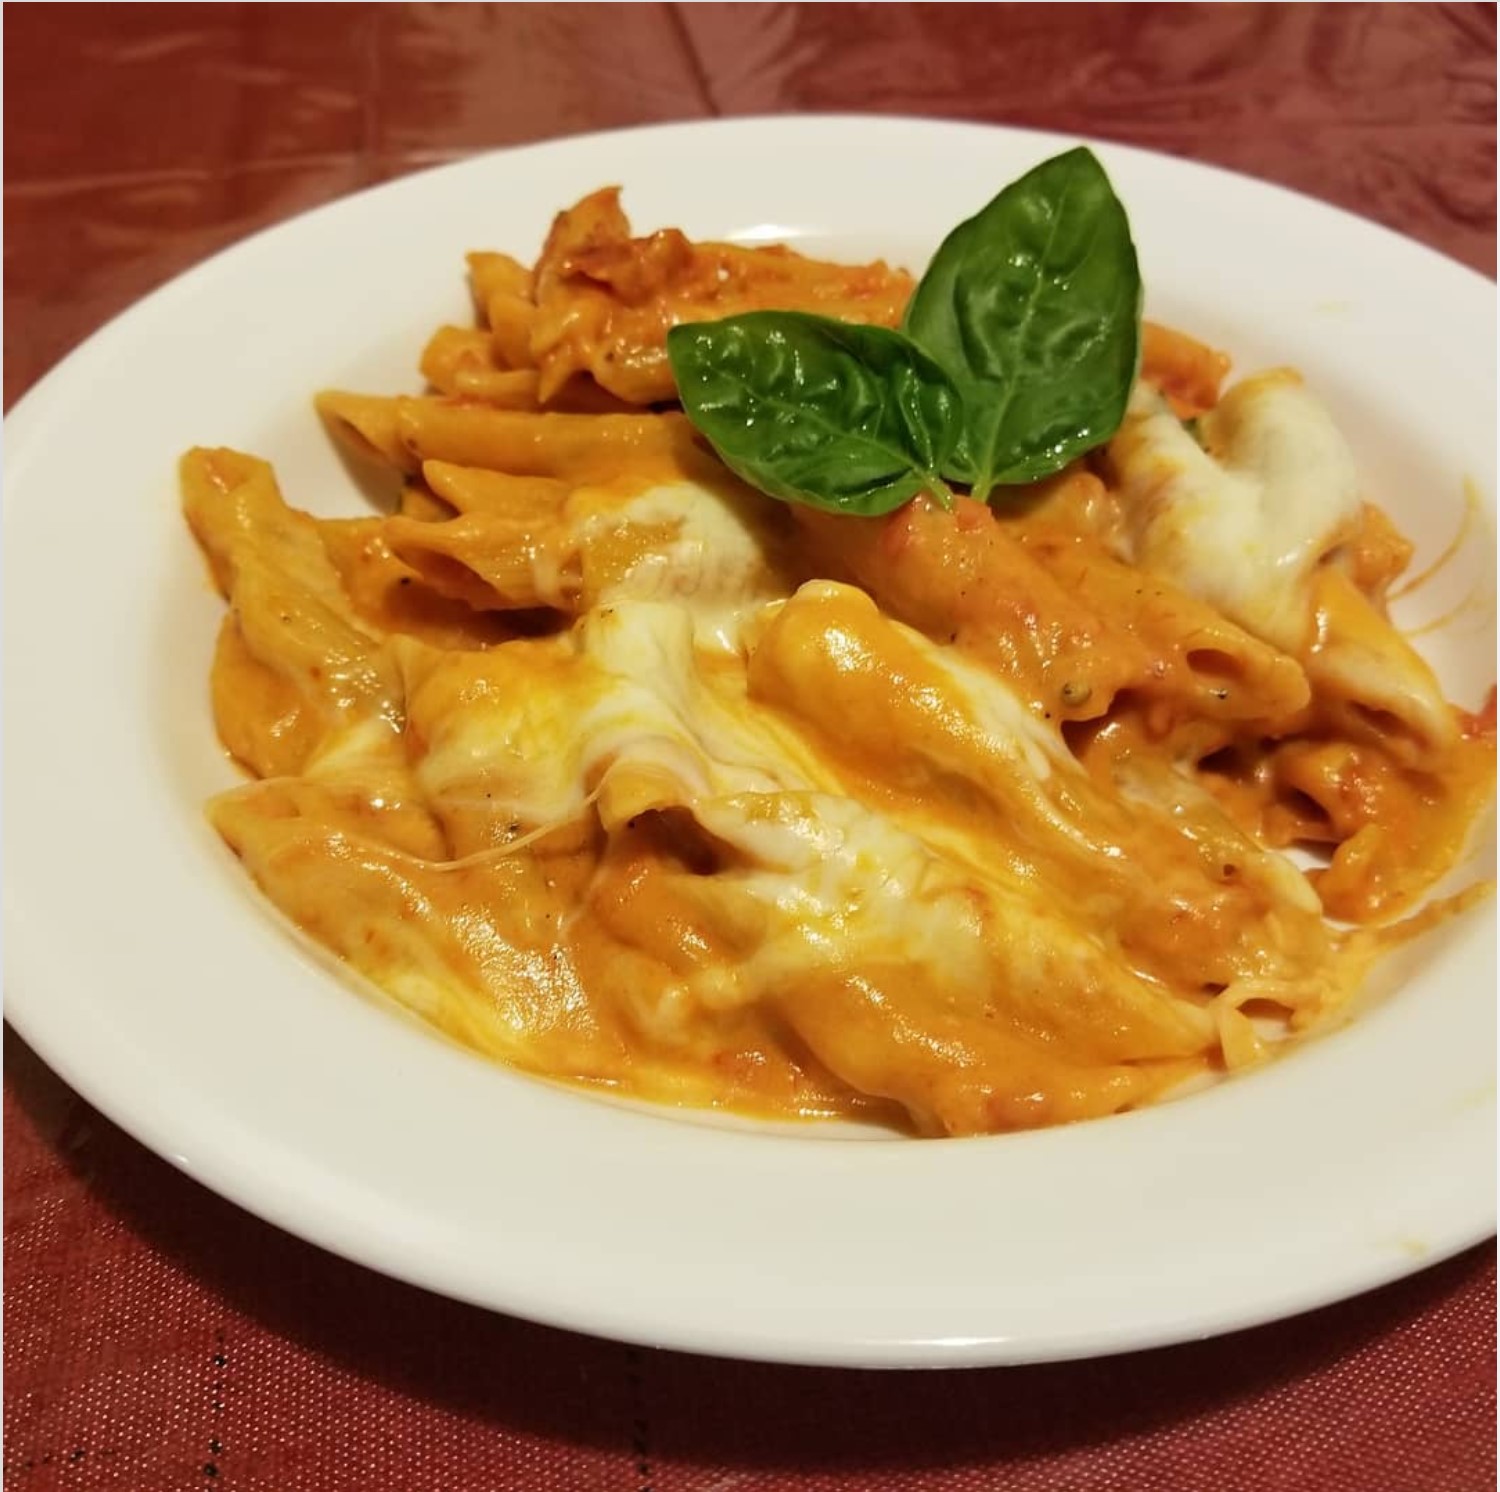
Combine oil, garlic, pepper flakes, and salt in a large, non-stick skillet and saute over medium-high heat until fragrant, about 1 minute. Add crushed tomatoes, water, and ziti pasta. Cover and cook, stirring often and adjusting heat as needed to maintain vigorous simmer, until ziti is almost tender, 15-18 minutes.
Stir in cream, Parmesan, and basil. Season with salt and pepper to taste. Sprinkle mozzarella evenly over ziti. Cover and cook until mozzarella is completely melted, about 10 minutes.
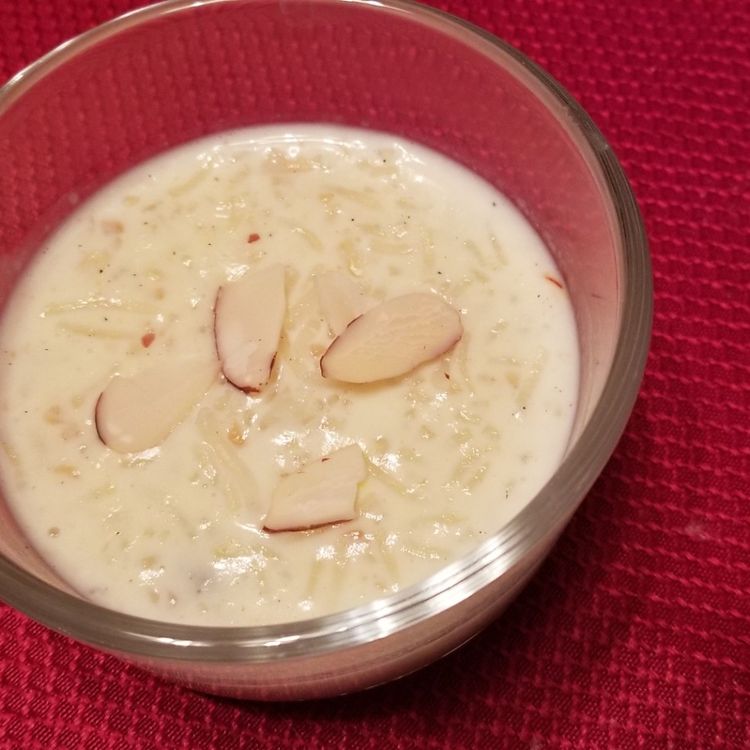
Wash the rice under running cold water till water runs clear. Soak in water for 20-30 minutes. While the rice is soaking, chop the nuts and set aside. After soaking time, discard the water.
Heat milk on medium in a large sauce pan. Let the milk come to a boil, then add the rice. Stir well and let simmer on low-medium heat for 20-25 minutes or until the rice is tender and cooked. Stir every five minutes and make sure that rice or milk is not sticking to the pan. Check by pinching the rice grain, it should mash very easily.
Add sugar and cardamom powder and stir well. Add saffron strands and chopped cashews, almonds, and raisins. Mix well. Let simmer for 6-7 minutes to thicken. When a spoonful is poured back into the pan, rice and milk should fall together in the same flow. Remove from heat and chill 2-3 hours before serving. Top with almond slivers.
**Have leftover cooked basmati rice? You can add the other ingredients and make this quickly on the stove or in the microwave. It’s generally better made with uncooked rice, though.
Whisk all ingredients together in a small bowl, or shake up in a sealed jar. Add sliced green onions to garnish, if desired. Leftovers can be refrigerated in an air tight container for two weeks.
Heat oil in large pot on medium heat. Add pork, onion, and garlic. Sauté 3-4 minutes searing pork on all sides. Stir in broth, enchilada sauce, green chilies, and spices. Bring to a boil on high heat. Cover and reduce heat to low. Simmer 40 minutes.
Add hominy. Cover and simmer 10 minutes. Stir in lime juice and cilantro.
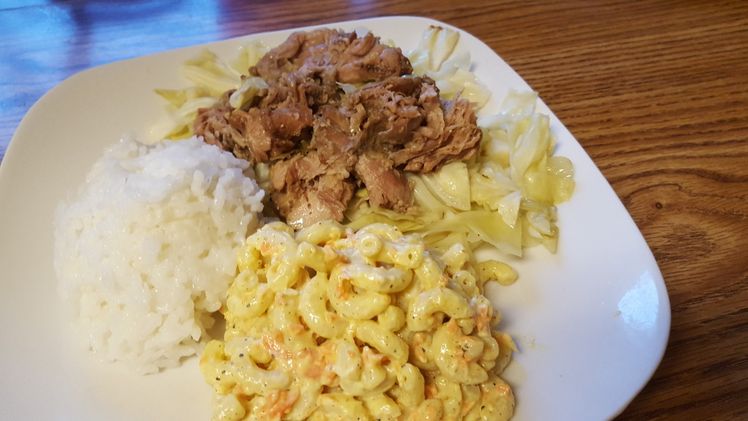
Prepare the pork by taking a fork and puncturing it several times all over. Place the pork butt into the slow cooker. Coat with the liquid smoke. Salt the pork well on both sides using the Hawaiian sea salt.
Set the slow cooker to low and cook for 6-10 hours. Once the pork is cooked through, it should be incredibly tender. Shred the pork with two forks and top with the cabbage. Cook for an additional hour or until cabbage is soft and wilted.
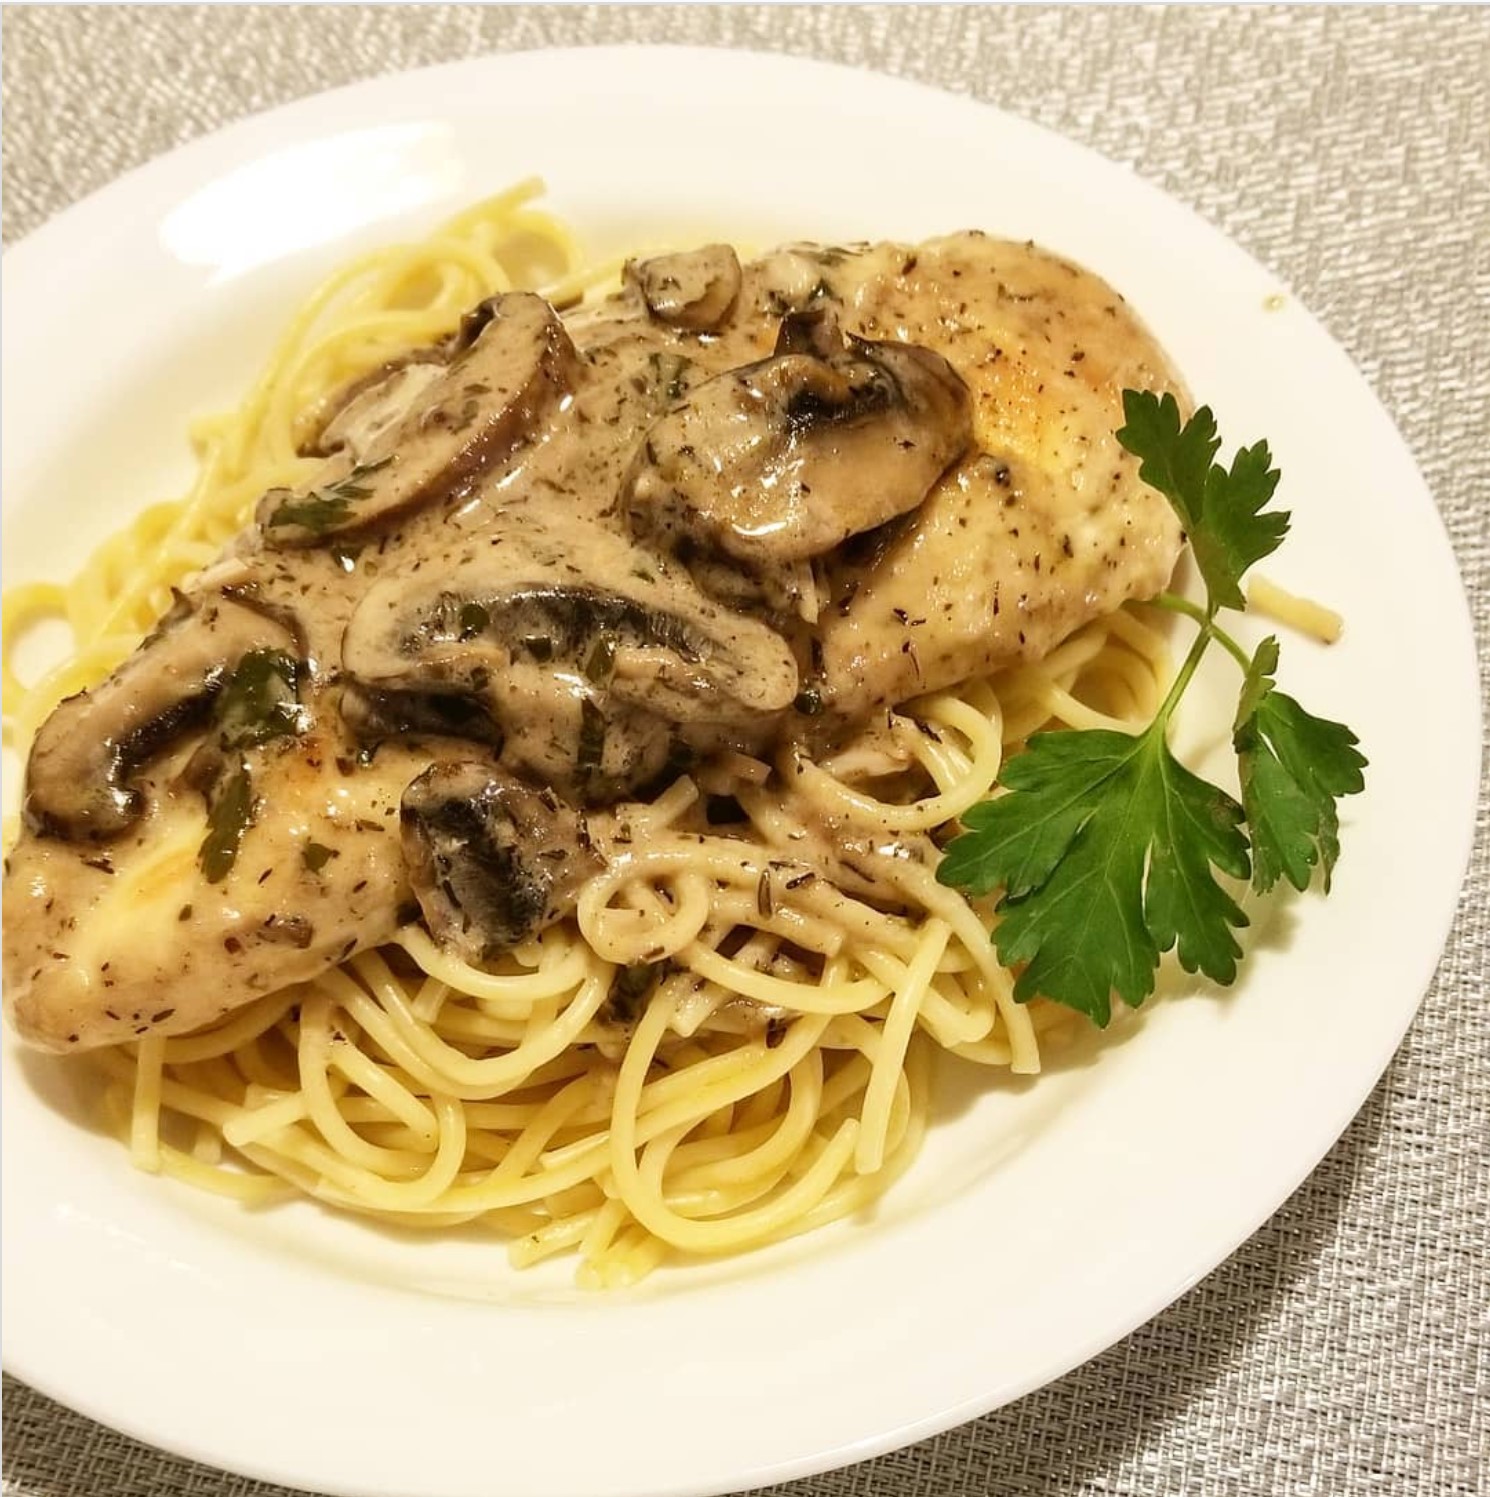
In a shallow pan, mix together flour, Italian seasoning, onion powder, and garlic powder. Cut chicken breasts horizontally into 4 flat fillets. Place between two layers of plastic wrap and pound until about 1/2-inch thick. Pat dry with a paper towel and dredge the chicken in flour mixture on each side until coated. Shake off excess flour.
Heat oil in a frying pan over medium-high heat. Fry chicken on both sides until golden brown — about 4 to 5 minutes per side. Remove chicken from skillet and place on a plate.
Add butter to the skillet. Once melted, add mushrooms and saute for about 2-3 minutes. Add garlic and thyme and continue cooking for 3-5 more minutes, stirring occasionally.
Pour in grape juice, vinegar, chicken stock, and heavy cream, stirring and scraping the pan well, until it is fully incorporated. Stir for about 1-2 minutes or until slightly thickened . Lightly season with salt and pepper.
Return chicken back to skillet, turning to coat. Bring to a boil and let it simmer 4-5 minutes or until thickened. Adjust seasonings to taste. Sprinkle with parsley.
Remove from heat and serve over pasta, rice, or mashed potatoes.
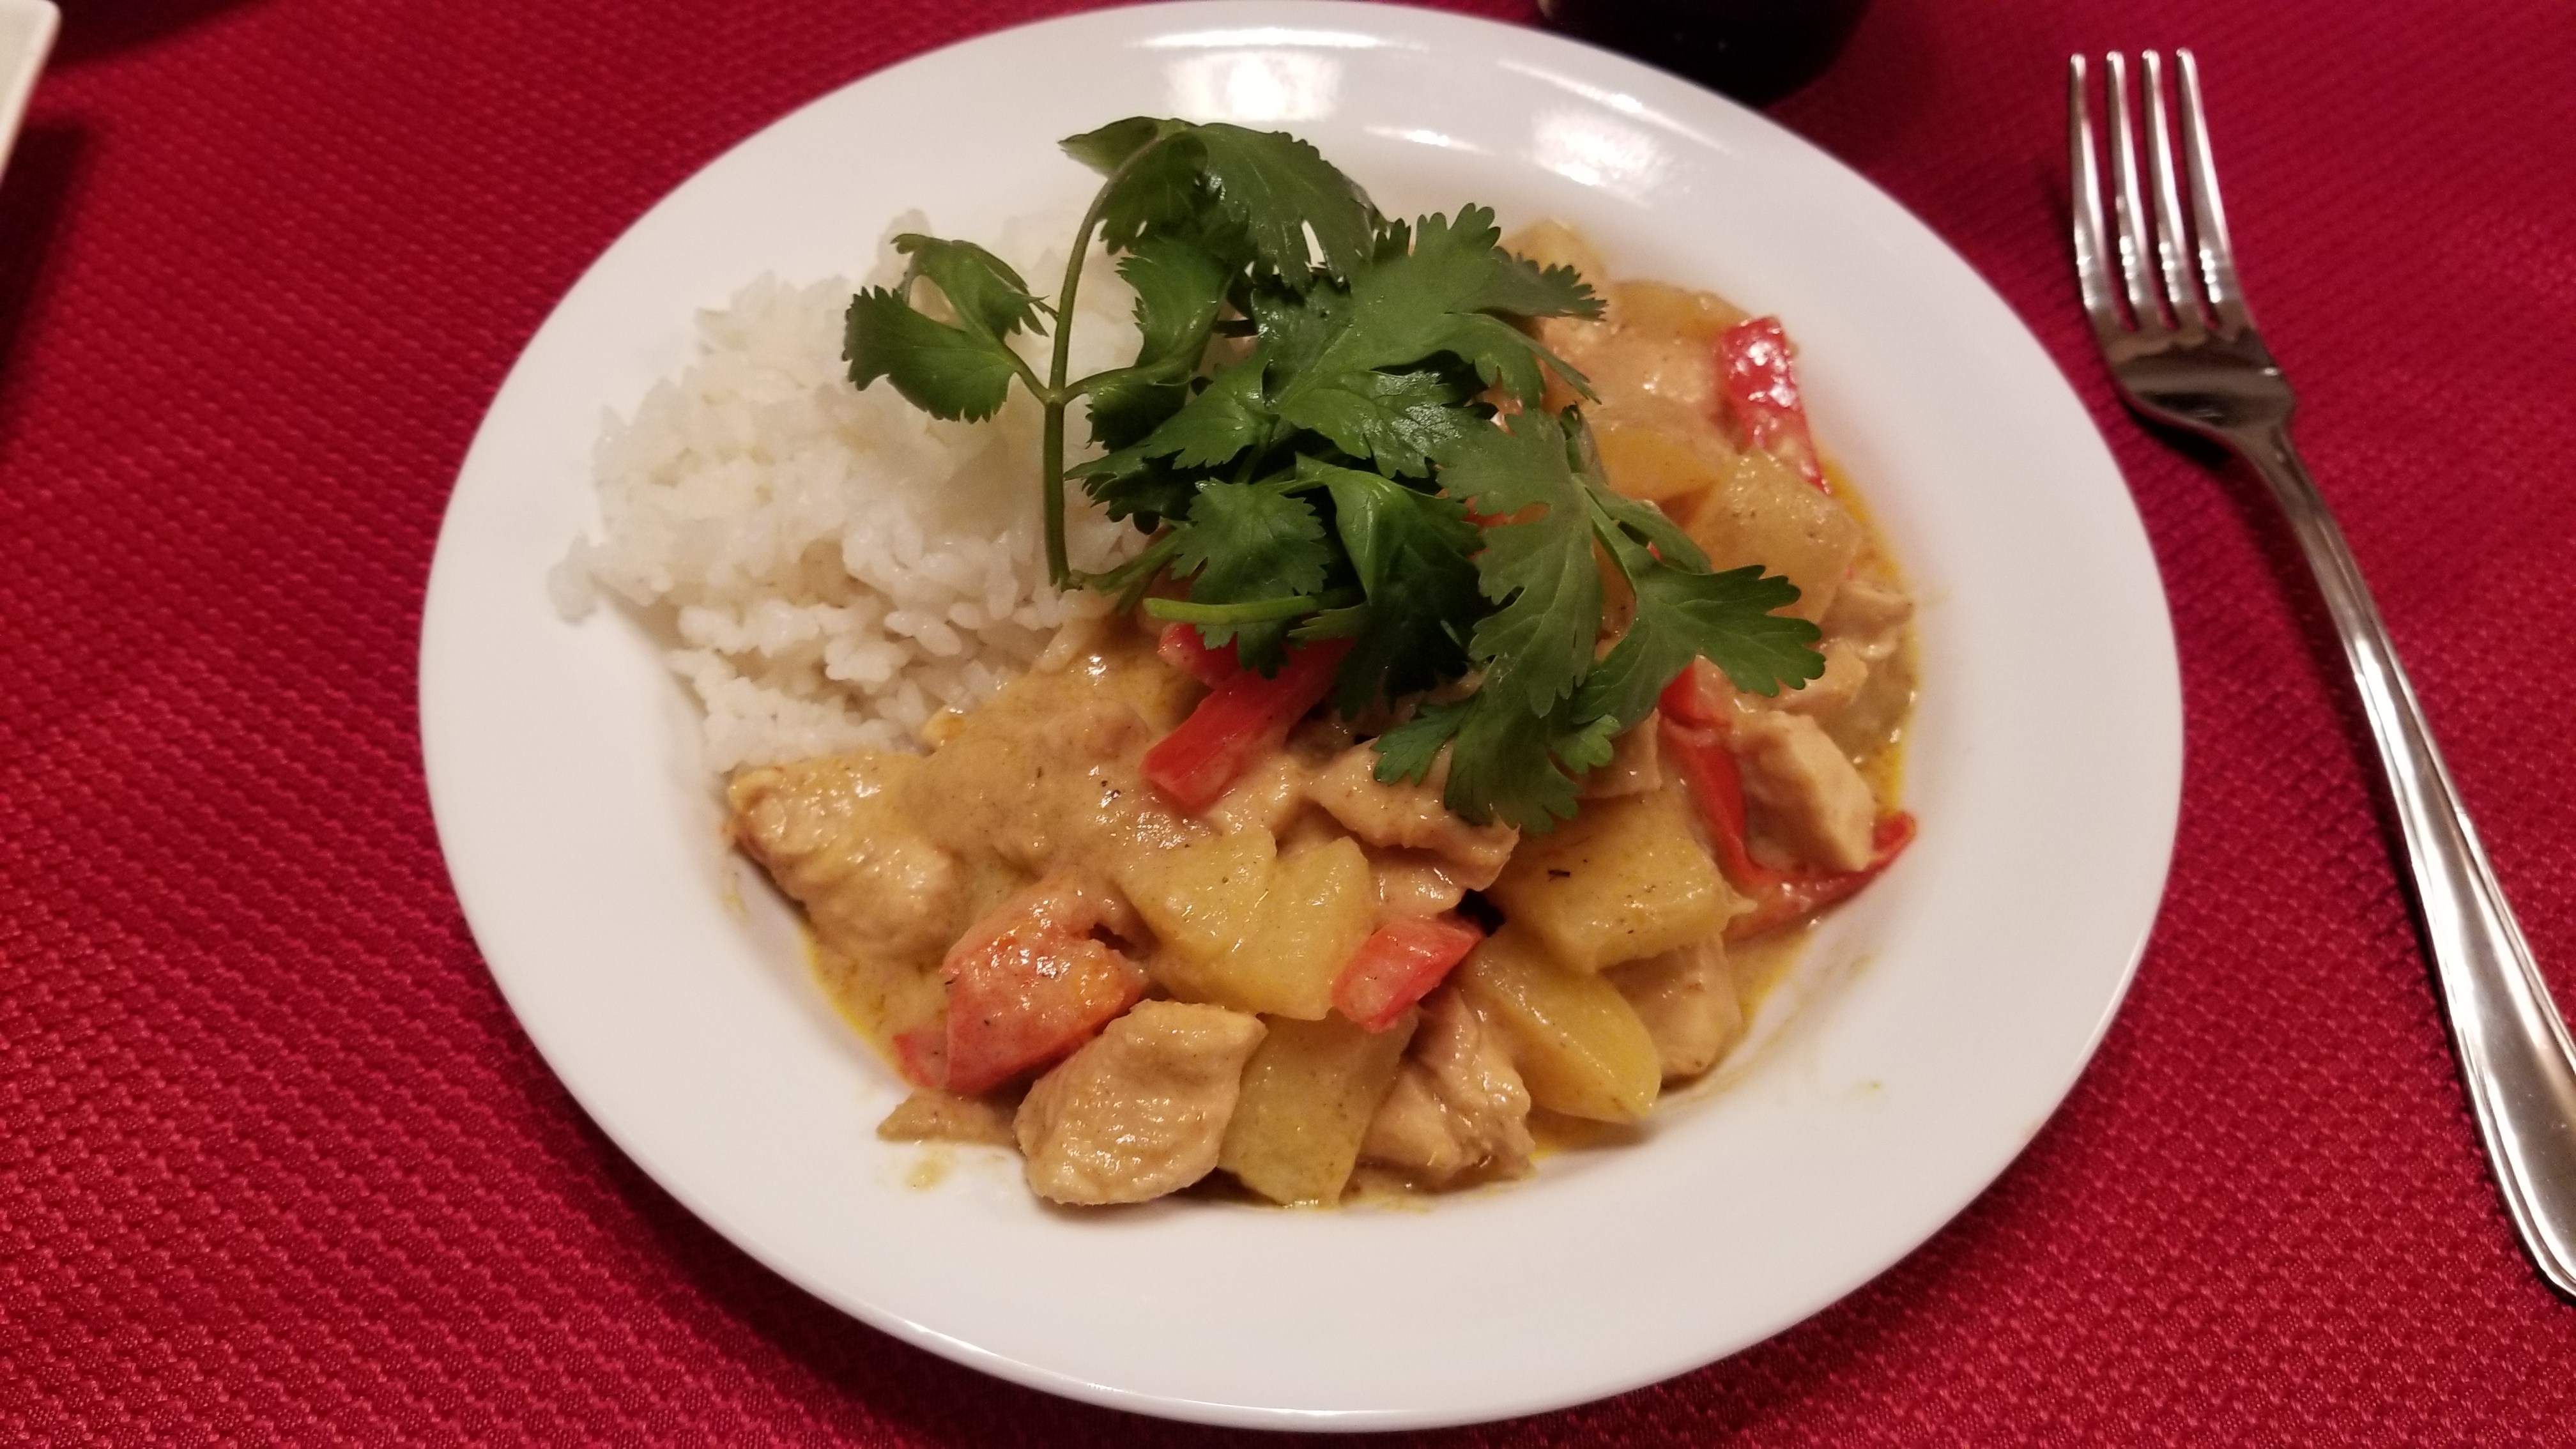
Heat the oil in a large pot over medium low heat. Add the onions and saute for a few minutes until the onions are fragrant and softened. Add the chicken and curry paste; saute for 3-5 minutes. Add the potatoes and stir to coat with the curry paste.
Add the bell pepper, coconut cream, and 1/2 cup water to the pot – simmer for 20-30 minutes or until the chicken and potatoes are fully cooked, adding more water depending on the consistency you want for the sauce.
Stir in the brown sugar and serve over rice, garnishing with cilantro and sriracha sauce if desired.
¼ c onion (very finely grated – use a food processor to save time)
2 ½ c mayonnaise (Best Foods or Hellman’s brand)
2 T creamy Dijon mustard
½ c carrots, finely chopped
salt
pepper
Cook macaroni until soft and fat. Drain. While the pasta is hot, stir in onion. Add half of the mayonnaise and the Dijon mustard and carrots. Stir well and refrigerate for at least 3 hours.
Once the macaroni mixture has sufficiently cooled, add the rest of the mayonnaise and salt and pepper to taste.
1 Pizza crust
1 Tomato (large), sliced
Fresh Basil (approx. 12 leaves)
1-1/2 c mozzarella
1 c Mayonnaise
2 T Basil (dried)
1 T Minced garlic
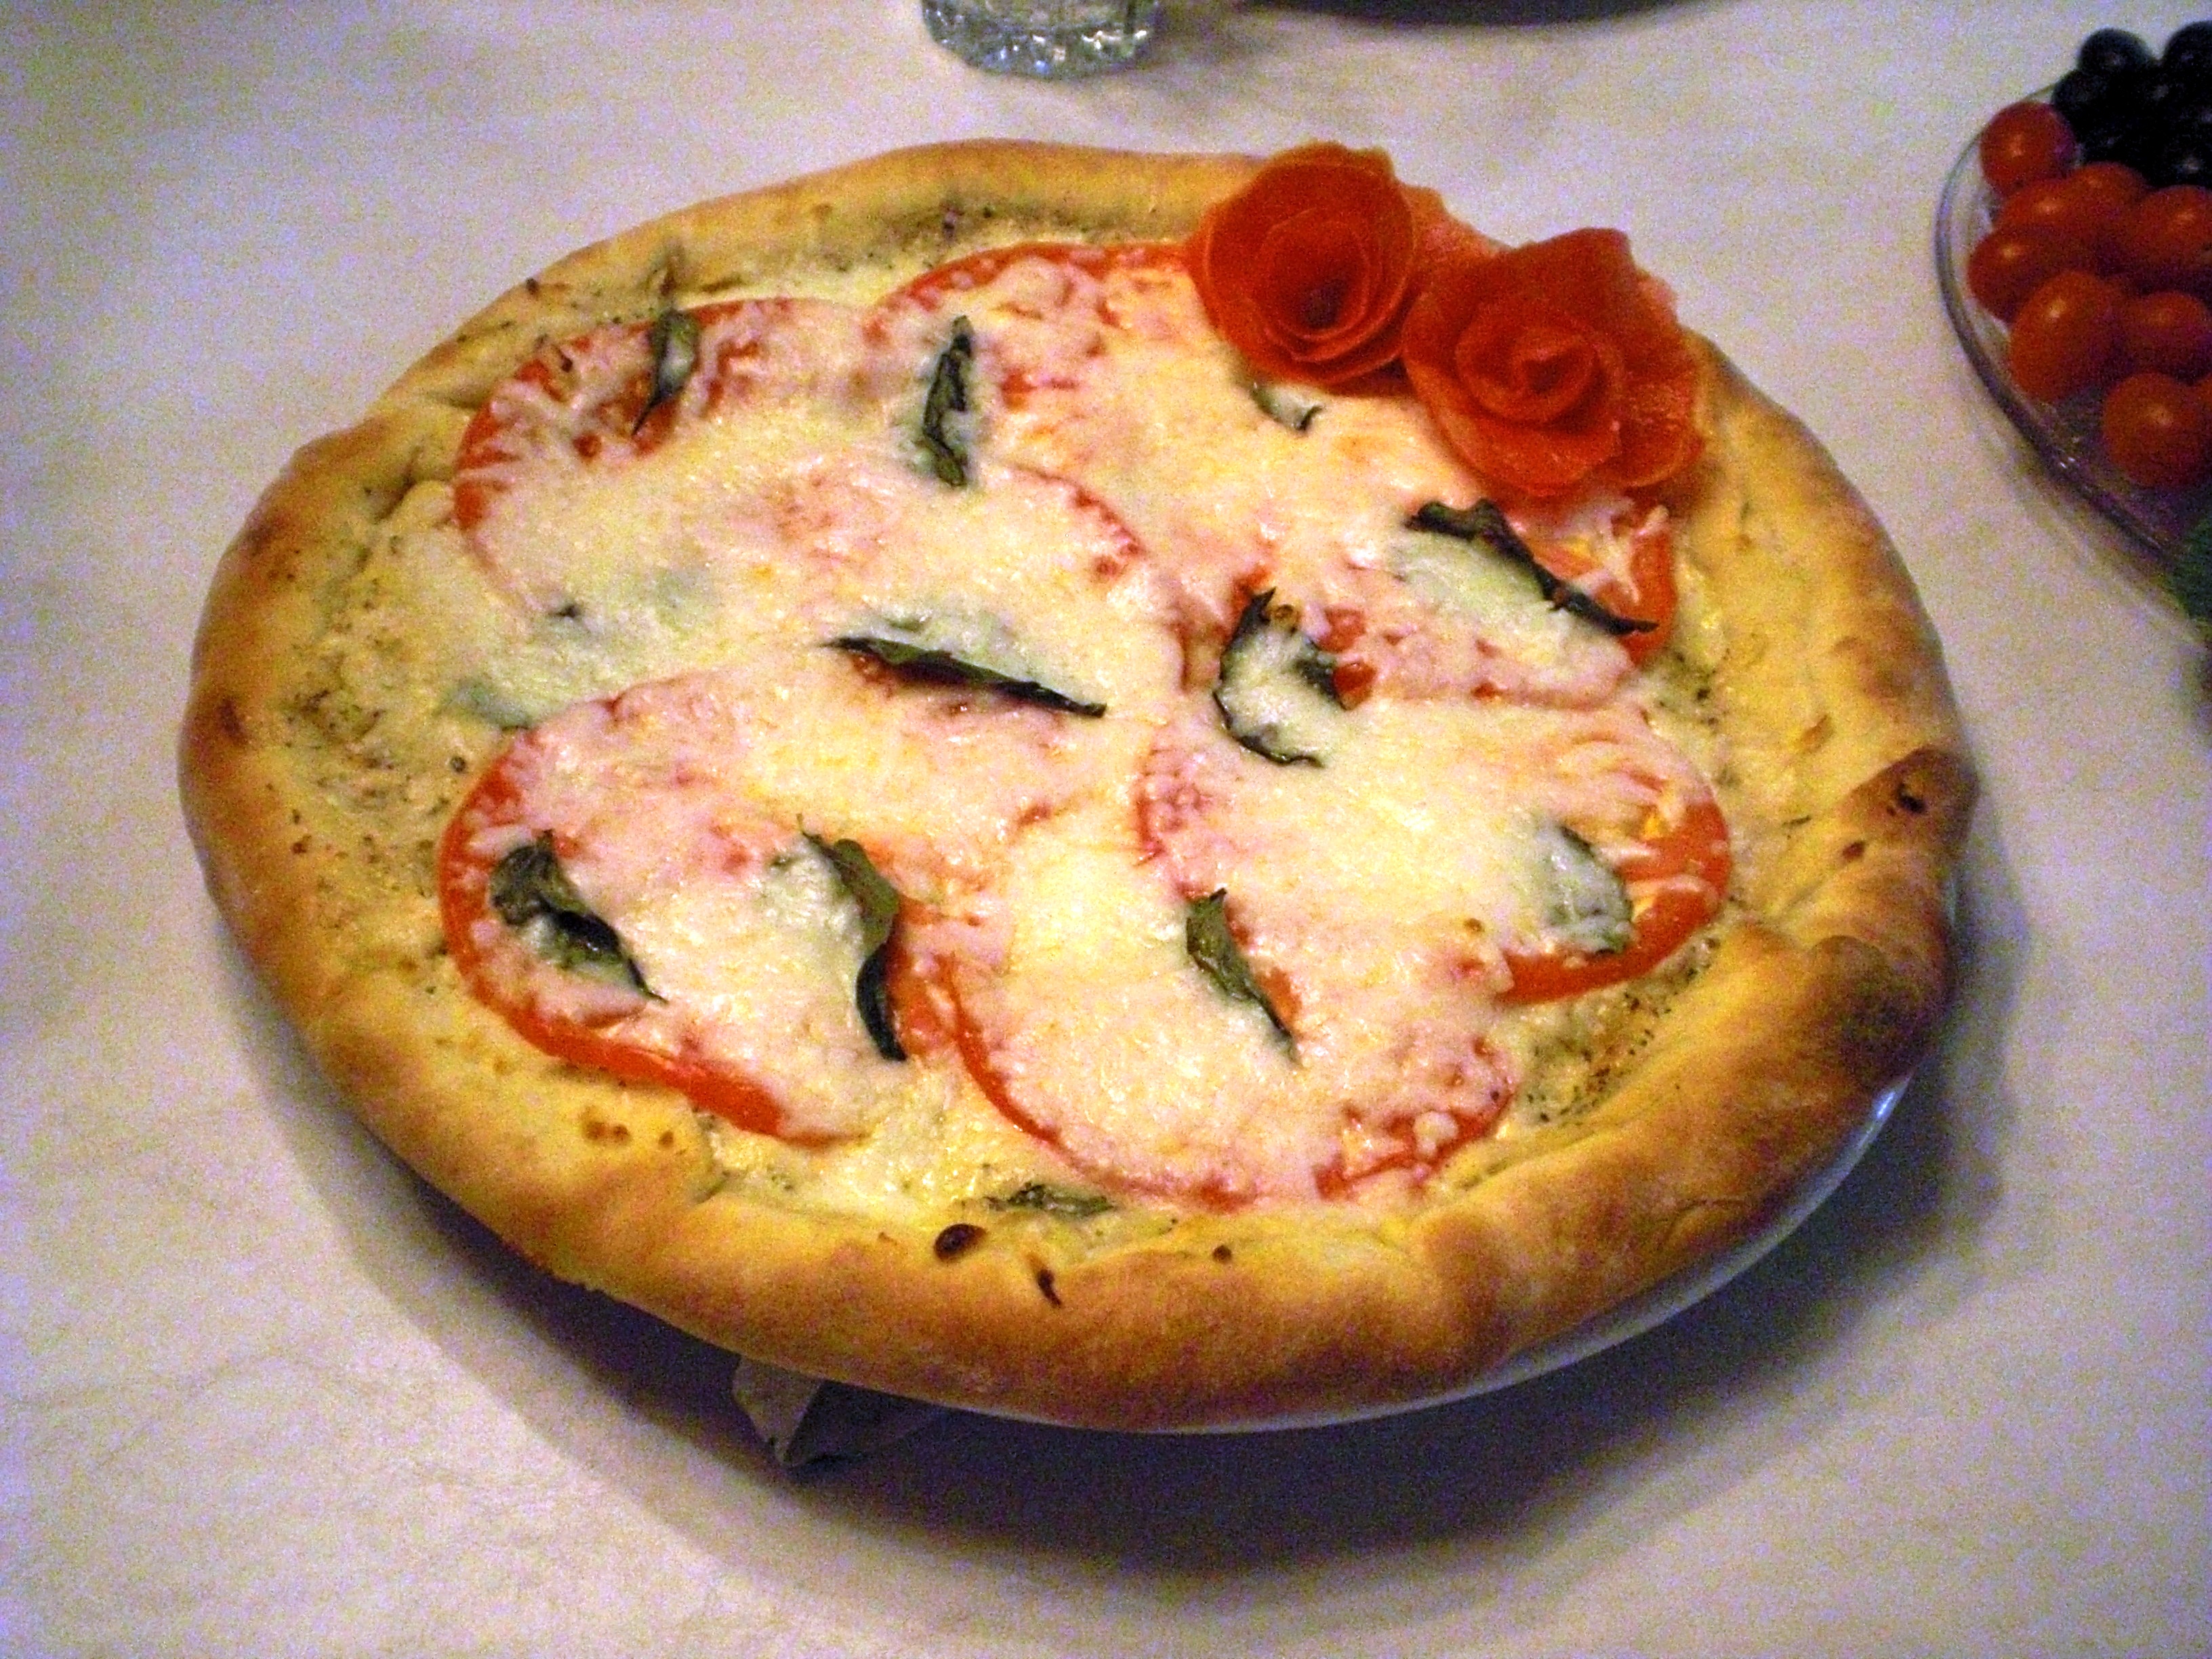
Preheat oven to 425F. Combine mayonnaise, dried basil and garlic. Spread generously on crust. Top with tomatoes, fresh basil and mozzarella. Bake 5-10 minutes or until cheese begins to turn golden.
OPTIONAL:
Make a stuffed crust – Use a refrigerator (canned) pizza crust and roll edges over quartered string cheese.
Personal pizza – Use a tortilla instead of a pizza crust. Leave out the fresh basil and use diced tomatoes instead of sliced.
Preheat oven to 350F. In a pan, season the ground beef with 1 teaspoon of salt, pepper, and chopped onion. Cook over medium-high heat until completely browned. Add crushed tomatoes, remaining teaspoon of salt, and Italian seasoning, mixing thoroughly. Remove from heat.
In a separate bowl, combine eggs, cottage cheese, parmesan cheese, parsley, and 1 cup of the mozzarella cheese.
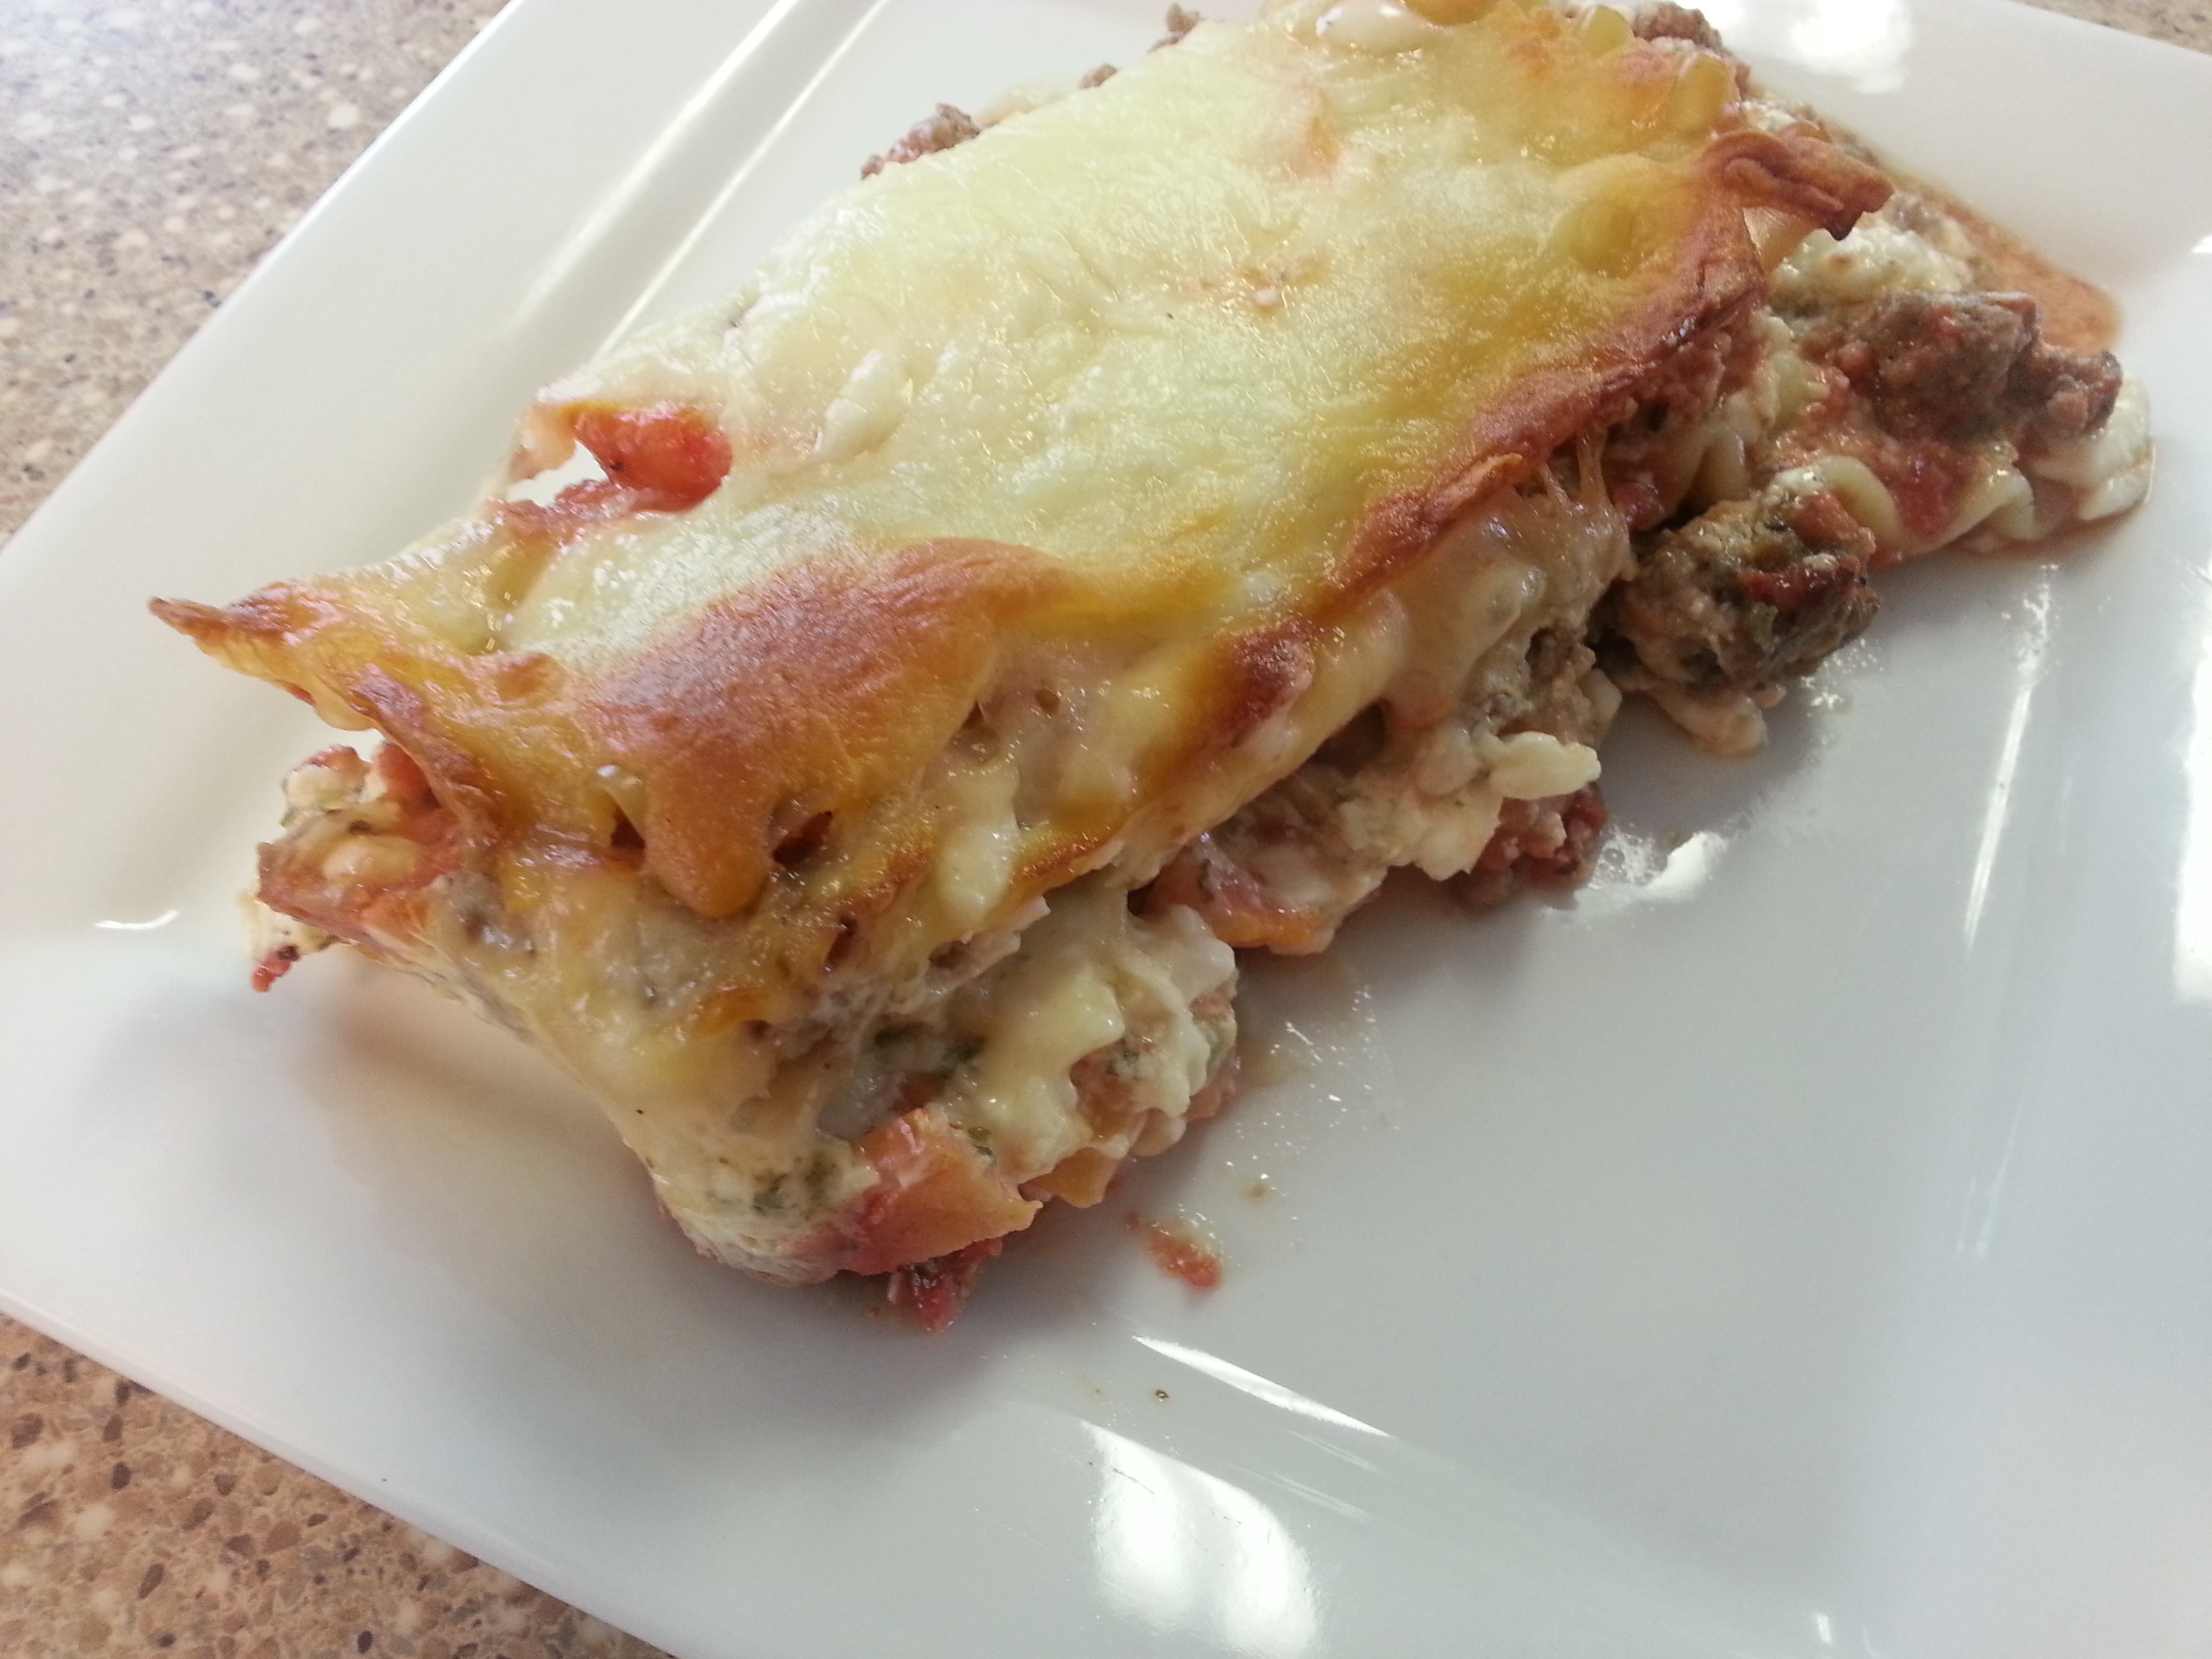
In a 9×13 pan, layer meat mixture, lasagna noodles, and egg/cheese mixture until you run out of ingredients. Top with remaining 2 cups of mozzarella cheese. Bake at 350F for 20-30 minutes.
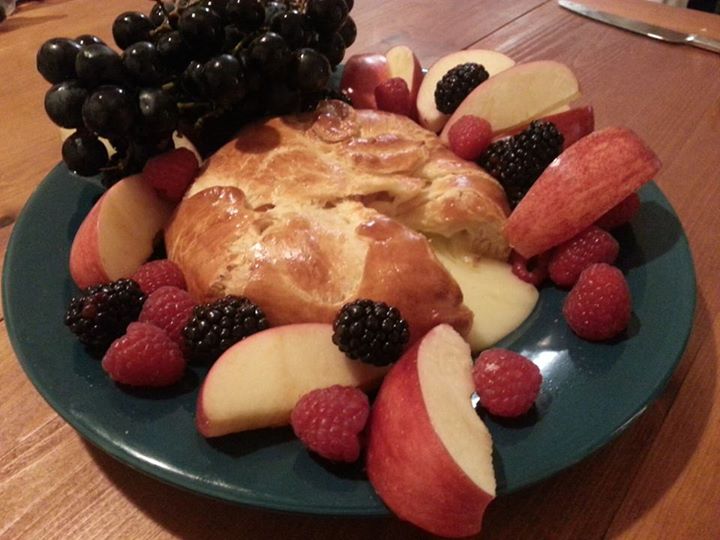
Heat oven to 350°F. Unroll dough; separate crosswise into 2 sections. Pat dough and firmly press perforations to seal, forming 2 squares. If using dough sheet: Unroll dough; cut crosswise into 2 rectangles. Pat dough to form 2 squares. Place 1 square on ungreased cookie sheet. Place cheese on center of dough. With a knife or small cookie cutter, cut 1 shape from each corner of remaining square; set cutouts aside.
Place remaining square on top of cheese round. Press dough evenly around cheese; fold bottom edges over top edges. Gently stretch dough evenly around cheese; press to seal completely. Brush with beaten egg. Top with cutouts; brush with additional beaten egg.
Bake 20-24 minutes or until golden brown. Cool 15 minutes. Serve warm with apple slices, grapes, and berries.
Crepes
Baby spinach
Mushrooms, sliced
Onion, diced
Paprika
Basil
Salt
Pepper
Garlic powder
Boar’s Head Oven-Roasted Chicken Breast, sliced into thin strips
Swiss cheese
Hollandaise sauce
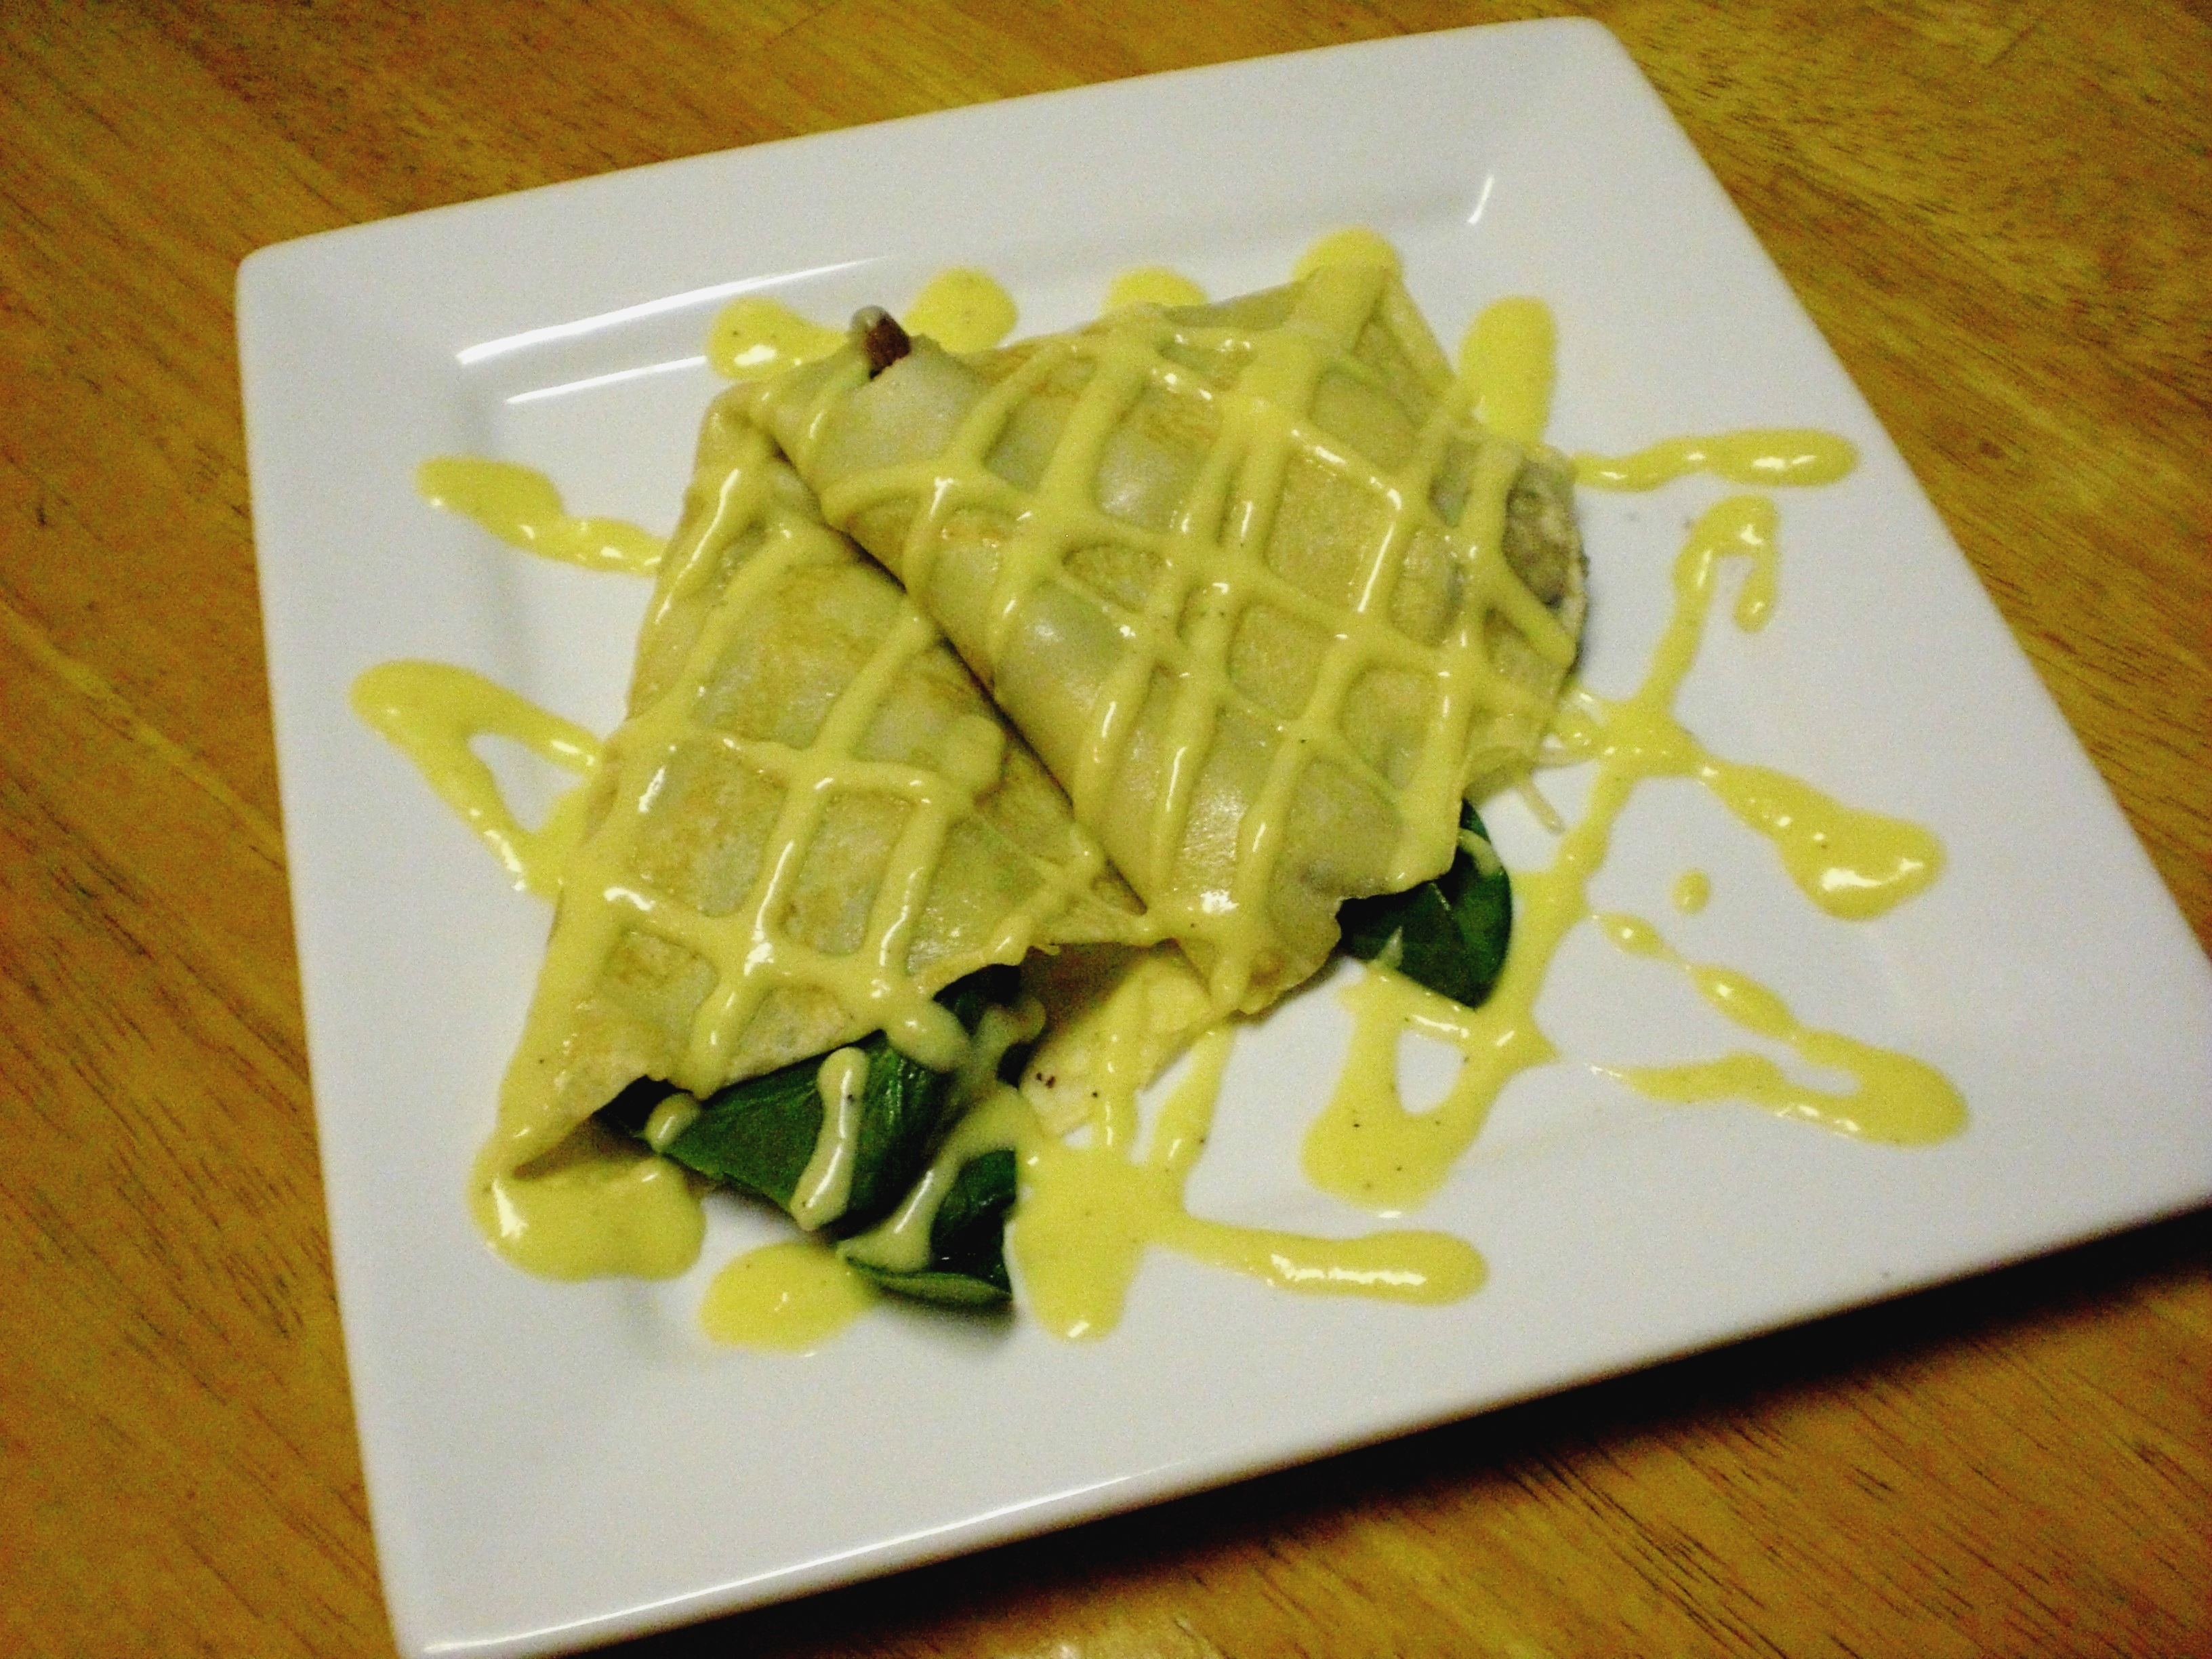
In a deep frying pan, reduce spinach, mushrooms, and onion. Season lightly with paprika, basil, salt, pepper, and garlic powder. Add strips of chicken and swiss cheese. Spoon into crepes. Roll or fold to serve and top with hollandaise sauce.
Beat cream cheese in large bowl with electric mixer on low speed until smooth. Gradually add ½ cup of the milk, mixing until well blended. Add remaining 1-1/2 cups milk and pudding mix. Beat on low speed 2 minutes or until well blended. Gently stir in whipped topping. In a separate bowl, mix pineapple and raspberries. Arrange 1/3 of the cake cubes in 3-quart serving bowl; cover with layers of 1/3 each of the fruit and pudding mixtures. Repeat all layers 2 more times. Refrigerate until ready to serve.
Soften bean threads in bowl of warm water. Cut into 1 ½ inch lengths. Brown pork. Combine all ingredients, except eggs. Place wrapper with corner facing you. Put 1 heaping tablespoon of mixture in middle of wrapper. Paint edges with beaten egg. Fold bottom of wrap over mixture, then fold sides into middle. Roll up until closed. Deep fry in hot oil until golden brown. Drain on paper towel. Serve with Oriental hot sauce or sweet and sour sauce.
Mix all ingredients of Chinese Salad Dressing and set aside. Soak chicken in teriyaki sauce for 15 minutes and drain. Brown sesame seed. Deep fry Meifun noodles. Toss together and top with Chinese salad dressing.
In a medium saucepan over medium heat, combine crushed tomatoes, tomato paste, onion, garlic, basil, oregano, and sage. Season with salt and pepper to taste. Reduce heat to low and allow it to simmer about 10 minutes, stirring occasionally. Then remove from burner, cover with lid and set aside.
PASTA
Prepare pasta according to directions listed on package, then drain. Once noodles are cool enough to handle, align on wax paper (sprayed with cooking spray to prevent sticking), side by side. Preheat oven to 375 degrees.
FILLING
While pasta is boiling, drain thawed spinach in paper towels, pressing out some of the excess moisture, then chop spinach. In a mixing bowl, stir together spinach, cottage cheese, eggs, and parsley. Mix in 2 cups of the mozzarella, the asiago and the parmesan cheese.
ASSEMBLY
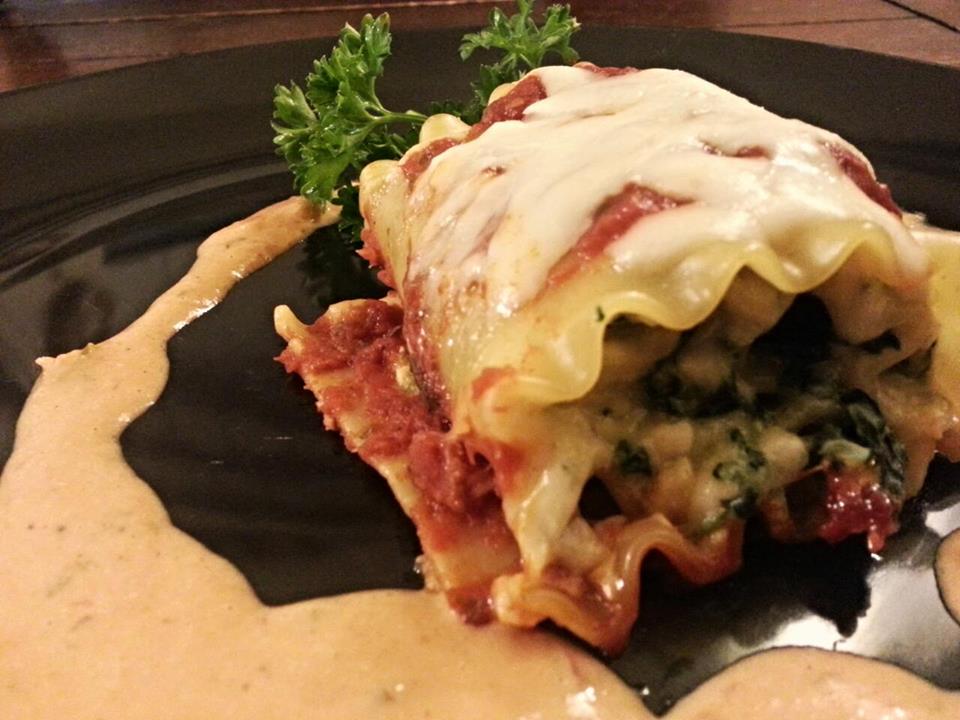
Spread 1/4 cup of the cheese mixture evenly along length of the noodles. Roll noodles up jelly roll style to opposite end. Pour about 1 cup of the marinara sauce into the bottom of a 13 by 9-inch baking dish. Place lasagna roll ups in baking dish then cover tops with remaining marinara sauce and sprinkle with remaining 1 cup mozzarella cheese. Bake in preheated oven 20 – 28 minutes, until cooked through.
PRO TIP: Add olive oil and salt to your water when boiling pasta. It will help prevent it from sticking.
Change-Up: Use alfredo sauce instead of marinara—or mix the two!
Make it classic lasagna-style: Layer the sauce, then uncooked oven-ready lasagna noodles, then the cheese mixture. Repeat. Add remaining sauce and a final layer of mozzarella cheese on top. Bake at 375F for 30 minutes, cover with foil, and bake for an additional 15-20 minutes (a toothpick should go through all layers with little-to-no resistance).
8 ounces dried Chinese egg noodles, or 1 pound fresh
Sauce
1 packet chicken bouillon mix, such as Knorr, dissolved in 1 3/4 cups hot water
1/4 cup plus 2 tablespoons oyster sauce
3 tablespoons low-sodium soy sauce
1 tablespoon sesame oil
1 tablespoon Sriracha chili sauce
Lo Mein
2 tablespoons vegetable oil
1 tablespoon minced garlic
2 teaspoons minced ginger
1 small bunch scallions, white and green parts, sliced
1 pound small shrimp, peeled and deveined
1 cup thinly sliced white button mushrooms
2 stalks celery, thinly sliced
1 large carrot, shredded
1/4 head Napa cabbage, finely shredded
2 tablespoons cornstarch
For the noodles: In a large pot of salted boiling water, cook the noodles according to their package directions. Drain and set aside.
For the sauce: Combine the bouillon, oyster sauce, soy sauce, sesame oil and Sriracha in a large glass measuring cup or small bowl and set aside. This may look like a lot of sauce, but you have a lot of noodles and veggies to coat!
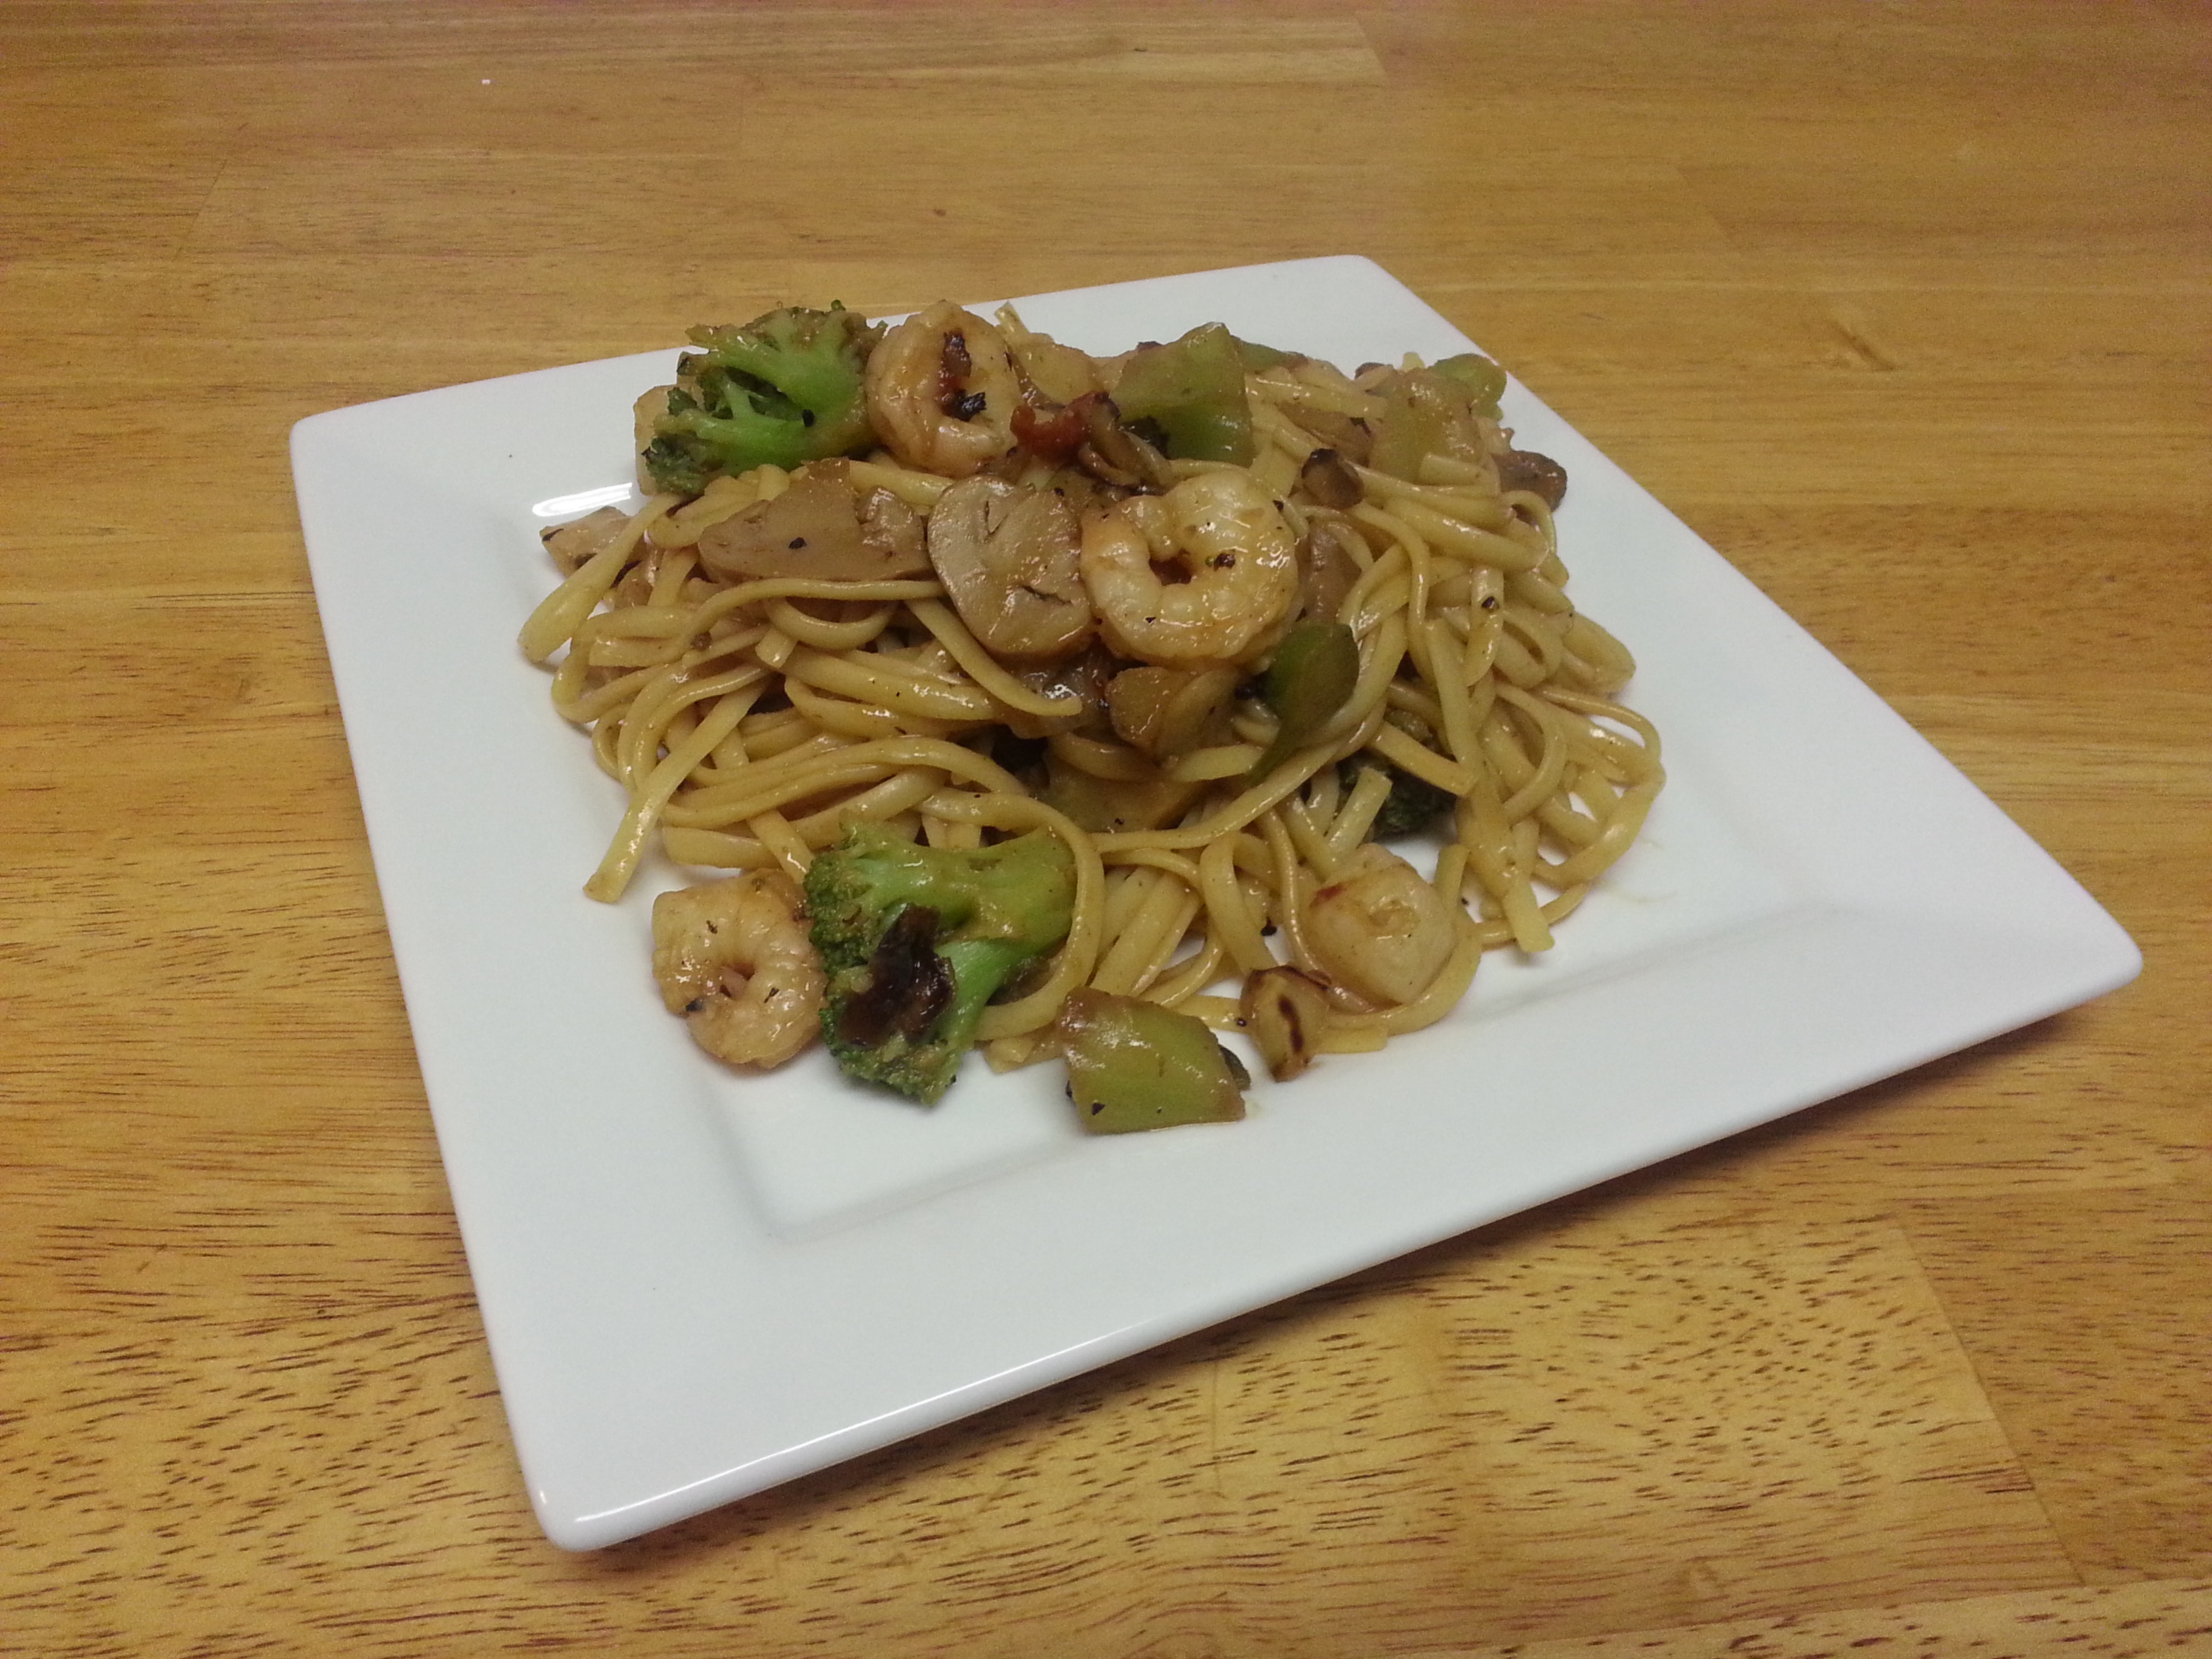
For the lo mein: Heat a wok over high heat. When hot, add 1 tablespoon vegetable oil, half the garlic, half the ginger and half the scallions and saute 30 seconds. Add in the shrimp and cook until they just start to turn pink and curl up, about 2 minutes. Transfer the shrimp and aromatics to a plate and reserve. In the same pan, heat the remaining 1 tablespoon vegetable oil and add the remaining garlic, ginger and scallions. Saute 30 seconds, and then add in the mushrooms, celery, carrots and cabbage. Saute the veggies until they begin to brown and caramelize, 4 to 5 minutes. Whisk the cornstarch into 2 tablespoons cold water. Once dissolved, add to the sauce. Add the sauce to the pan with the vegetables and bring to a simmer. Toss in the reserved shrimp, aromatics and noodles and serve!